

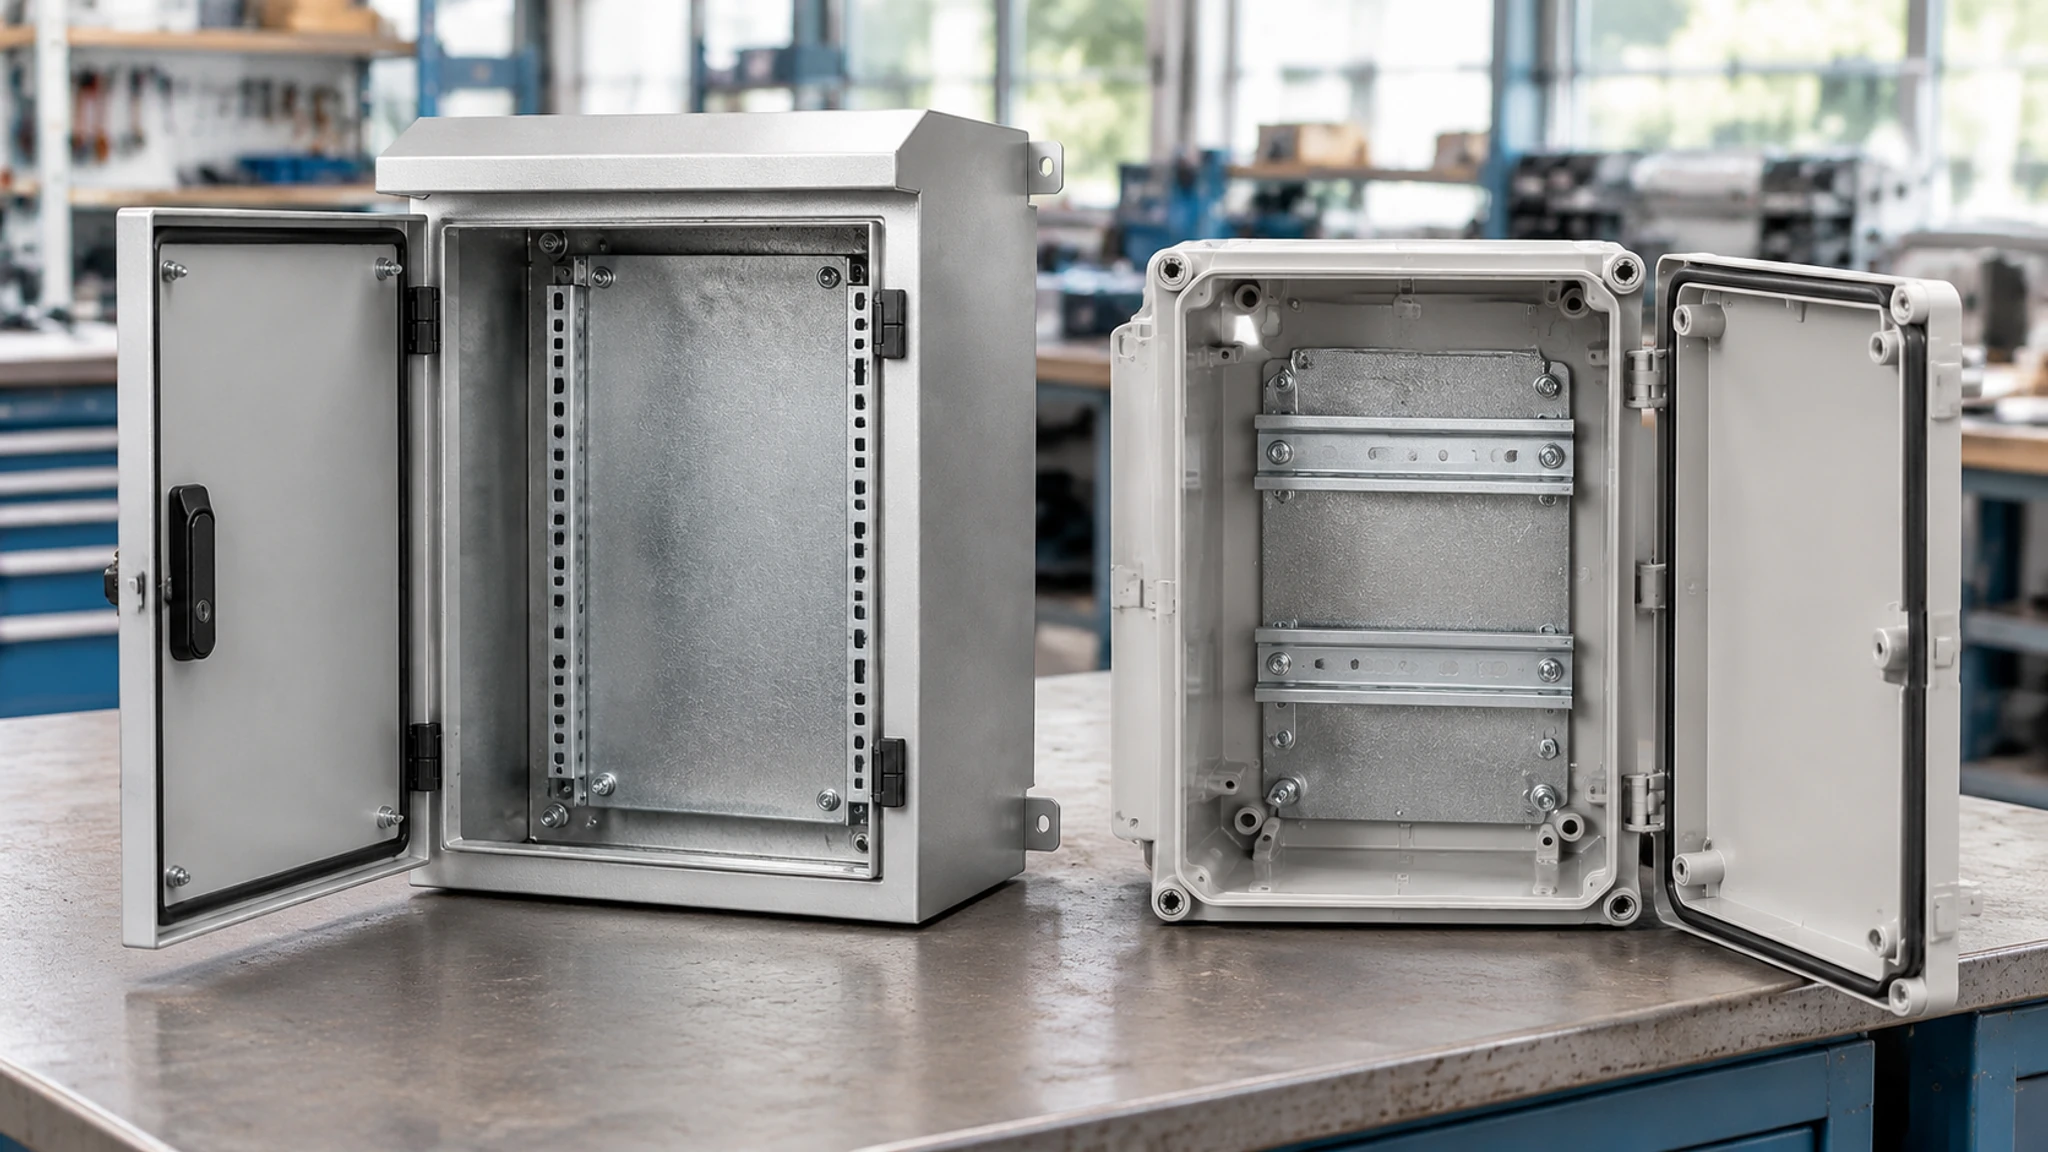
Illustrations: AI-generated application concepts.
Look at non-metallic enclosures when a lighter box, an insulating housing, or an internal antenna would suit your installation. For heavy equipment, a custom cabinet layout, or a conductive housing for shielding, start with the metal options. Steel, aluminum, and molded polycarbonate each bring different trade-offs, as the material-selection guide from TopCabinet explains.
Your component layout helps narrow the choice. A battery mounted high on a pole creates a different handling problem from equipment sitting on shelves in a floor-standing cabinet. Once you know what the enclosure needs to carry, you can compare how each option will be assembled, installed, and serviced.
Which material route fits your project?
Metal options include steel, stainless steel, and aluminum. Non-metallic options include polycarbonate, ABS, and fiberglass-reinforced materials. Put the specific material and enclosure model on your shortlist, along with the backplate, brackets, and other accessories you’ll use. That gives you complete assemblies to compare.
Also describe where the enclosure will operate: indoors or outdoors, exposure to sunlight, and contact with oils or chemicals. These details help the supplier match the housing and protection requirements to the site.
| What your project needs | Metal options to consider | Non-metallic options to consider | What to put in the specification |
|---|---|---|---|
| Support for heavy equipment | Cabinet frames, mounting plates, and shelf systems | Purpose-designed supports and load-distribution accessories | Component weights, center of gravity, fixing points, and permitted loads |
| Easier handling or installation at height | Aluminum or a lighter structural design | A lighter molded or composite enclosure | Complete assembly weight, including the backplate and brackets |
| Electrical insulation or an internal antenna | A defined bonding and antenna arrangement | An insulating housing or a suitable enclosure for the antenna | Conductive parts, antenna position, and electrical requirements |
| Electromagnetic shielding | A conductive enclosure with suitable joints and entries | A specific shielded construction | Required performance and evidence for the assembled enclosure |
| Space for heat-generating components | A suitable heat-transfer and cooling arrangement | Room for the required thermal-management equipment | Heat losses, ambient conditions, and component temperature limits |
| Repeatable assembly and accessible service | Fabricated dimensions, removable panels, and supplier machining | Modified standard boxes, internal panels, and replaceable covers | Cutout drawings, quantities, access requirements, and spare parts |
For more detail, see Hammond’s enclosure-selection guidance, Stahlin’s mounting-system options, and TopCabinet’s material comparison.
1. How will the enclosure support your equipment?
Mark the heavy components on your layout first. Where will each one sit: on the backplate, a shelf, the door, or a side wall? Then follow its fixing points through to the brackets or base supporting the enclosure. You want to know which parts carry the load and the limits for that arrangement.
A non-metallic box can have a dedicated support system. Stahlin offers a weight-distribution shelf for its polycarbonate enclosures for batteries, power supplies, and other equipment that could otherwise deflect the bottom wall. Match the shelf to the enclosure model and review their load limits together.
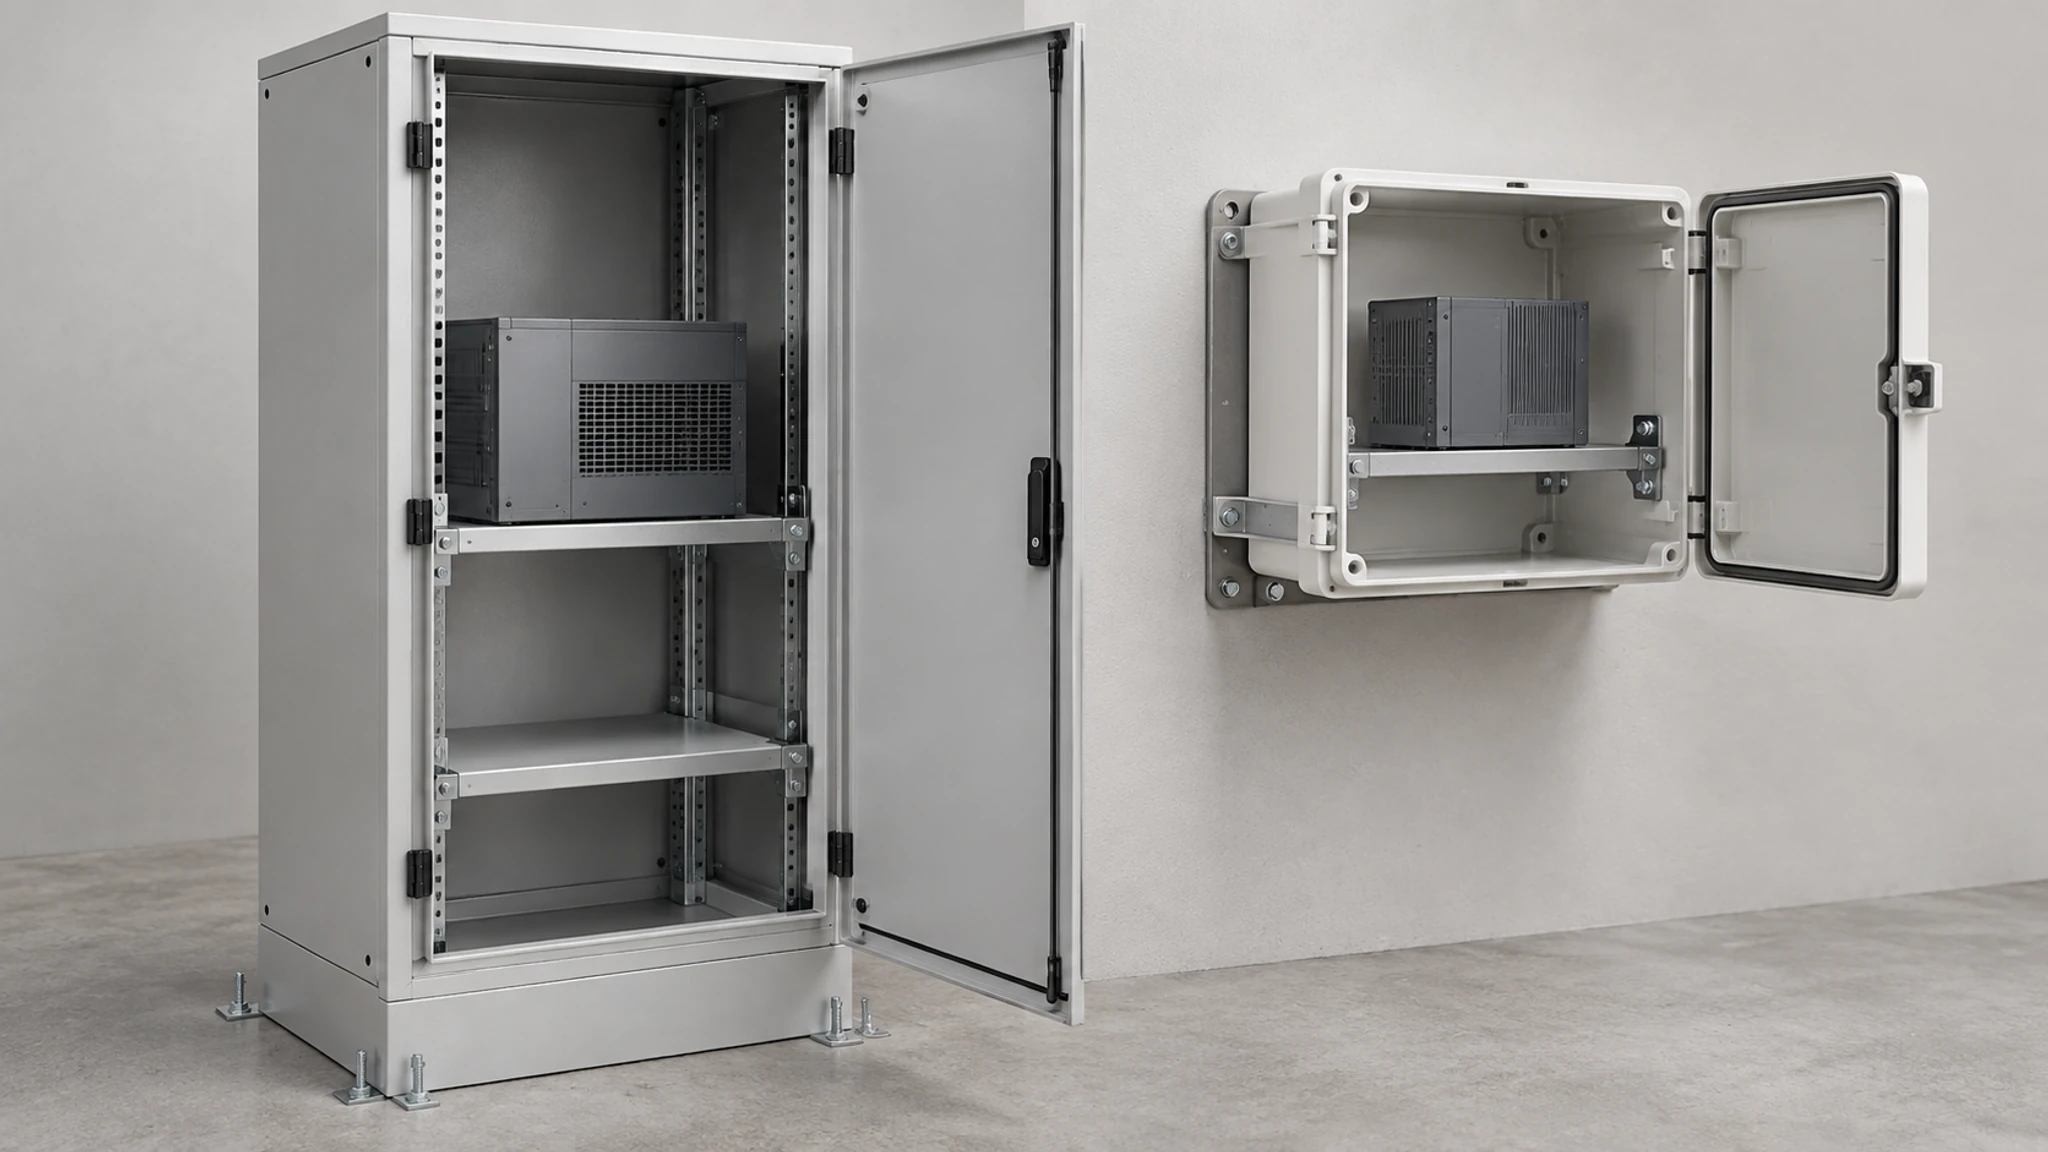
For larger equipment, look at the frame and shelves as part of the cabinet. Rittal’s Mercedes-Benz Energy project combined a weatherproof steel enclosure with heavy-duty battery shelves, cable routing, and climate control. If your layout has similar support needs, include the shelf positions and equipment weights in the drawing you send for quotation.
Alongside the heaviest component, check the loads on the door and mounting plate. Tell the supplier about vibration, transport, and how often the door will be opened, so these conditions can be included in the review.
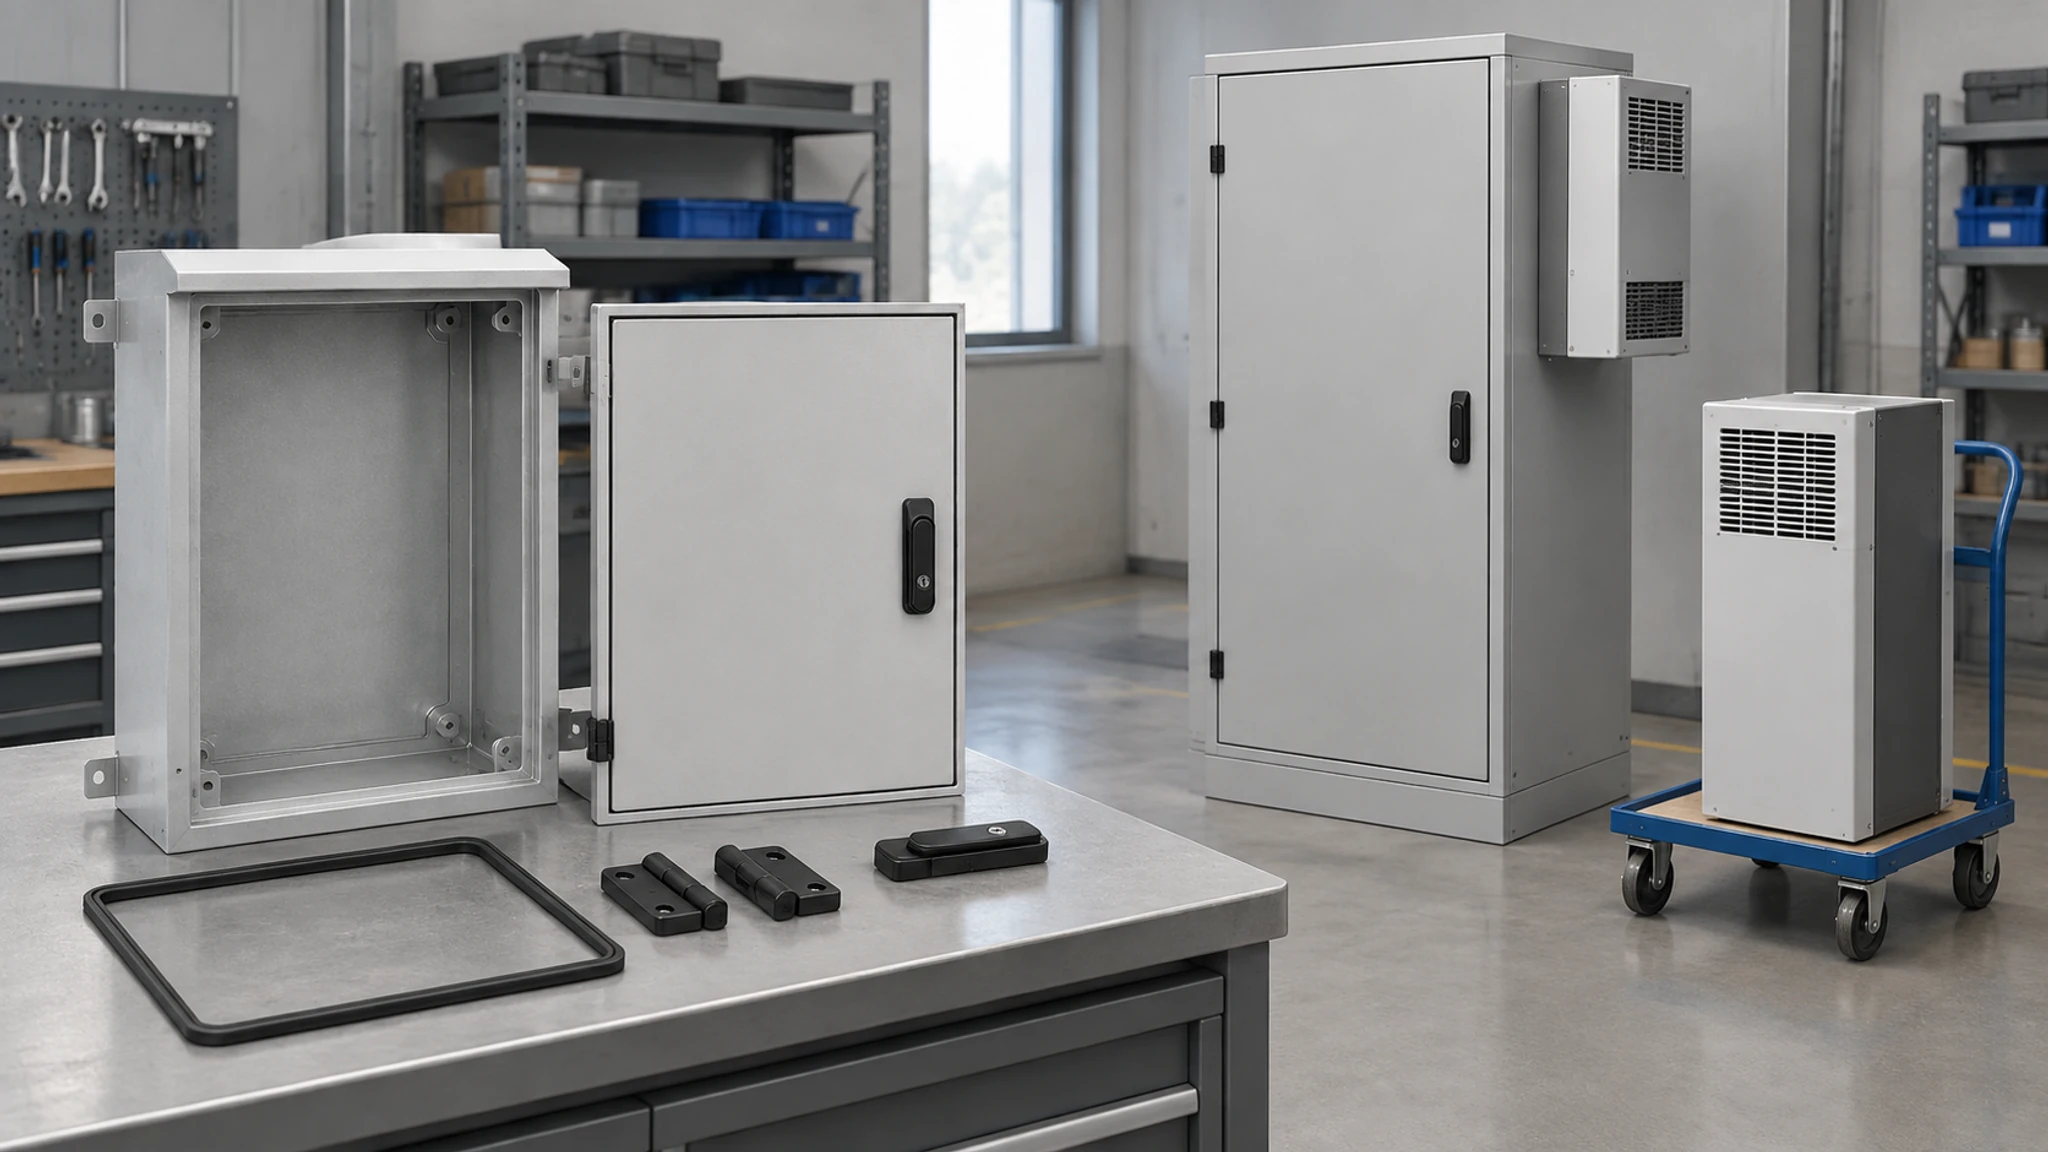
At FN, the modular-enclosure drawing review covers how the frames, adjoining bays, and removable panels fit together, along with mounting plates and cable routes. You can review the complete lineup on the drawing before the cabinets reach your assembly area.
2. What will you actually lift and mount?
Compare the weight you’ll handle during installation. Include the enclosure body, mounting plate, rails, hinges, brackets, cable-entry hardware, and equipment. A light empty box may gain quite a bit of weight by the time it’s ready to mount.
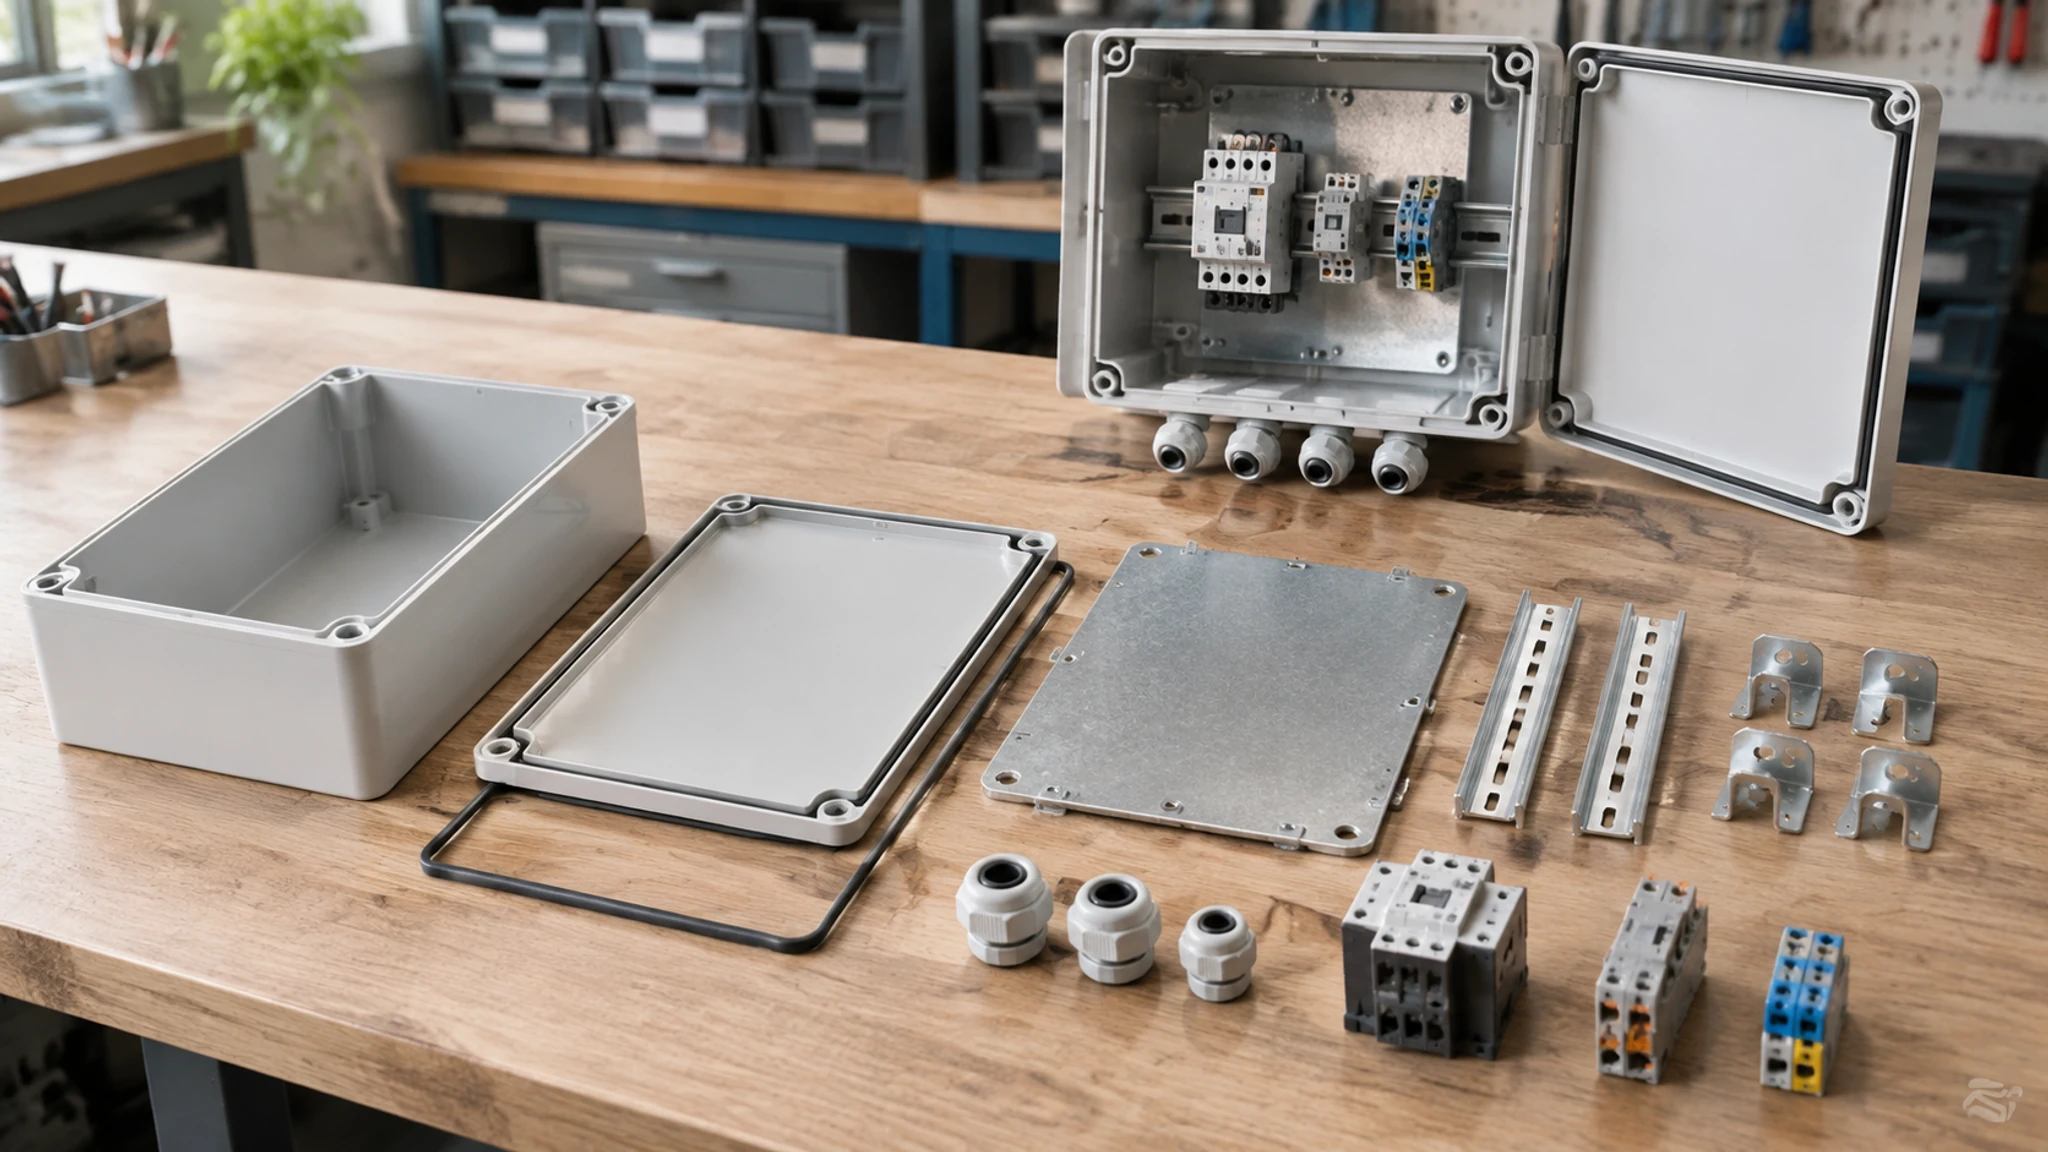
Check what’s included in published comparisons, too. BUD Industries excluded the internal steel panel from the fiberglass enclosure weight in one comparison with steel. Use the same component list for both options, whether you are comparing metal with non-metallic housings or polycarbonate with fiberglass.
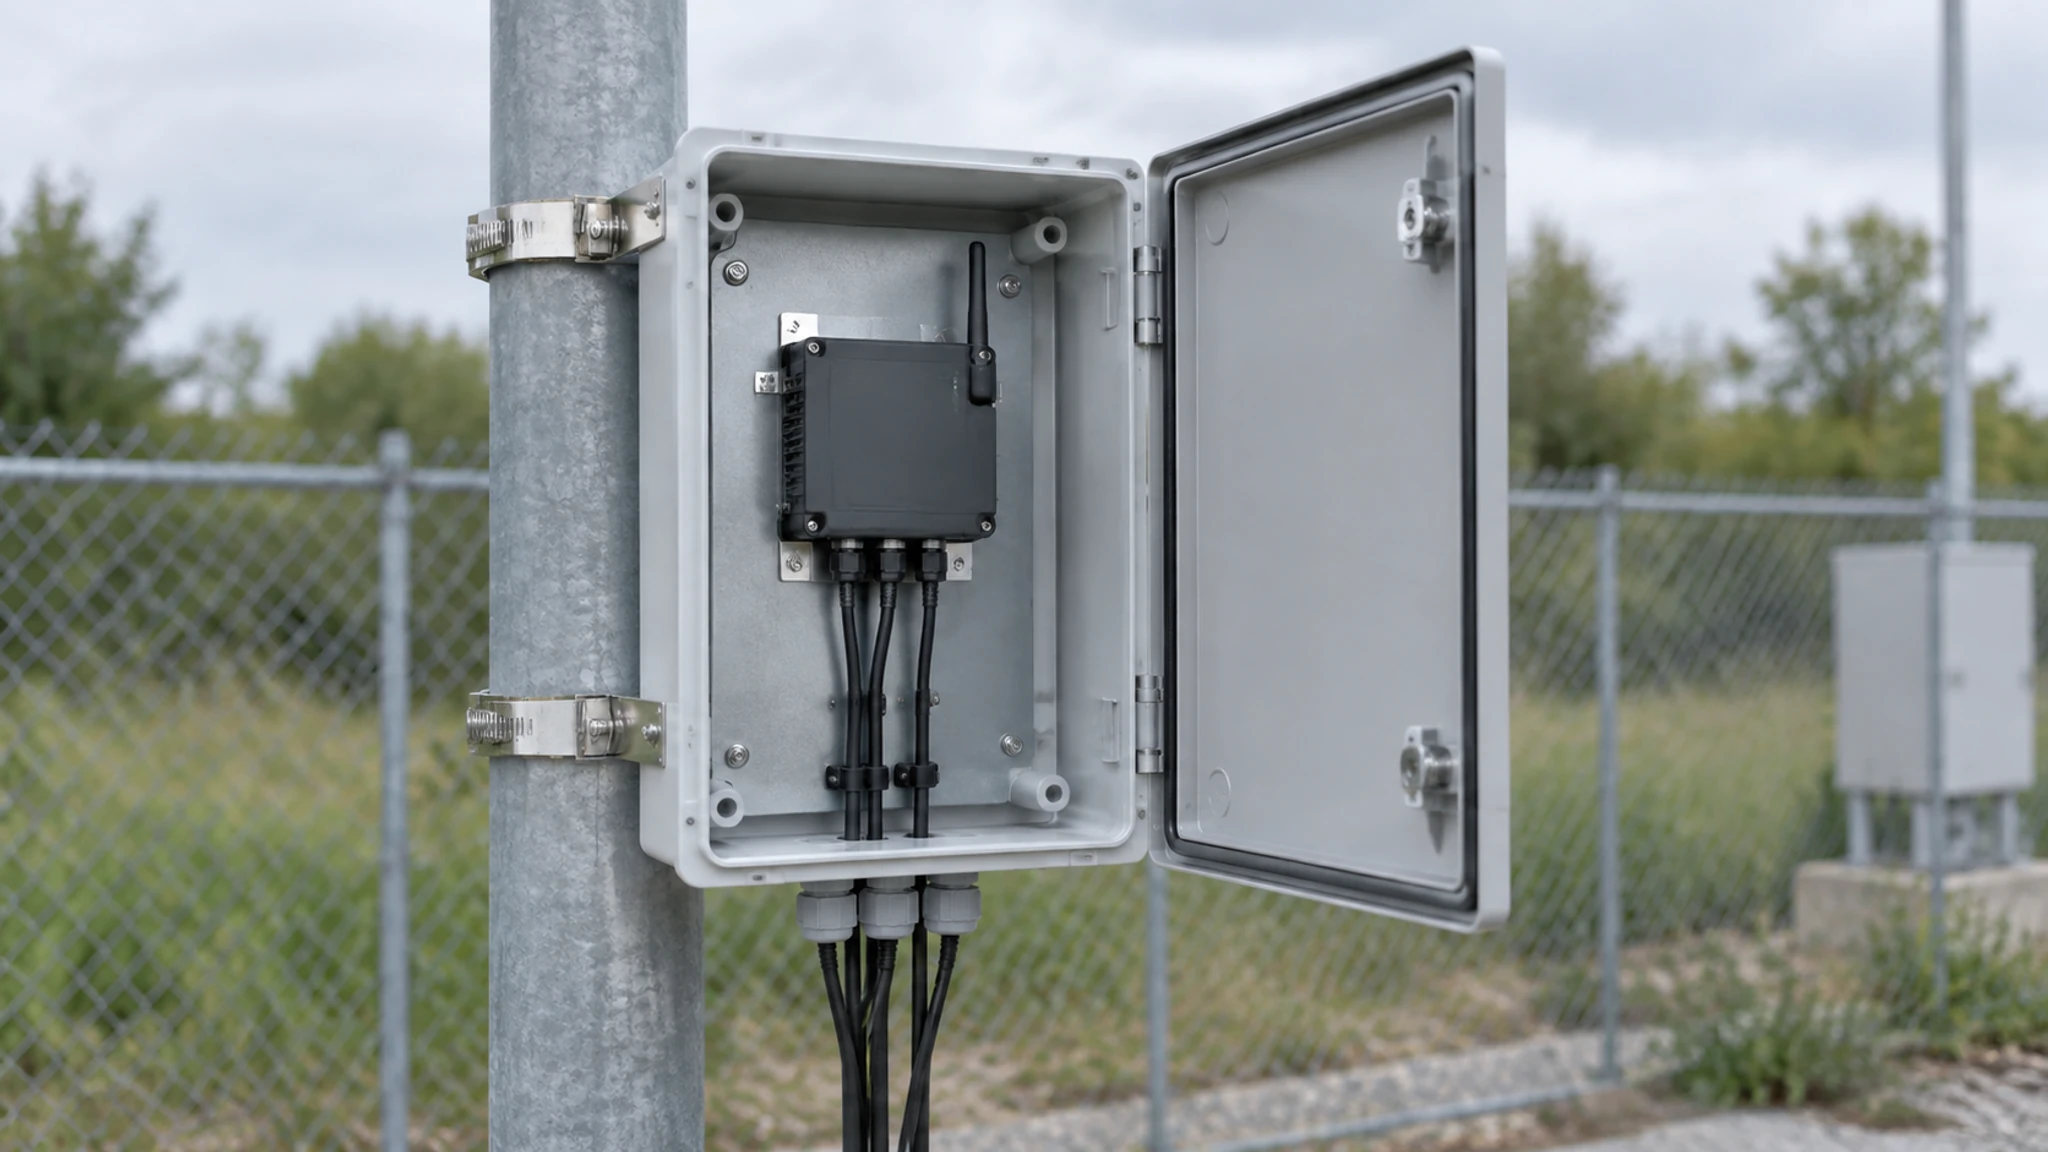
AMAROK’s installation experience shows why the fixing arrangement belongs in this discussion. In AttaBox’s case study, the company described heavy metal junction boxes installed at height. The boxes lacked dedicated internal mounting provisions, so fitting equipment meant drilling through the sides or back, creating sealing and installation difficulties.
The replacement polycarbonate enclosures had internal mounting plates. AMAROK changed both the housing material and the way equipment was attached. When you’re comparing boxes, ask how the internal components will be secured as well as how much the assembly weighs.
If you need a metal housing and weight is a concern, include aluminum alongside stainless steel in the shortlist. Compare the proposed materials and complete assemblies using the same mounting and equipment requirements.
3. Do you need insulation, shielding, or an internal antenna?
Write the electrical requirement into the brief. It will help you decide which parts of the enclosure should be insulating, which need a conductive connection, and where the antenna can sit.
Electrical insulation
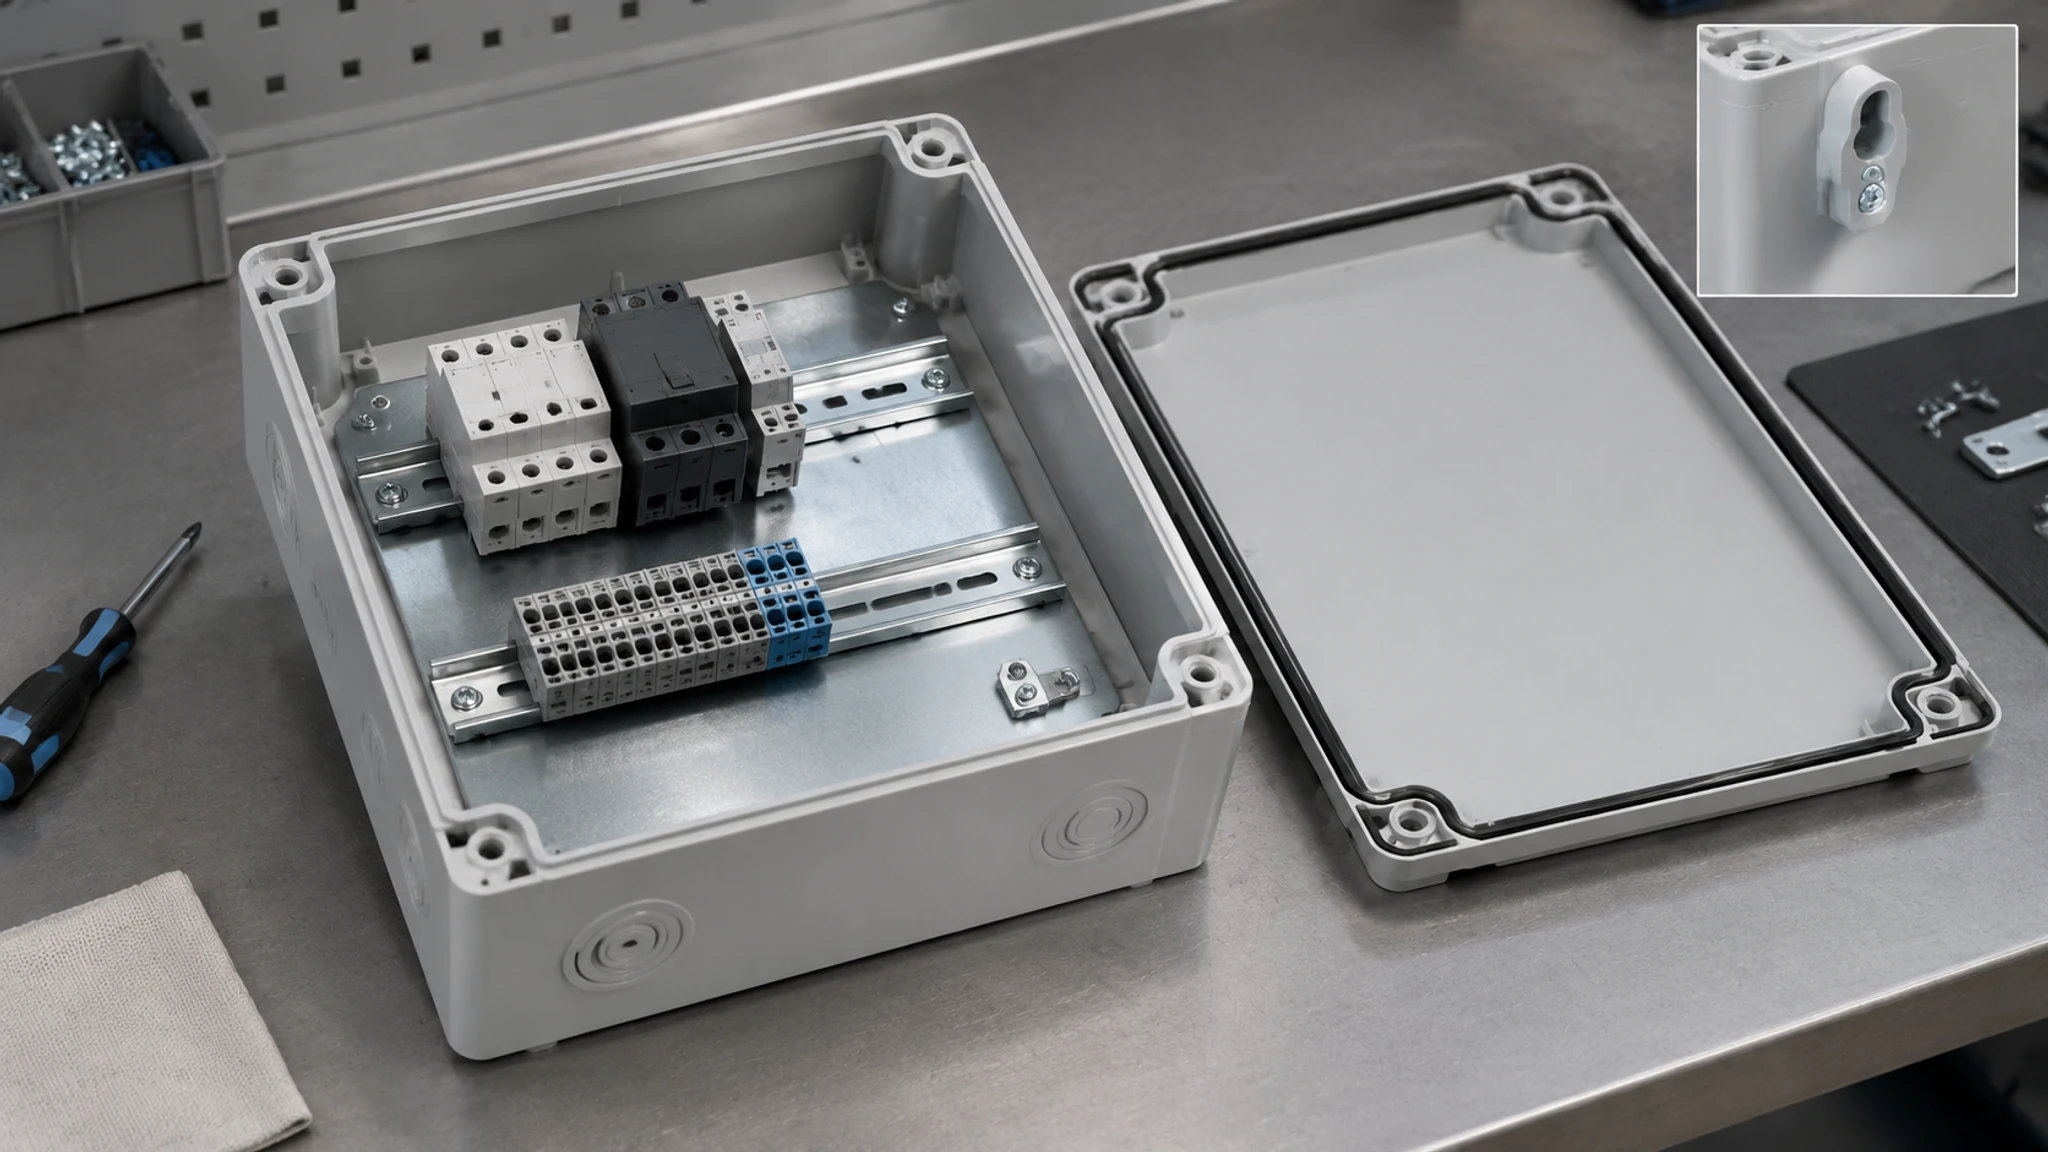
A plastic enclosure can still contain a metal backplate, rails, and fasteners. Integra’s back-panel guide, for example, discusses grounding and bonding for an aluminum panel inside a polycarbonate enclosure. Include those internal parts when your electrical designer reviews the assembly.
The exact plastic also matters. Hammond’s 1594RFI series uses a conductive compound, so its housing is not an insulator. Specify the material and agree the bonding and grounding arrangement for the equipment you’re installing.
Shielding
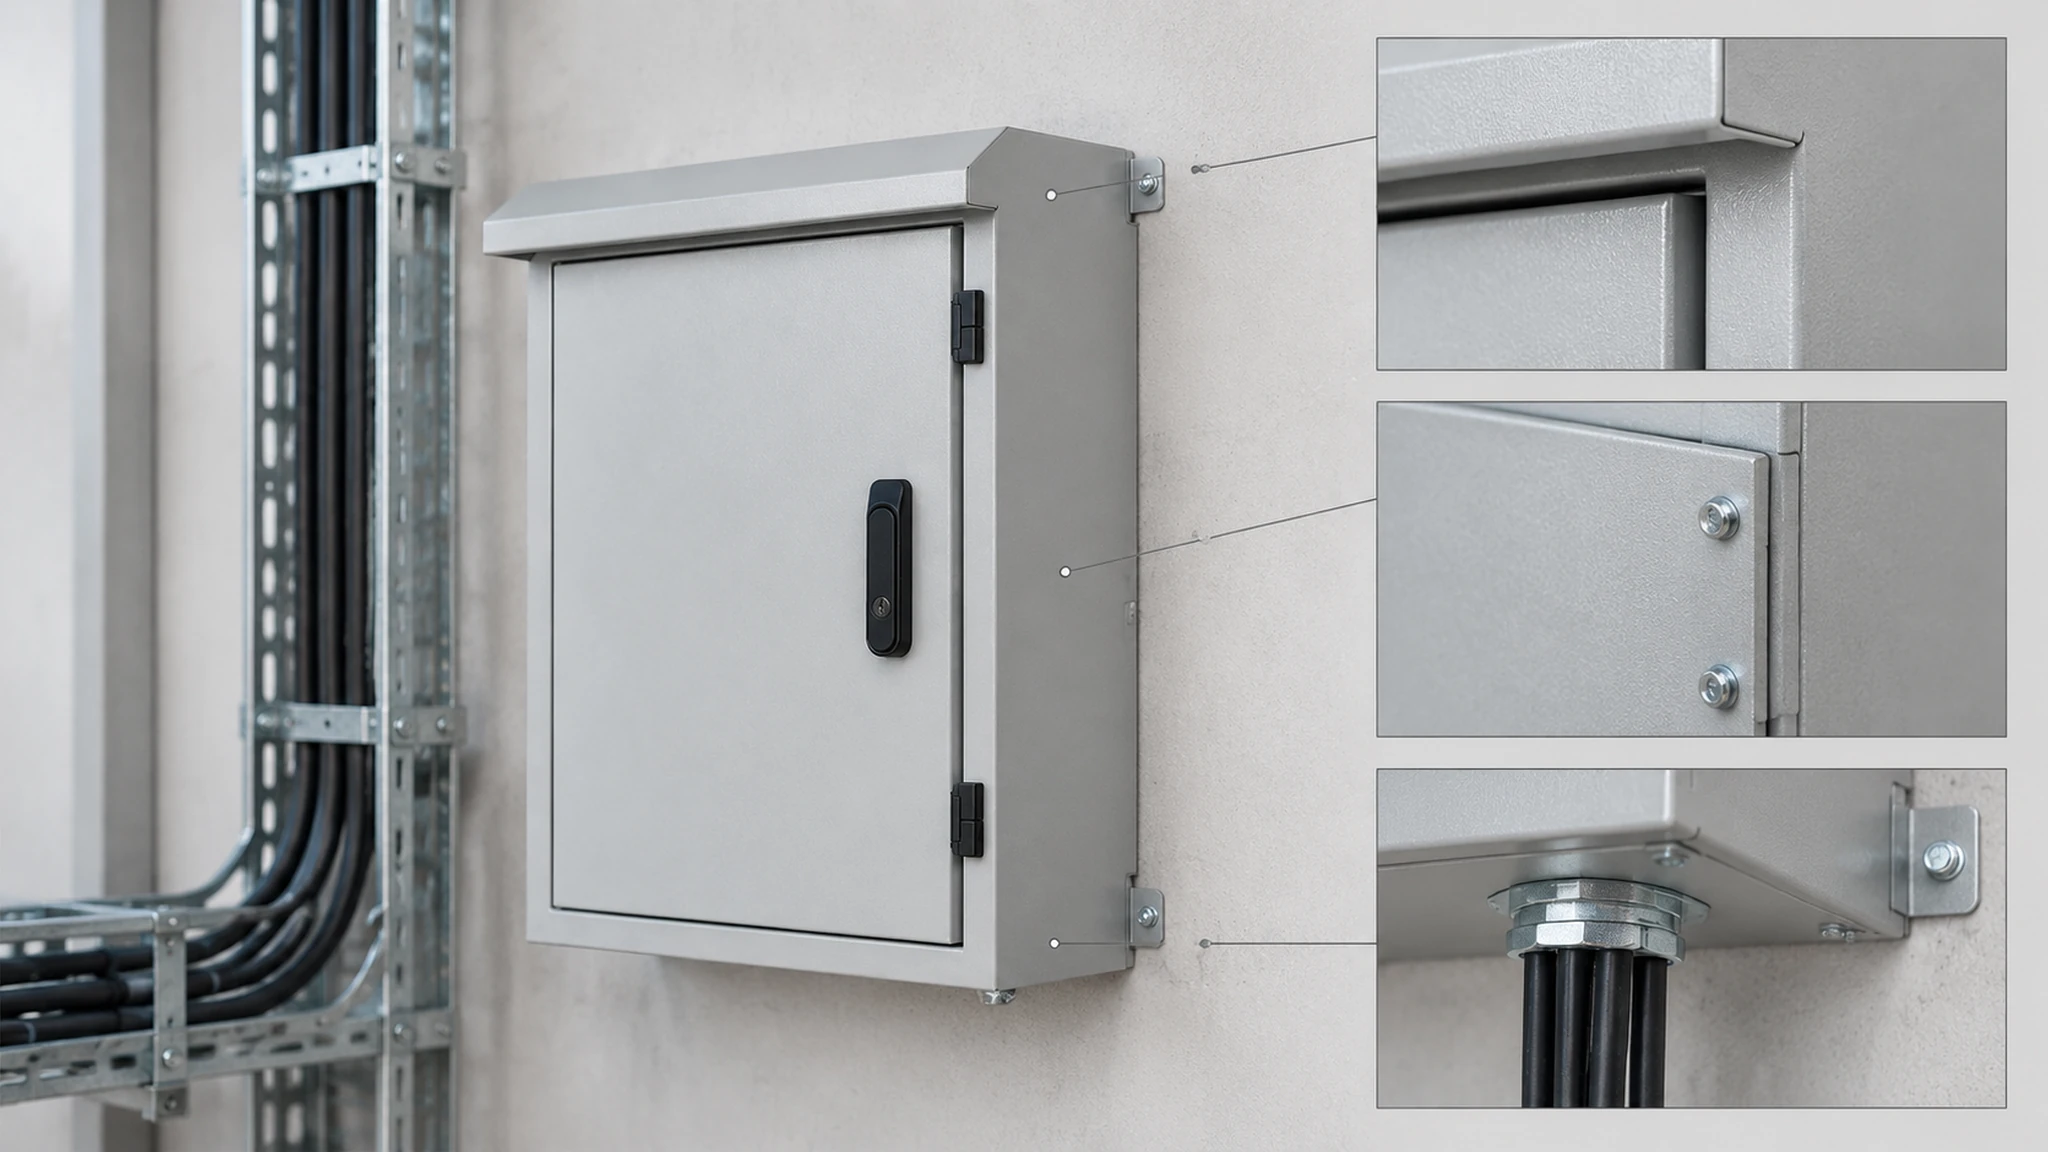
A conductive metal housing can form part of an electromagnetic-shielding design. Review the door joints, panel seams, cable entries, and connections together, then ask for evidence against the shielding performance your equipment needs.
For a non-metallic enclosure with a conductive treatment or filler, review that particular construction against the same requirement. This keeps the comparison tied to the completed assembly.
Wireless communication
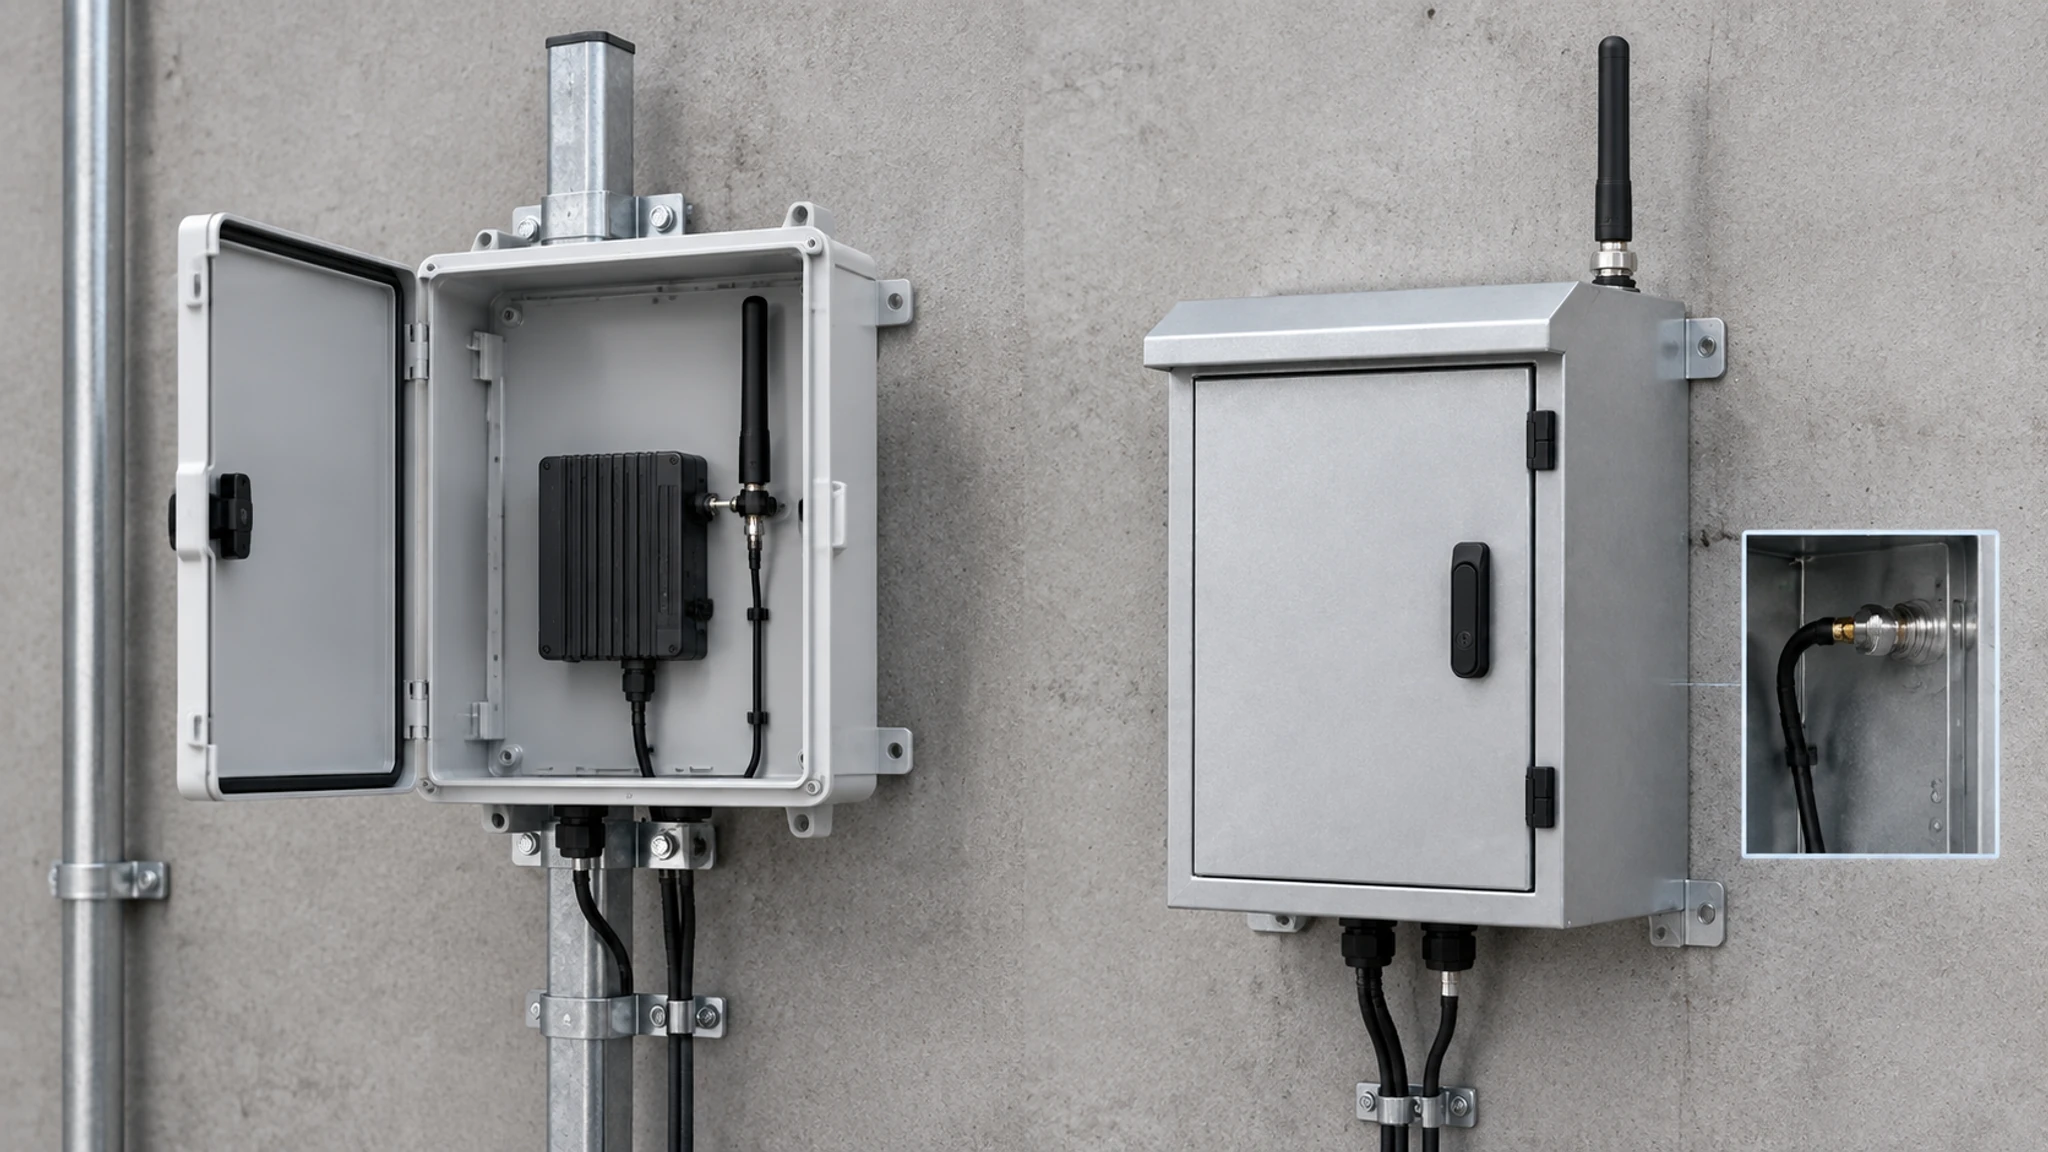
An internal antenna can be a practical reason to choose a suitable non-metallic housing. In Stahlin’s Metis Secure emergency help-station case, fiberglass allowed wireless communication while keeping the antenna inside. The customer wanted to avoid the damage and maintenance risks of an exposed antenna.
Check communication with the antenna in its intended position and all internal hardware fitted. You’ll be testing the arrangement that will go into service, using the Metis Secure account as a layout example.
4. Where will the heat go?
Before you settle on the enclosure dimensions, collect the equipment’s heat losses, expected ambient temperatures, sunlight exposure, and permitted operating temperatures. Decide whether the installation can use ventilation or needs a sealed arrangement. Hammond’s selection whitepaper and BUD’s heat-management guide explain how these inputs shape the enclosure choice.
Metal can provide a useful heat-transfer path. Non-metallic insulation can make internal heat harder to dissipate. Work through the heat load for the proposed enclosure so you know whether the components will stay within their temperature limits and how much space cooling will need.
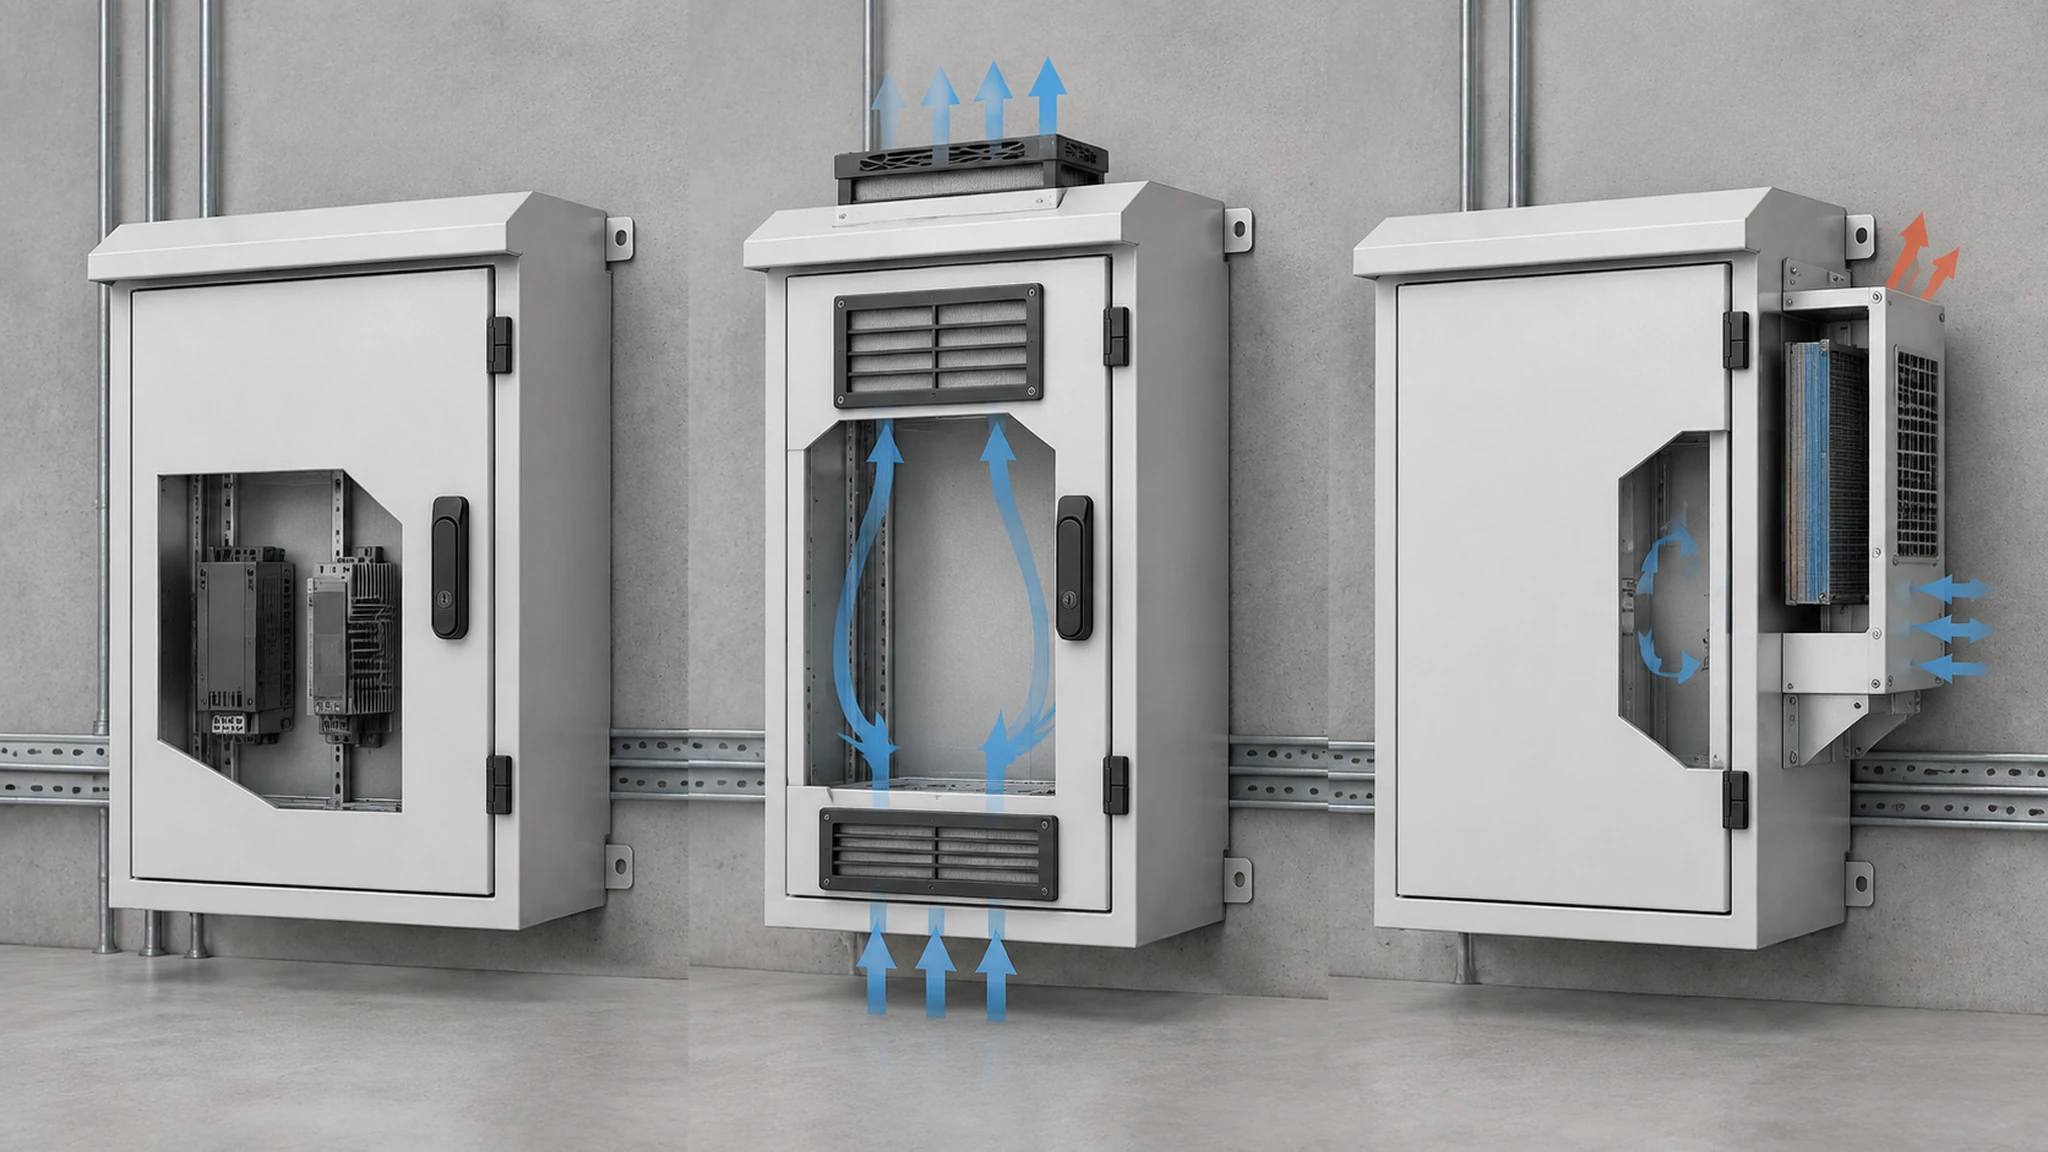
Rittal’s Harry-Brot bakery account describes heat-related control failures in a hot production area. The compact enclosures had fan-and-filter units, and the site went on to trial active cooling suited to the heat load. The change described was to the cooling equipment. When you review your own layout, include the proposed cooling arrangement alongside the components.
Moisture deserves a separate check. Hammond’s industrial enclosure guidance discusses heating to keep enclosure temperatures above the dew point. Even with a plastic housing, include moisture and surface temperatures in the review.
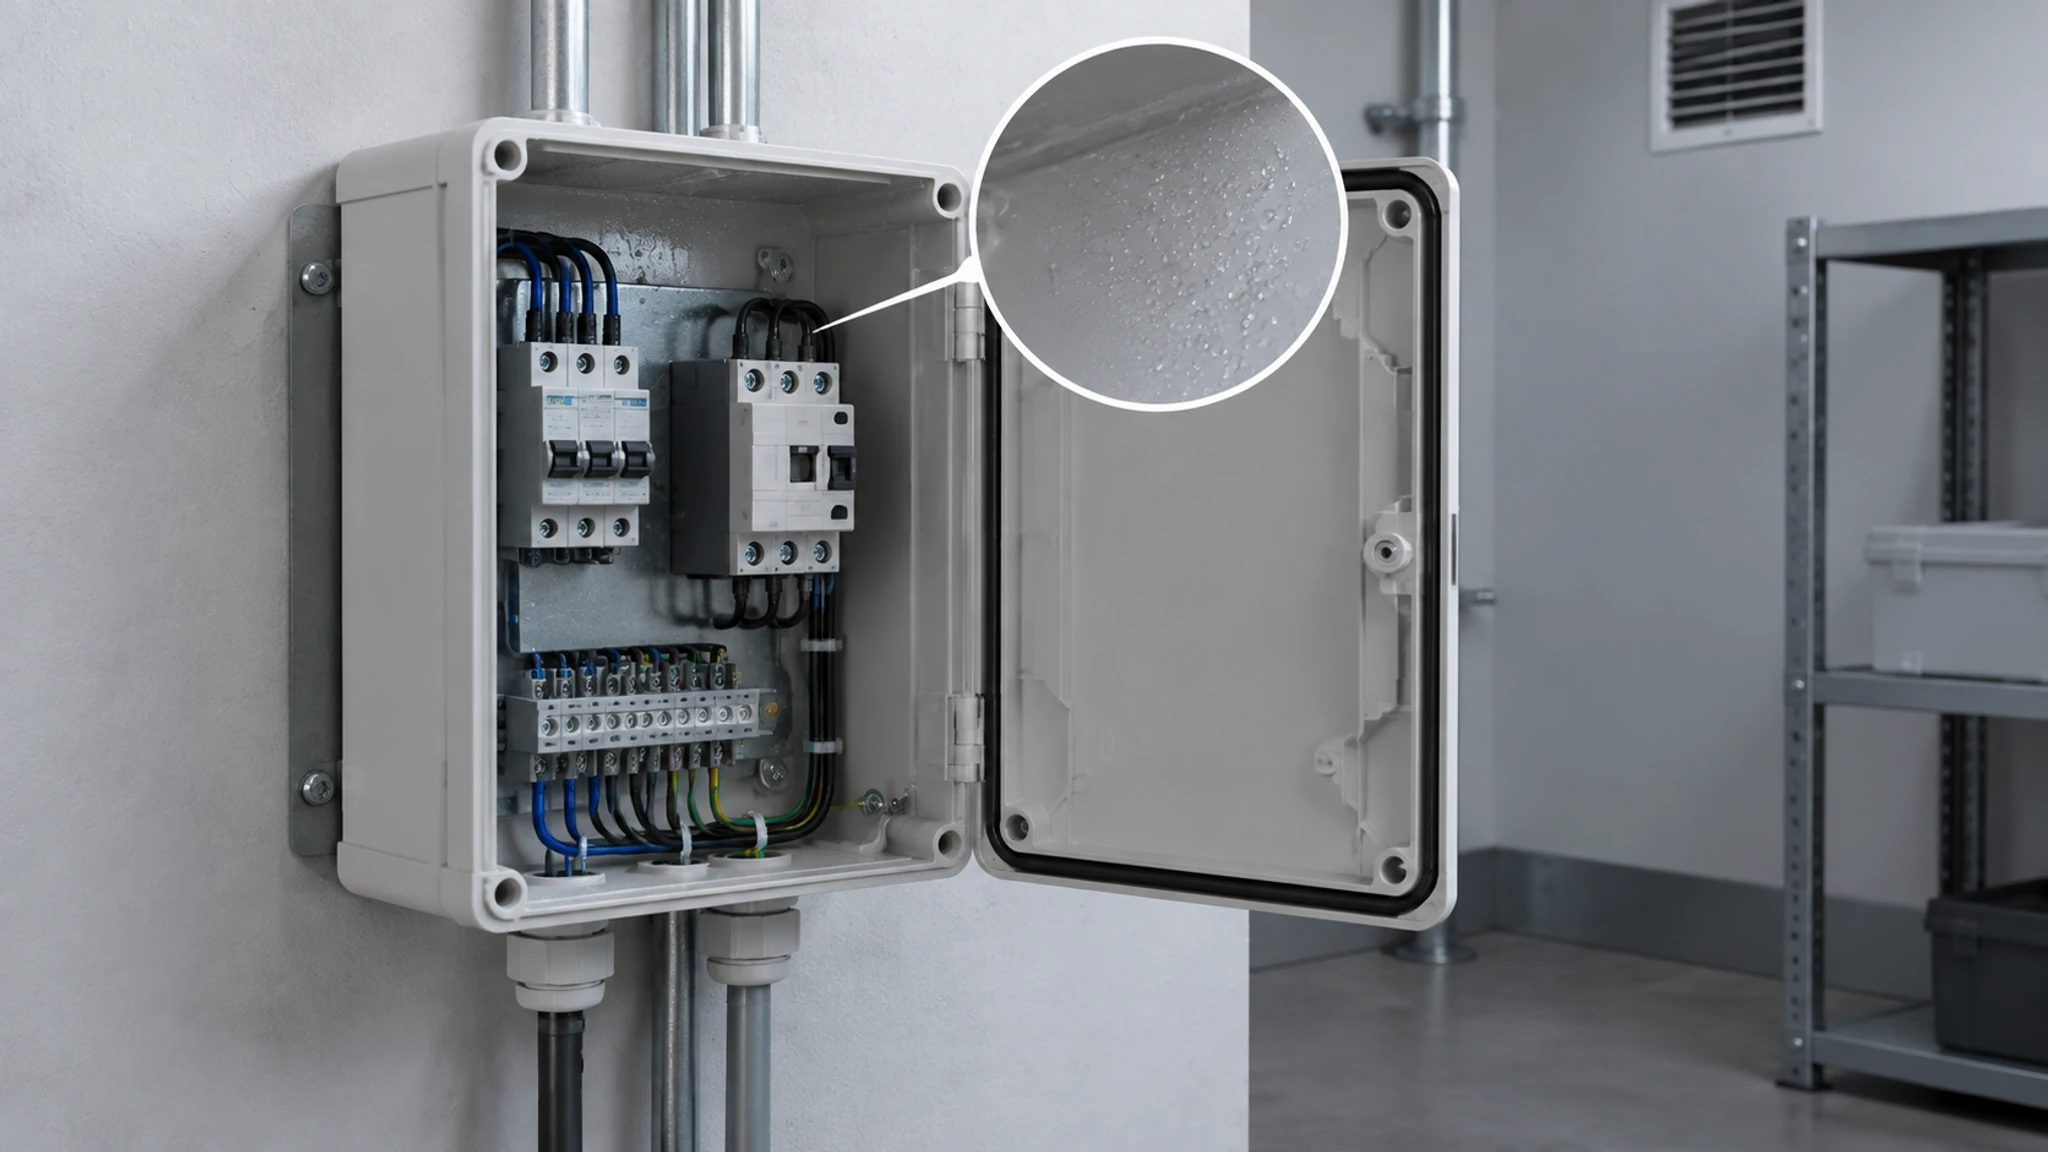
Give the supplier or thermal designer the actual layout and environmental conditions while there’s still room to adjust the enclosure. You can then plan the space and interfaces for cooling alongside the rest of the equipment.
5. How much preparation should arrive already done?
You can buy a stock box to modify yourself, have the supplier machine a standard enclosure, or order a custom structure. BUD’s guide to modified and custom enclosures explains the distinction. The useful question for your team is how much work will remain when the enclosure arrives.
Who will mark and cut the openings? Who fits the hardware and checks alignment? Put that delivery state in the RFQ, so every supplier quotes the work you actually need.
| Item in the quotation | What your team needs to know |
|---|---|
| Enclosure and accessories | Whether the body, cover, backplate, rails, brackets, and hardware are included |
| Machining and finishing | Which openings arrive finished, their tolerances, and who handles deburring and surface finishing |
| Assembly preparation | Who measures, marks, cleans, checks alignment, and fits components |
| Inspection and rework | How cutouts and surfaces are checked, and how rejected or damaged parts are handled |
| Repeat orders | Which drawing revision applies, plus tooling, repeatability, and replacement-part availability |
Garford Farm Machinery uses Fibox ALN aluminum enclosures for its control equipment. It reduced manual preparation by sending its design files to Fibox for machining and receiving prepared enclosures for installation. Garford kept the aluminum enclosure and changed who performed the machining. If your team is spending time preparing stock boxes, that route is worth discussing with the supplier.
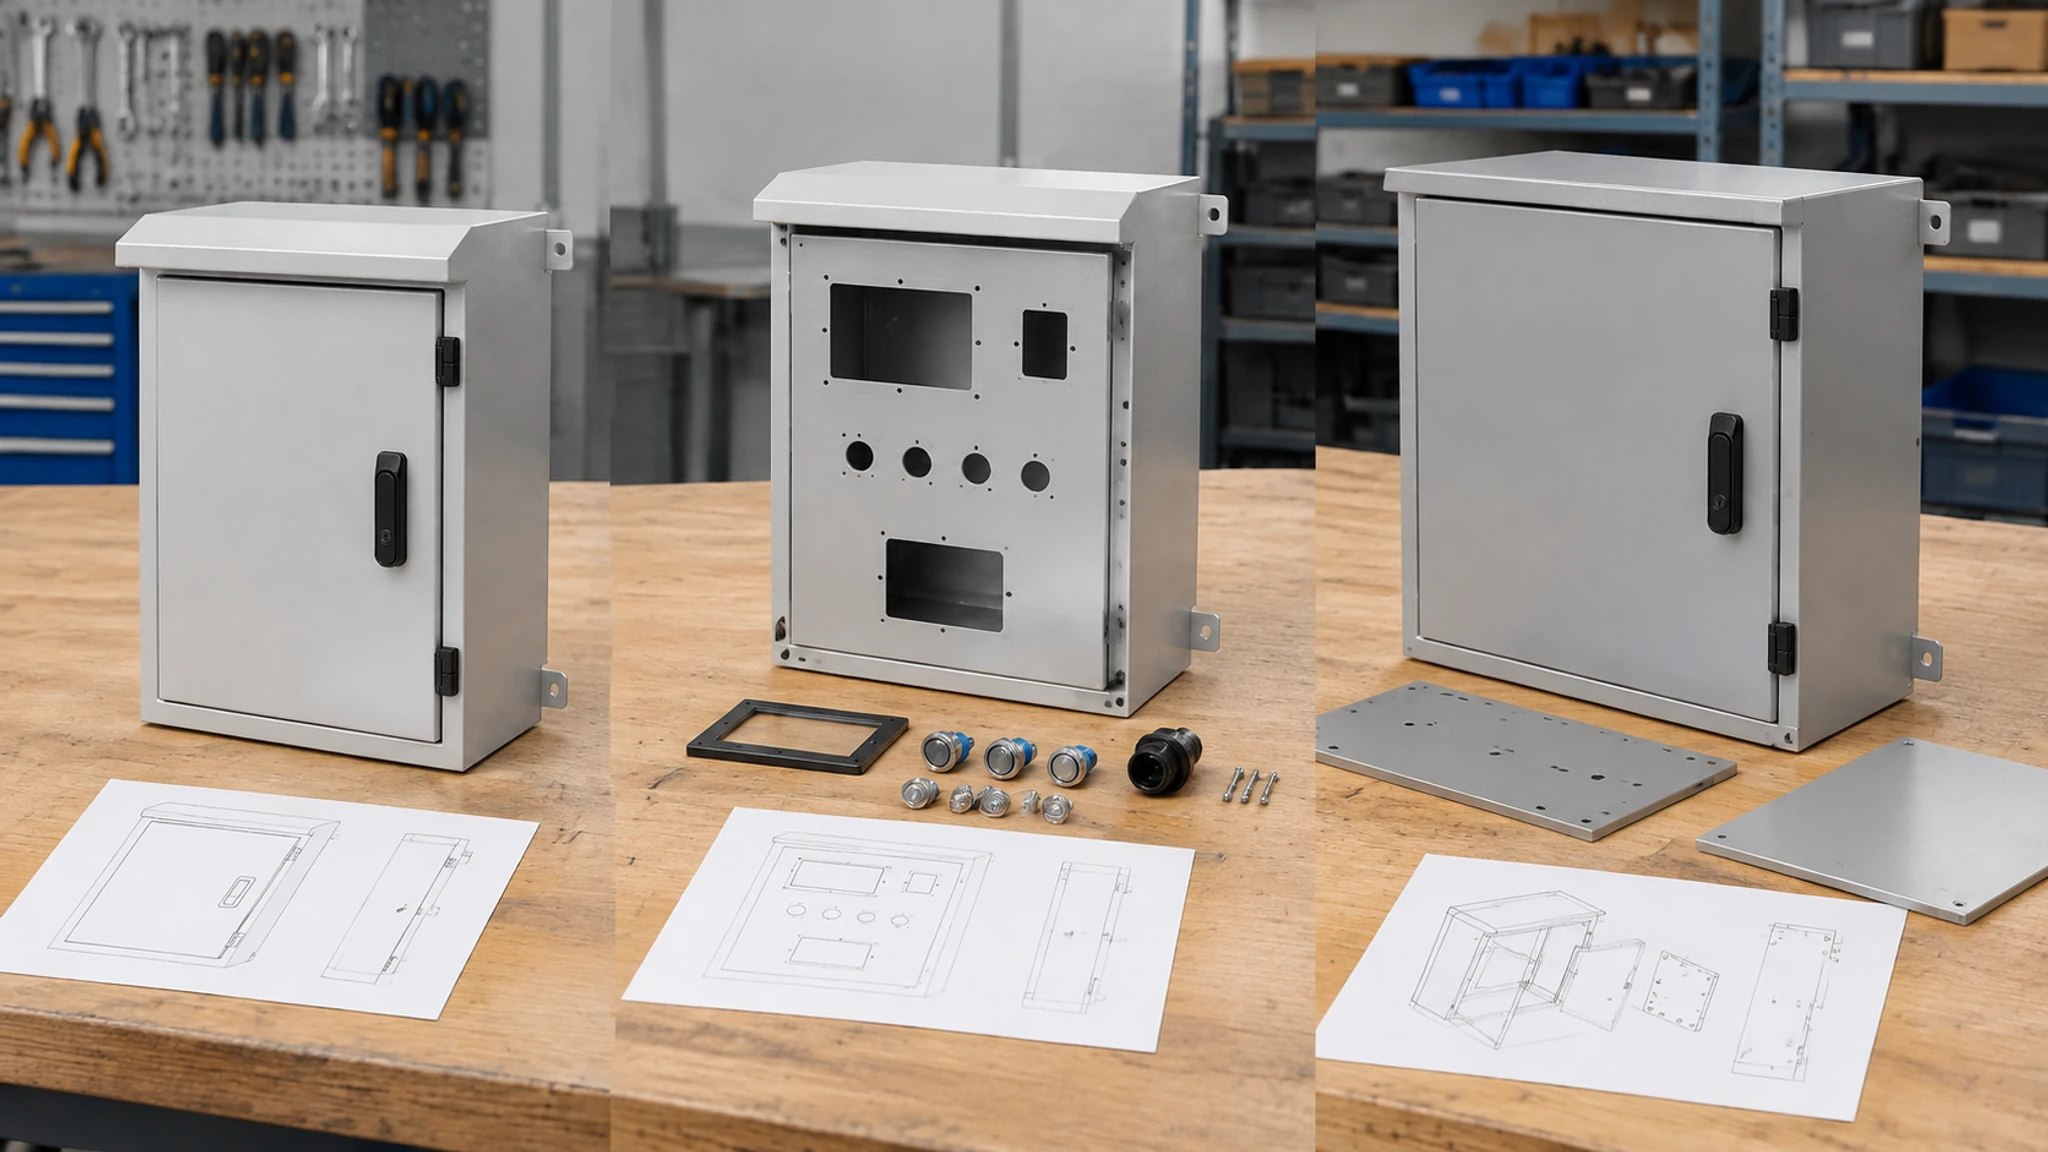
With a molded box, first check how the available dimensions, bosses, and internal features fit your layout. For fabricated sheet metal, review openings alongside bends, joints, and component clearances. Protocase’s cutout-design guidance explains the manufacturing difficulties that can arise when openings sit close to bends.
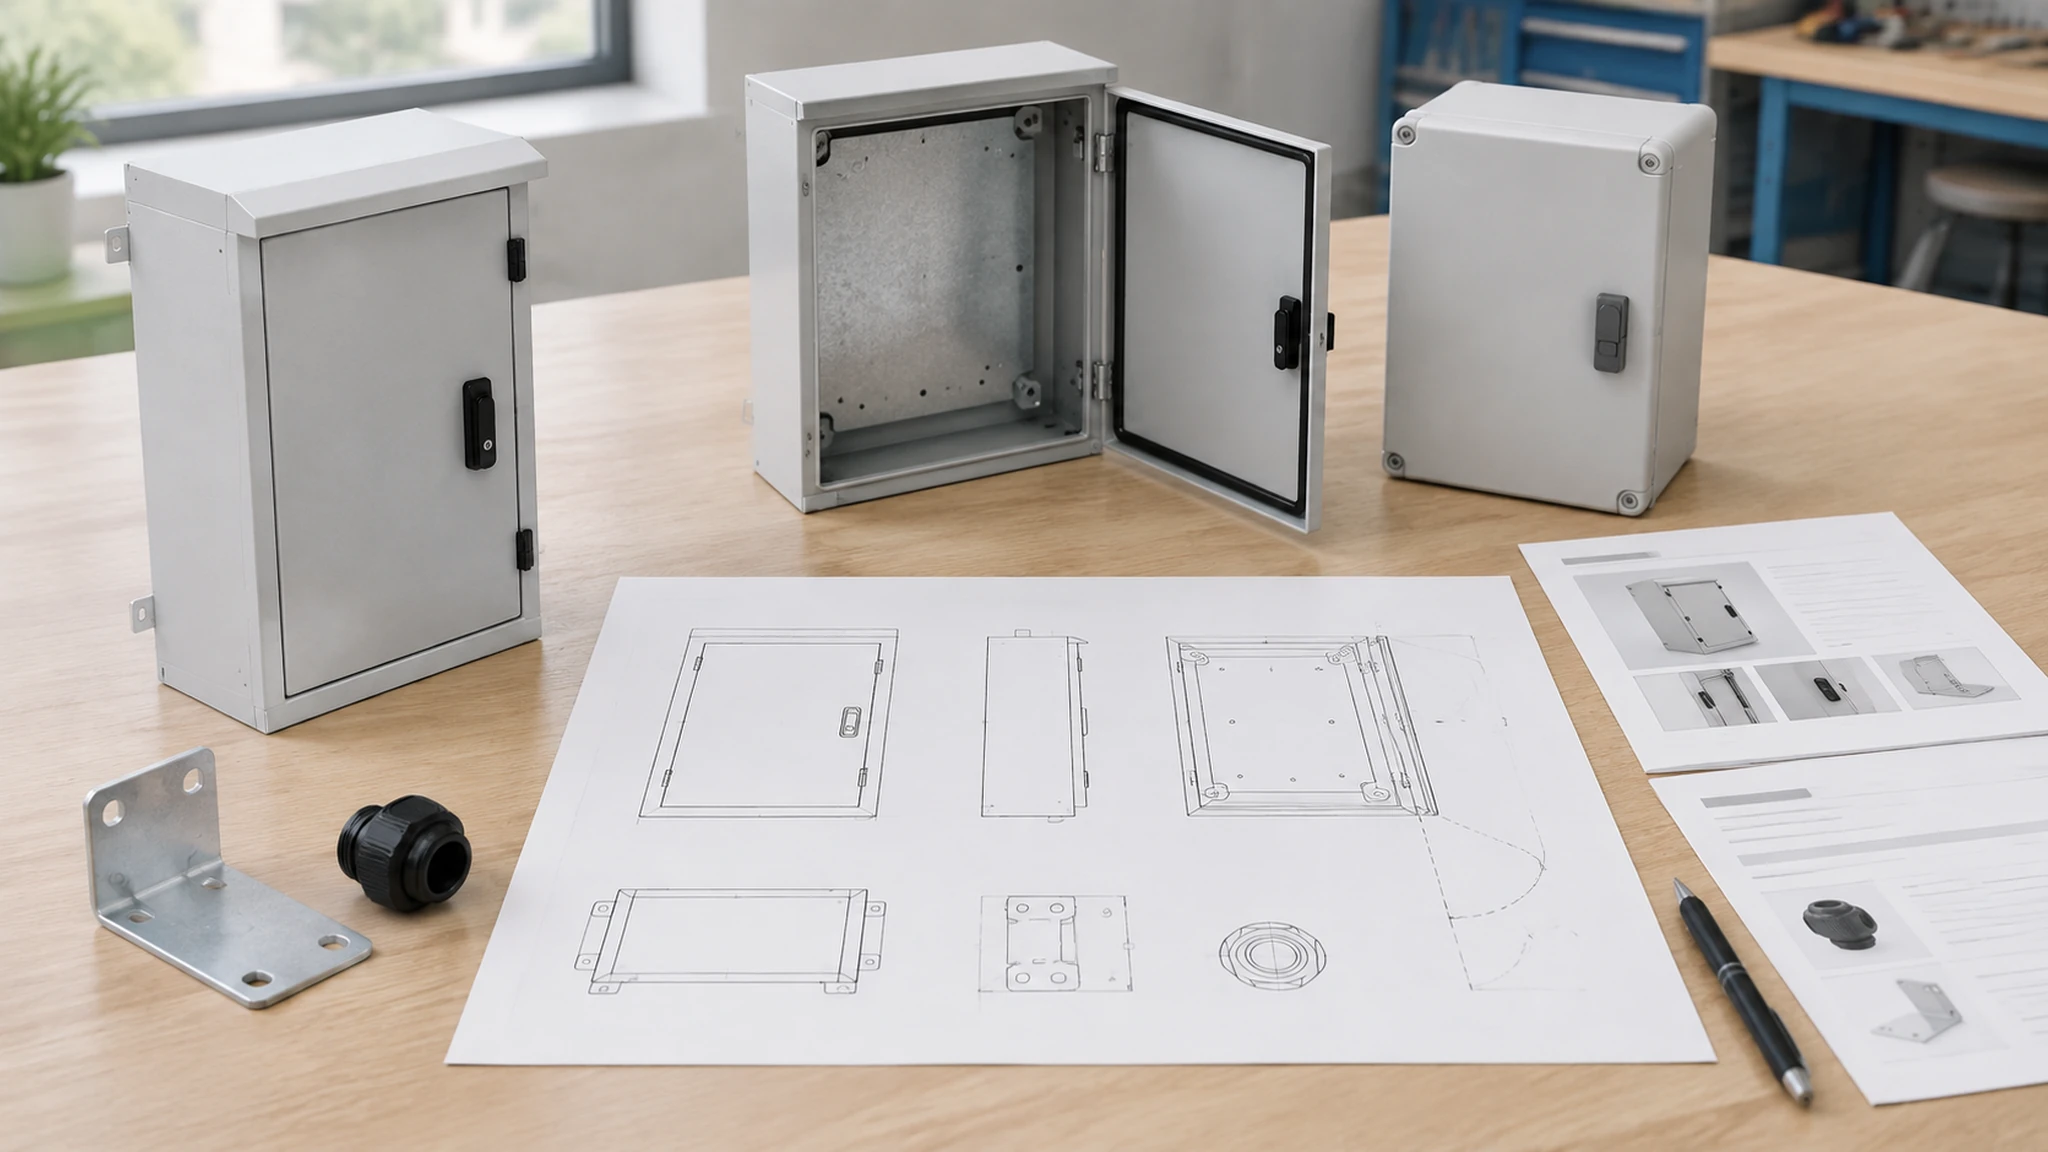
Bring your cutout drawing to FN’s custom-enclosure review. We check how the openings work with bends, mounting clearances, hinges, and locks. You can settle fit and access on the drawing, then agree which machining and accessories are included in the order.
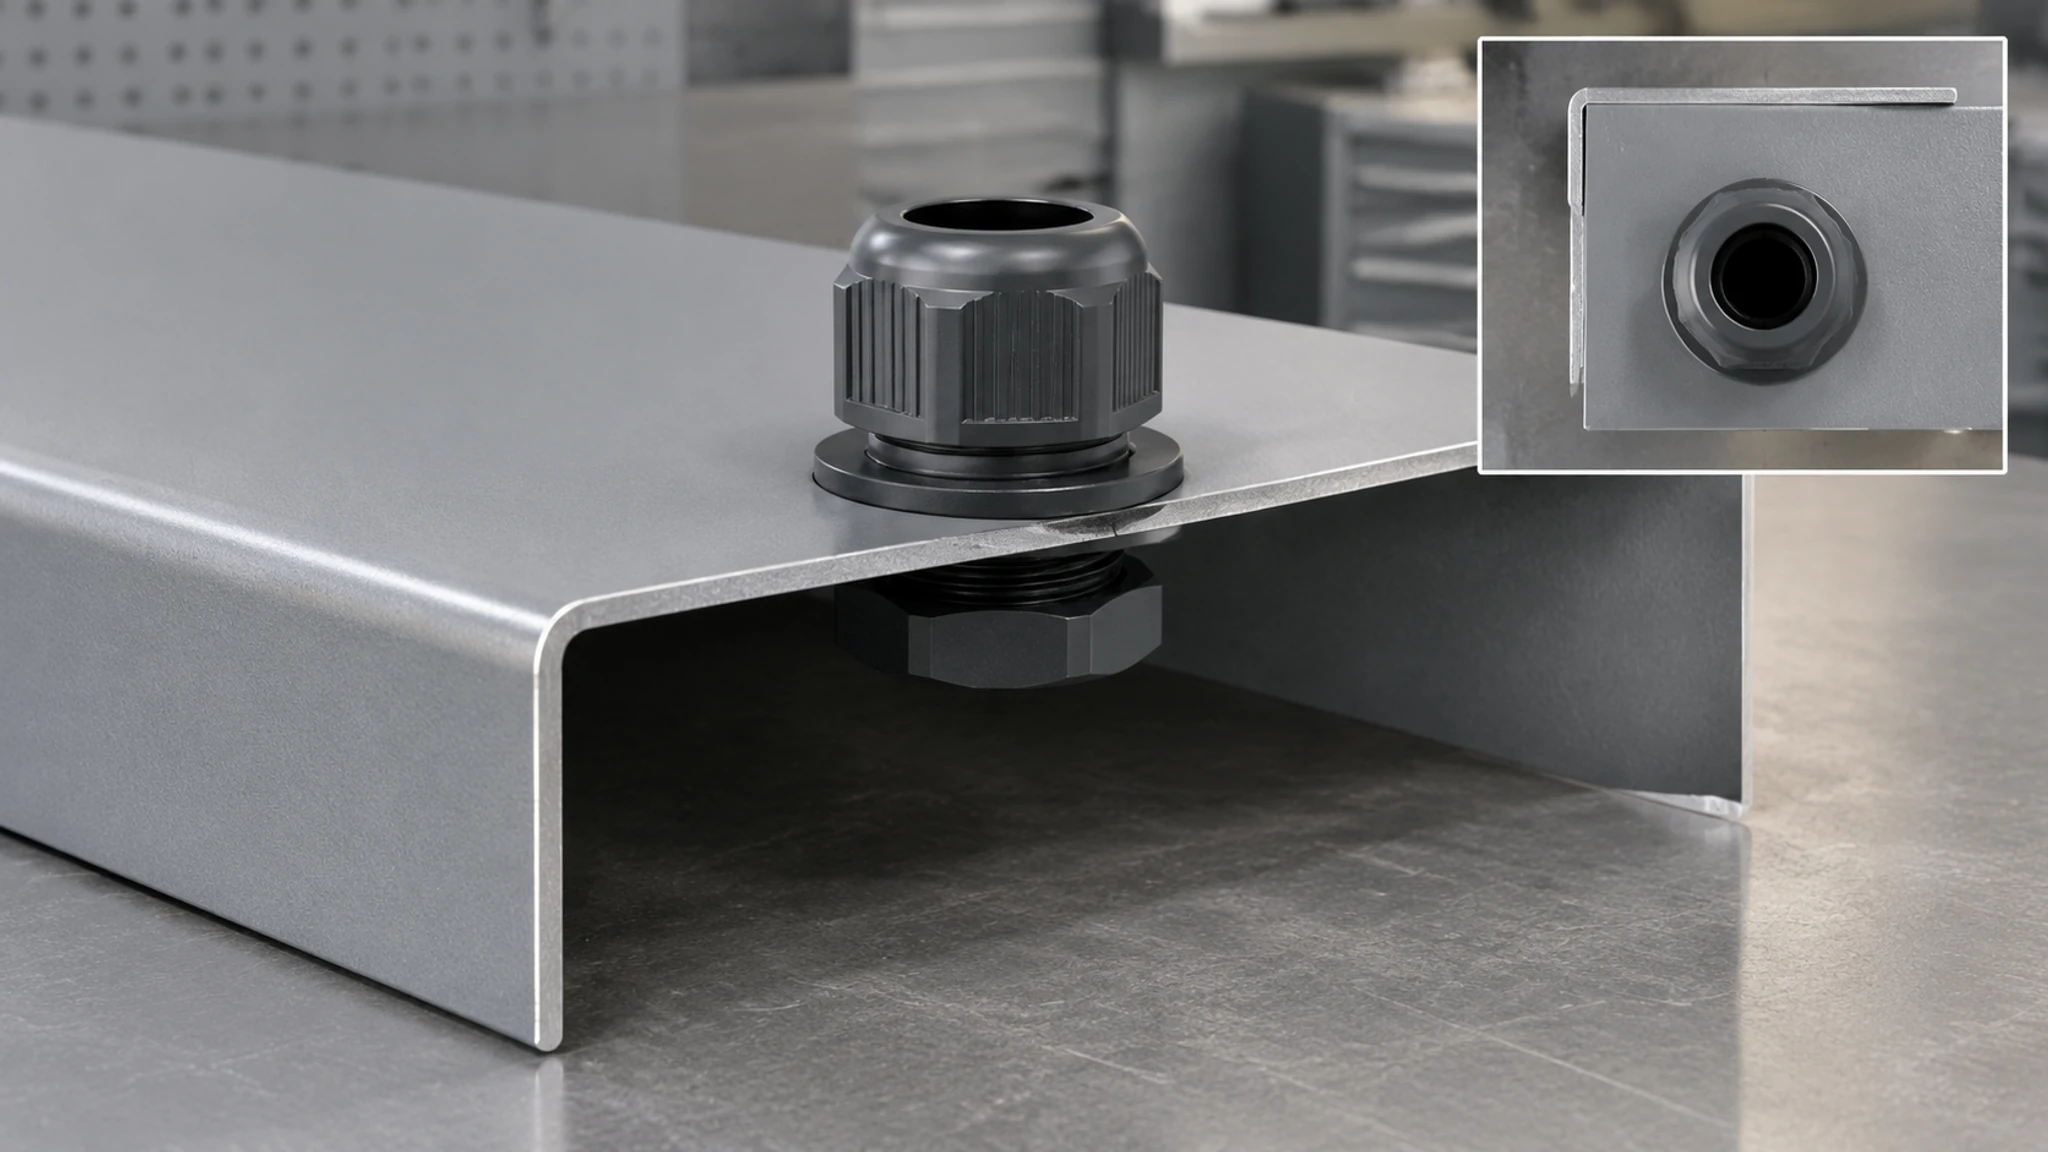
Include the finished opening pattern and fitted accessories when you request protection or certification evidence. The version you approve for installation should be the version covered by that evidence.
6. Can you service it where it will be installed?
Picture replacing a component after the enclosure is in position. Can you swing the door open, reach the terminals with a tool, and remove the part without pulling unrelated wiring out of the way? Walk through that task on the layout drawing.
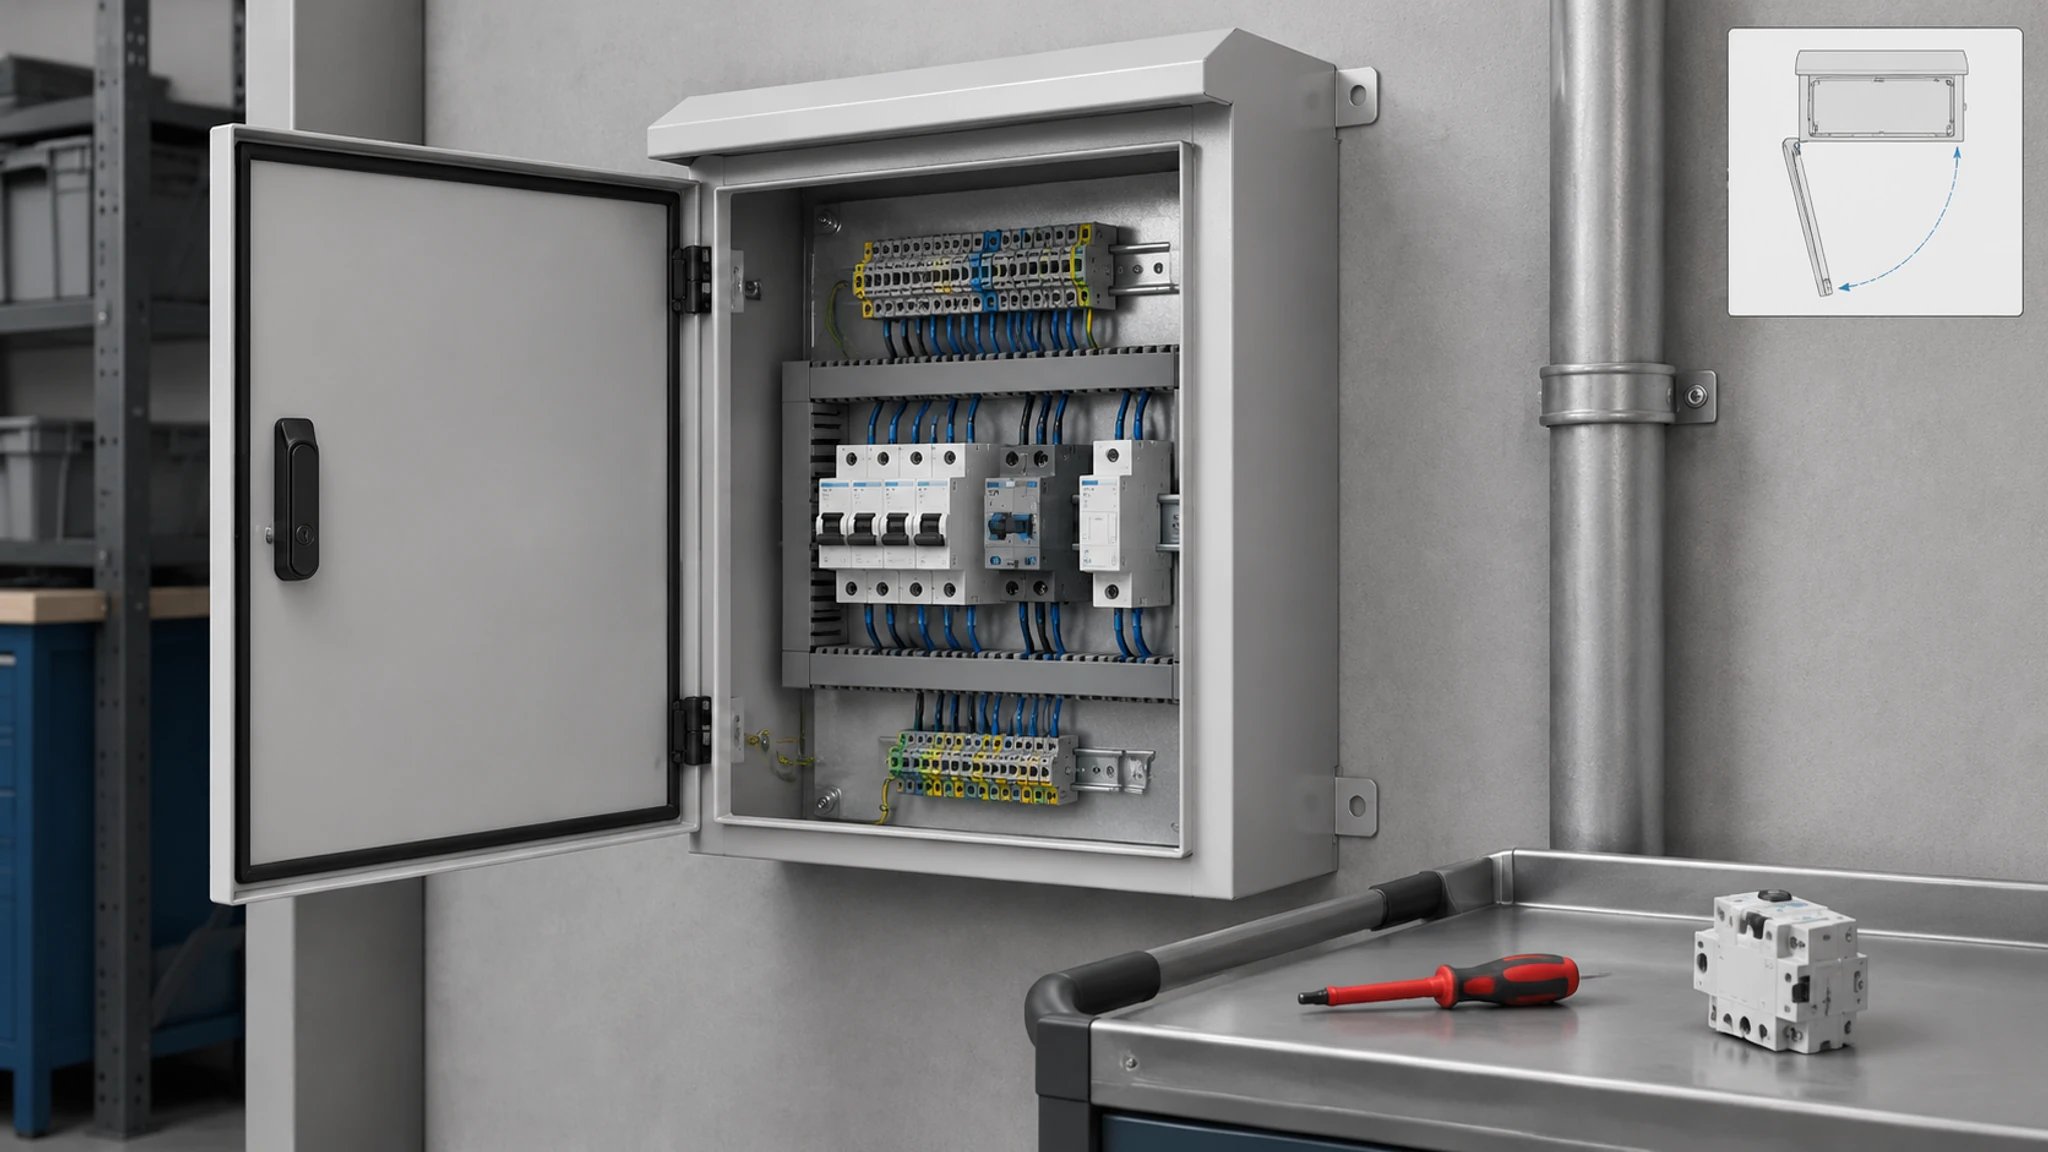
Check the cover or door support as well as the working space. If there’s an inner panel or equipment behind the mounting plate, look at how you’ll reach it. Leave access for filters and cooling equipment that will need service.
Ask for the replacement parts available for the exact enclosure model, including covers, hinges, latches, and gaskets. Stahlin’s polycarbonate replacement-cover information identifies the families its covers fit. Getting that information with the enclosure gives your maintenance team a specific part to look for later.
Cooling units bring their own service work. Rittal’s Cargill project account describes preventive maintenance, overhaul, and replacement of enclosure cooling units, with ready-to-use replacements held in stock. Use those details when planning cooling service and spare availability. The account focuses on the cooling units and leaves the cabinet material unspecified.
FAQ
When should I choose a non-metallic enclosure?
Start with non-metallic options when lower handling weight, an insulating housing, or an internal antenna matters to your installation. Then check the exact enclosure model, equipment supports, operating environment, and heat load. Compare the finished assembly, including its backplate and mounting hardware.
Can a plastic enclosure have a metal backplate?
Yes. A plastic enclosure can contain a steel or aluminum backplate, metal rails, and fasteners. Include those parts in the assembly weight, and have your electrical designer review their bonding and grounding requirements. The plastic housing does not make every part inside it insulating.
Is every metal enclosure heavier than a plastic one?
Compare specific assemblies rather than material labels. A steel cabinet, an aluminum box, and a molded enclosure use different structures and accessories. Ask each supplier for the weight with the backplate, brackets, rails, and hardware you plan to install.
Does choosing metal solve the heat problem?
Metal can help transfer heat through the enclosure wall, but you still need to check the equipment heat losses, ambient temperature, sunlight exposure, and component limits. Work out whether the proposed assembly needs ventilation or cooling before you finalize its dimensions and openings.
Can an antenna stay inside the enclosure?
A suitable non-metallic enclosure can allow an internal antenna. Check the exact housing material and test communication with the backplate, equipment, and other hardware in their intended positions. For a metal housing, discuss an external antenna or another suitable antenna arrangement during layout review.
How should I compare enclosure quotations?
Give each supplier the same drawing and delivery scope. Compare the body, backplate, brackets, finished cutouts, accessories, inspection, and preparation work included in the price. Also confirm the drawing revision and replacement parts so you can see what your team still needs to do after delivery.
What should I send FN with an enclosure inquiry?
Send the enclosure dimensions, component layout, equipment weights, mounting method, cutout drawing, quantity, and operating conditions. Tell us what should arrive already machined or fitted. We can then review the body, mounting arrangement, openings, hinges, and locks against your layout, and make the delivery scope clear in the quotation.
Ready to compare enclosure options?
Send each supplier the same layout and project brief. Include:
- Enclosure dimensions, component positions, and room for wiring and service.
- Equipment weights, fixing points, door-mounted loads, and installation method.
- Insulation, bonding, shielding, and antenna requirements.
- Heat losses, ambient conditions, moisture exposure, and cooling provisions.
- Cutout drawings, tolerances, accessories, quantity, and the delivery state you need.
- Material specifications, required protection, and evidence for the finished configuration.
You’ll then have a practical basis for comparing the options: how the equipment is supported, what the assembly weighs, and how much preparation and service work each enclosure needs. Put any unresolved questions beside the relevant part of the drawing so the supplier can address them in the quotation.
If a fabricated metal enclosure looks right for the job, send FN your drawing or project details. We’ll review the enclosure body, cutouts, mounting arrangement, and delivery scope with you. Include any electrical assembly, thermal validation, or certification work in the brief so responsibility for that work is agreed alongside the enclosure order.