
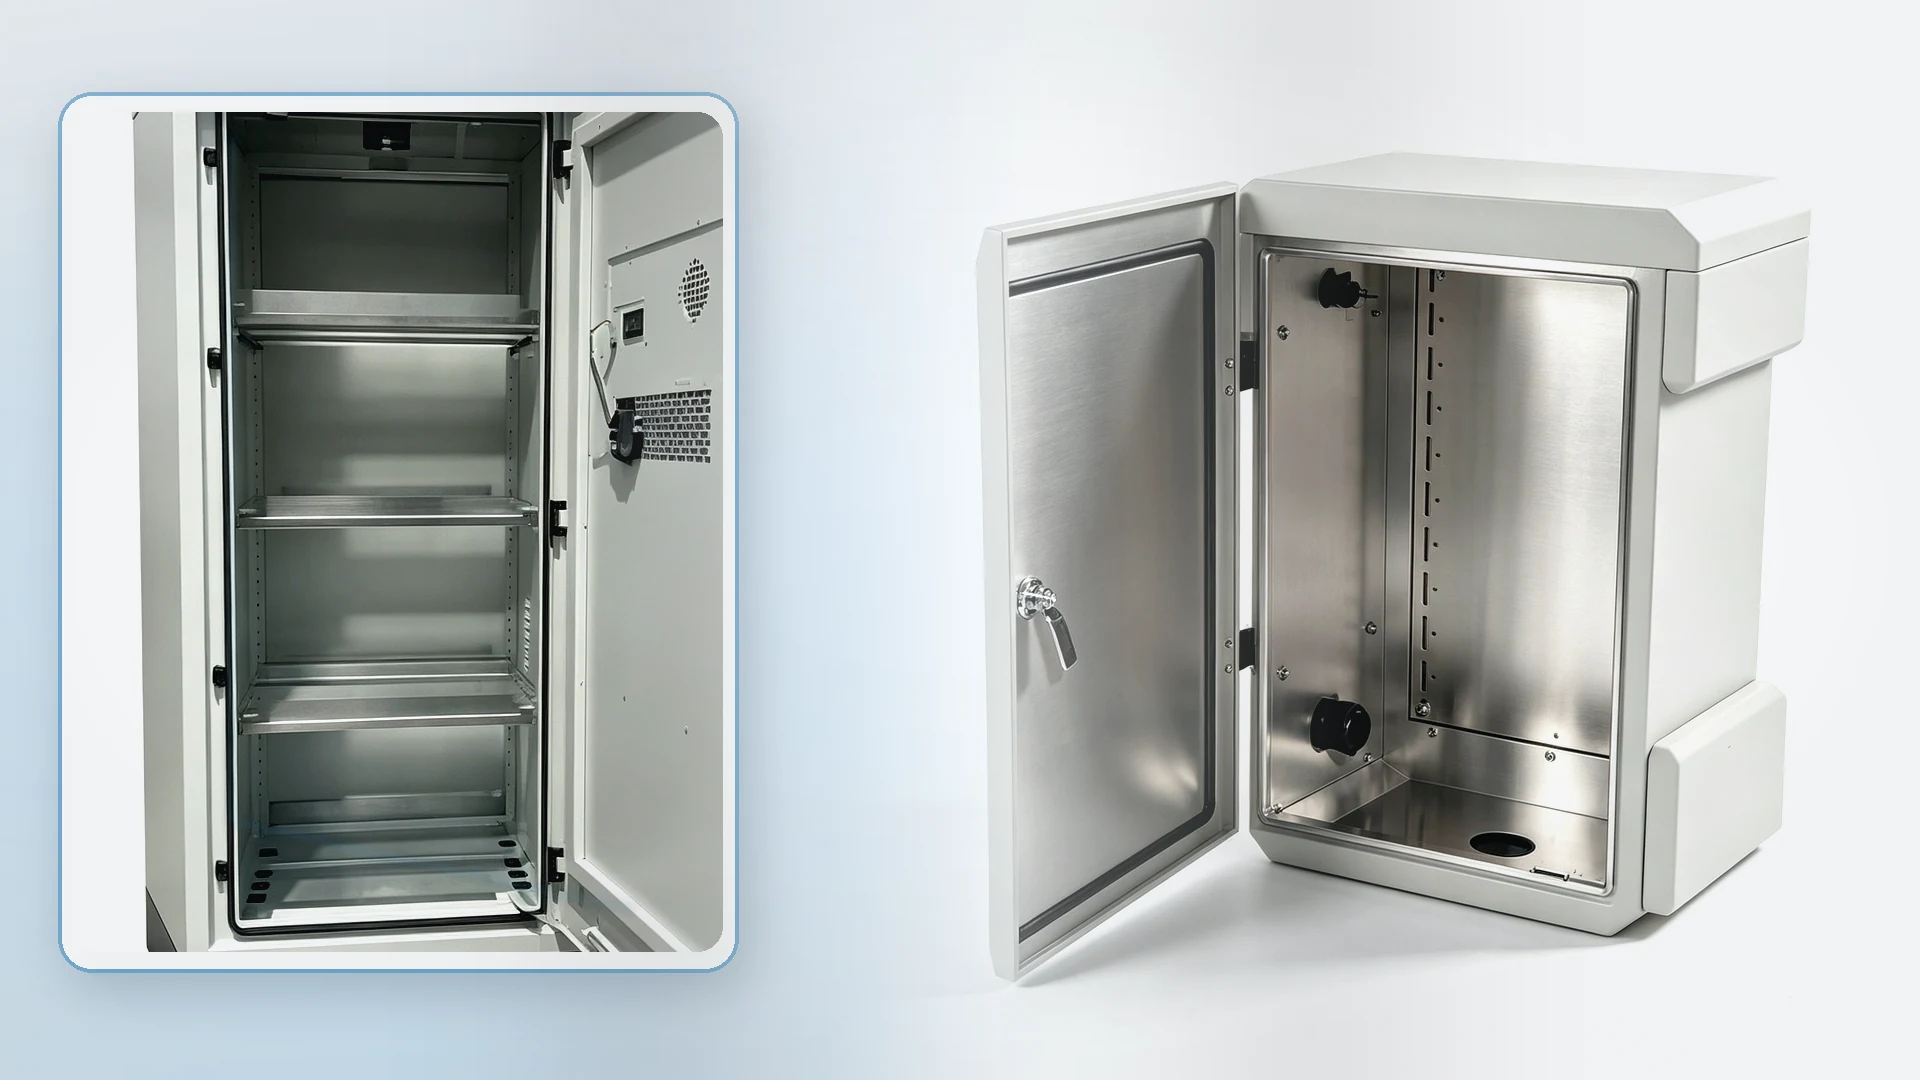

A closed latch does not tell you whether the foam gasket is compressed evenly. The seal may be tight beside the latch and barely touching at a corner. Heat, aging or a shift in door alignment can also reduce contact pressure after the enclosure has entered service.
For foam gaskets in electrical enclosures, check the closed-door gap, the gasket’s working compression range and the hardware that holds the door against it. If the cabinet is already wet, locate the moisture source before choosing a replacement seal.
- An enclosure is already wet: start with leakage diagnosis.
- You are specifying a new enclosure: start with door gap and compression.

1. Is the moisture coming through the door seal?
Water at the bottom of a cabinet does not identify where it entered. Look for a trail from the door seam, cable entries, windows, vents or field-added cutouts. Record when the moisture appears: after rain, cleaning, a shutdown or a temperature change.
Condensation can form inside the enclosure when an internal surface falls below the dew point of the air around it. Moist air may already be inside, even when there is no visible rainwater path. Leakage and condensation can also occur together.
If the trail leads toward a gland or gland plate, use the cable-entry sealing guide. If the source remains unclear, follow the condensation diagnosis guide before changing the door seal.
Arrange internal inspection with qualified personnel and the equipment safely isolated.
2. Check compression and the closed-door gap
Compression describes how far the gasket is squeezed when the door closes:
Compression (%) = (free gasket height − compressed height) ÷ free gasket height × 100
For example, a gasket with a free height of 10 mm compressed to 6 mm is squeezed by 4 mm:
(10 − 6) ÷ 10 × 100 = 40%
This example explains the calculation; 40% is not a universal compression target or an FN product specification. Use the working range for the selected gasket grade and confirm it against the assembled door geometry.
Too little compression can leave a leak path. Excessive compression can increase closing force, deform a flexible door or damage the foam. A thicker or softer gasket is therefore not an automatic improvement.
Check the gap at the sealing path around the perimeter, including the corners and the spans between latches. A measurement beside the lock cannot describe the whole door. Review the gasket-height tolerance alongside flange flatness, coating thickness, hinge clearance and latch grip range.
For a new design, check both ends of the tolerance range: the largest gap must still compress the gasket sufficiently, and the smallest gap must not over-compress it. For an existing enclosure, compare contact marks around the perimeter and record local gaps. Contact marks help locate uneven compression; they do not verify an ingress-protection rating.

3. Check hinges, latches and door stiffness
If the seal is heavily compressed beside a latch but lightly marked halfway along the door, inspect the unsupported span and door stiffness. If contact is weak along the hinge side, check alignment, clearance and sag before increasing latch pressure.
Inspect the door in its installed configuration. Windows, HMI cutouts and other accessories can change its stiffness or weight. Transport damage and mounting distortion also belong in the review, especially when a door fitted correctly before shipment.
Check whether:
- The latch engages within its intended grip range and pulls the door toward the sealing face.
- Compression remains reasonably even between latch points and around the corners.
- The hinges hold the door in alignment without rubbing or cutting the gasket.
- The sealing flange is flat and the door closes without visible bowing.
Depending on the finding, the design may need a different latch position, a compression latch, additional support or a stiffer door return. Adding latch force to a bowed door can leave the original gap unresolved.
If the review changes the door, reinforcement or accessory openings, include those details in the custom electrical enclosure drawing review.

4. Understand compression set and aging
Compression set is the thickness a gasket fails to recover after compression and a defined recovery period. Stress relaxation is a reduction in compressive force while the gasket remains held at a fixed deformation. A seal can still appear to touch the frame while pressing against it with less force.
For an enclosure that sealed initially and later developed a leak, inspect the gasket for flattening, cracking, hardening or adhesive lift. Also check whether the door or hardware has moved. An aged gasket and a misaligned door can produce similar symptoms, and both may need attention.
When comparing material data, check the test conditions as well as the reported value. Temperature, compression duration and recovery conditions affect what a compression-set result tells you. Ask which data apply to the proposed grade and service environment.
For material-test terminology, see ISO 815-1 and, for flexible cellular rubber, ASTM D1056. Confirm the applicable method for the selected material. These references do not set a universal installation compression or demonstrate the protection rating of a finished enclosure.

5. Choose gasket format and material for the environment
Choose the manufacturing format around the sealing path, production quantity and replacement needs. Then check the material grade against the actual exposure. Neither the process name nor the material family establishes service life.
FIPFG, die-cut, strip or molded gasket?
| Format | What to check before approval |
|---|---|
| Formed-in-place foam gasket (FIPFG) | Bead height and width, corner continuity, dispensing consistency, curing and adhesion to the coated surface. A continuous path still needs the correct compression after assembly. |
| Die-cut gasket | Fit to the sealing face, thickness tolerance and any joints required by the design. Check material usage and repeatability for the planned quantity. |
| Adhesive strip | Placement, corner joints, stretching during installation and bond quality. Confirm how the strip can be replaced without leaving a poor sealing surface. |
| Molded gasket | Profile fit, tooling requirements and dimensional repeatability. Consider the effect of later design changes before committing to tooling. |
FIPFG can suit repeat production and complex paths. Strip gaskets can be practical for small batches or replacement work. Either can leak if the corners, bond or closed-door gap are poorly controlled.

Match the grade to the exposure
Start with the expected temperature at the gasket, including heat from sunlight and internal equipment. Record moisture exposure and whether oils, cleaning chemicals, salt or ozone are present. Note how often the door opens and whether the seal is exposed to rubbing or damage during maintenance.
EPDM and silicone foams are candidates for outdoor sealing, but their suitability depends on the grade and operating conditions. Polyurethane systems used for FIPFG also need evidence for the intended moisture, aging and compression conditions. For neoprene or blended foams, check the supplier’s chemical and temperature limits. A solid rubber profile may require more closing force than the door and hardware can provide.
For outdoor electrical enclosures, review rain exposure and the door-edge geometry together. A material change cannot correct a flange that holds water or a poorly sealed cable entry.
The bonding surface needs attention too. Check for oil, dust, coating defects and corner lift. Use the selected gasket system’s preparation and curing instructions, then inspect the installed path for gaps, displaced sections or rolling as the door closes.

6. Diagnose leakage by location
Use the location to choose the next inspection point. The possible causes below are starting points, not confirmed diagnoses. If there is no clear entry trail, return to the moisture-source check.
| What you see | Observe or record first | Possible cause | Next step |
|---|---|---|---|
| Water near the lower edge | Trace the trail upward; photograph bottom corners and nearby entries. | A door gap, corner joint, entry leak or water retained at the flange. | Follow the trail before adjusting bottom-edge compression. |
| A dust track along the seal | Compare the track with contact marks and local gasket condition. | Uneven compression, poor recovery or a gap that opens in service. | Check the local gap and hardware against an unaffected section. |
| Moisture on the hinge side | Compare hinge-side and latch-side contact; record sag or rubbing. | Misalignment, excessive clearance, worn hardware or local gasket damage. | Review the hinge geometry before tightening the latch further. |
| Leakage at a corner | Photograph the joint, bead profile, bond and contact mark. | A discontinuity, lifted strip, uneven bead or insufficient compression. | Check corner formation and the assembled gap together. |
| A bowed or distorted door | Record where contact is weak and whether closing the latch bends the door. | Insufficient stiffness, excessive gasket force or installation/transport distortion. | Review the door and hardware before increasing gasket thickness. |
Photograph the condition before cleaning or adjustment where it is safe to do so. Keep observations separate from explanations: “light contact at the upper hinge corner” is more useful than “bad foam” when the cause is still unknown.
After a correction, inspect the complete sealing path and agree on the verification needed for that enclosure configuration. Replacing a gasket does not, by itself, demonstrate that an IP rating or NEMA Type has been restored. A project-specific spray check or visual inspection should be described as such, not presented as third-party certification.

7. Record the door and gasket details for review
Start with photos and the observed problem. You do not need every measurement before making the first inquiry; mark unavailable details as “unknown” and add them during drawing or sample review.
Use the same record for the RFQ, drawing review and production inspection so the agreed configuration stays traceable.
| Record item | Details to enter |
|---|---|
| Enclosure and door | Project/model: ___; door size: ___; material/finish: ___; photo or drawing reference: ___ |
| Symptom and timing | First noticed: ___; exact location: ___; after rain, cleaning, shutdown or other event: ___ |
| Gasket and sealing path | Grade/profile if known: ___; free height/width: ___; path and corner photos: ___; joints or damage: ___ |
| Closed-door gap | Measurement locations and values: ___; contact-mark photos: ___; unmeasured areas: ___ |
| Hardware and door condition | Latch/hinge locations: ___; sag, rubbing or bowing: ___; door-mounted accessories: ___ |
| Service environment | Temperature: ___; sunlight/rain: ___; oils, cleaners, salt or other exposure: ___; opening frequency: ___ |
| Entries and installation | Cable glands, gland plates, vents and cutouts: ___; field modifications: ___; mounting or transport damage: ___ |
| Required protection and verification | Project requirement: ___; relevant configuration/test evidence: ___; proposed inspection or testing: ___ |
Before production approval, ask the supplier to identify the selected material grade and working compression range, then explain how the assembly keeps within that range. Agree on the checks for bead or strip dimensions, corner continuity, adhesion, closing behavior and alignment after packaging.
A first-article review can use this record to capture measured gaps and close-up photos. Where sealing tests are required, define the method and acceptance criteria for the project rather than treating routine QC as certification.

FAQ
What is compression set in a foam gasket?
Compression set is the thickness a gasket fails to recover after compression and a defined recovery period. Compare results under the stated test conditions for the selected material grade.
Why does an enclosure gasket leak after working at first?
The gasket may have flattened, aged or lost adhesion, or the door and hardware may have shifted. Trace the moisture path and compare contact around the perimeter before choosing a replacement. If there is no clear entry trail, check for condensation.
Is a softer gasket always better?
No. Softness affects closing force, but it does not establish long-term recovery or sealing performance. Match the selected grade to the door gap, available closing force and service environment.
Is FIPFG better than a strip gasket?
Not automatically. FIPFG can provide a continuous dispensed path, while strip gaskets can be practical for small batches or replacement work. Check the corners, adhesion, dimensions and compression after assembly for either format.
How do I choose a foam gasket for an outdoor electrical enclosure?
Start with the door gap and hardware layout, then record temperature, sunlight, rain, cleaning chemicals and opening frequency. Use grade-specific material data, and review cable entries and drainage alongside the door seal.
Can a gasket restore a poor door design?
A warped door, uneven flange or poorly positioned latch can leave local gaps. Review the mechanical mismatch together with the gasket. Replacing the seal alone does not demonstrate that the enclosure’s protection rating has been restored.
What should I send for gasket selection?
Start with a door photo or drawing, the installation environment and photos of leakage or contact marks. Include the protection requirement if known. Add gap measurements, the gasket profile and hardware layout as they become available; mark missing details as unknown.
Discuss your door and gasket layout
Send a door photo or drawing, the installation environment and any leakage or contact-mark photos through the FN enclosure inquiry form. Include the protection requirement if known. Add the remaining measurements as they become available, so the review can address the gasket together with the door, hardware and cable entries.