

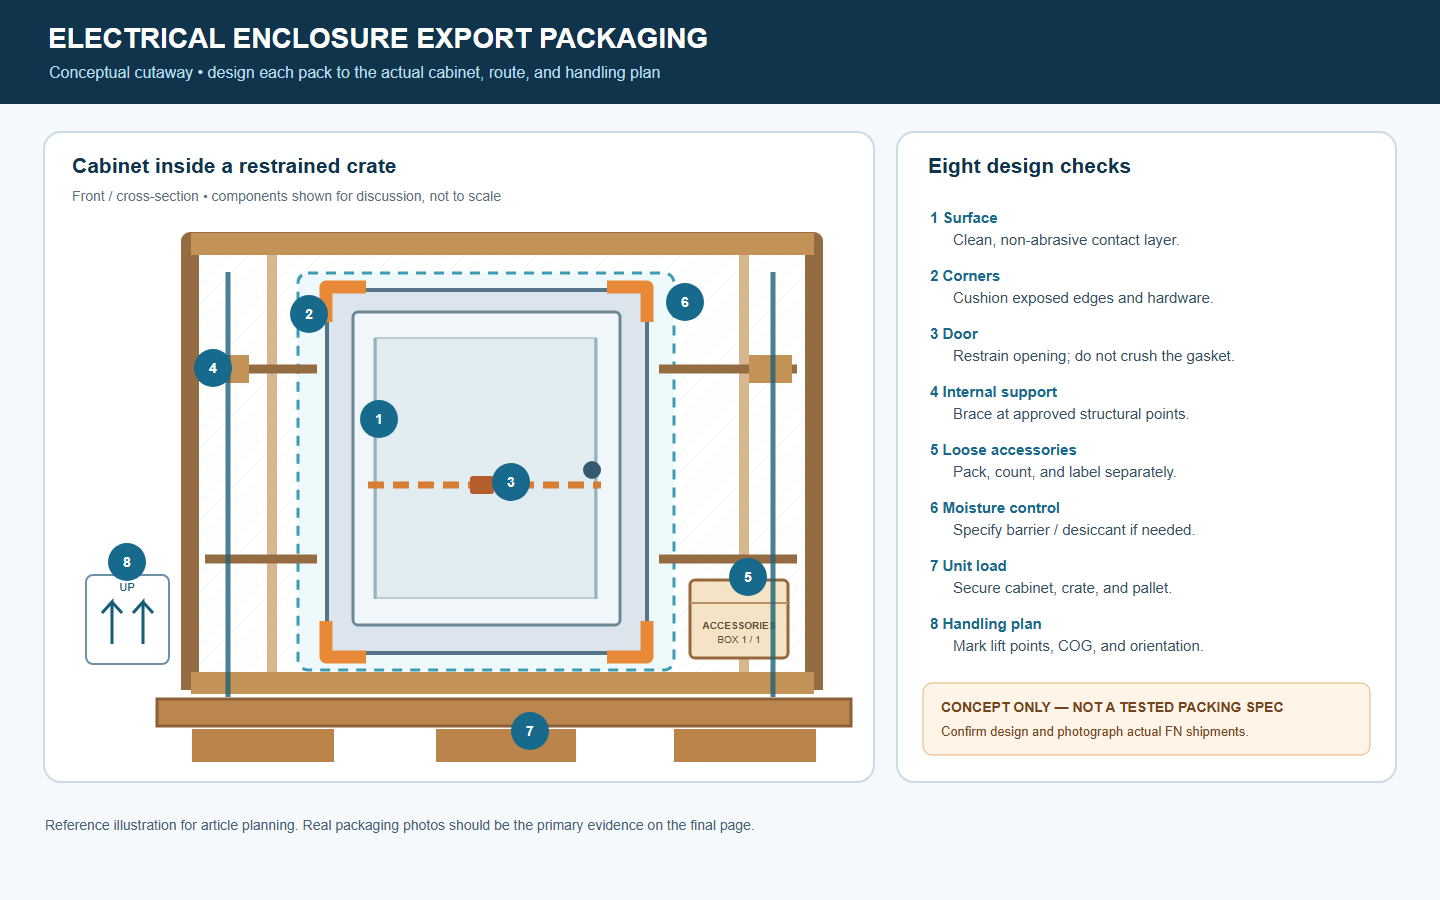
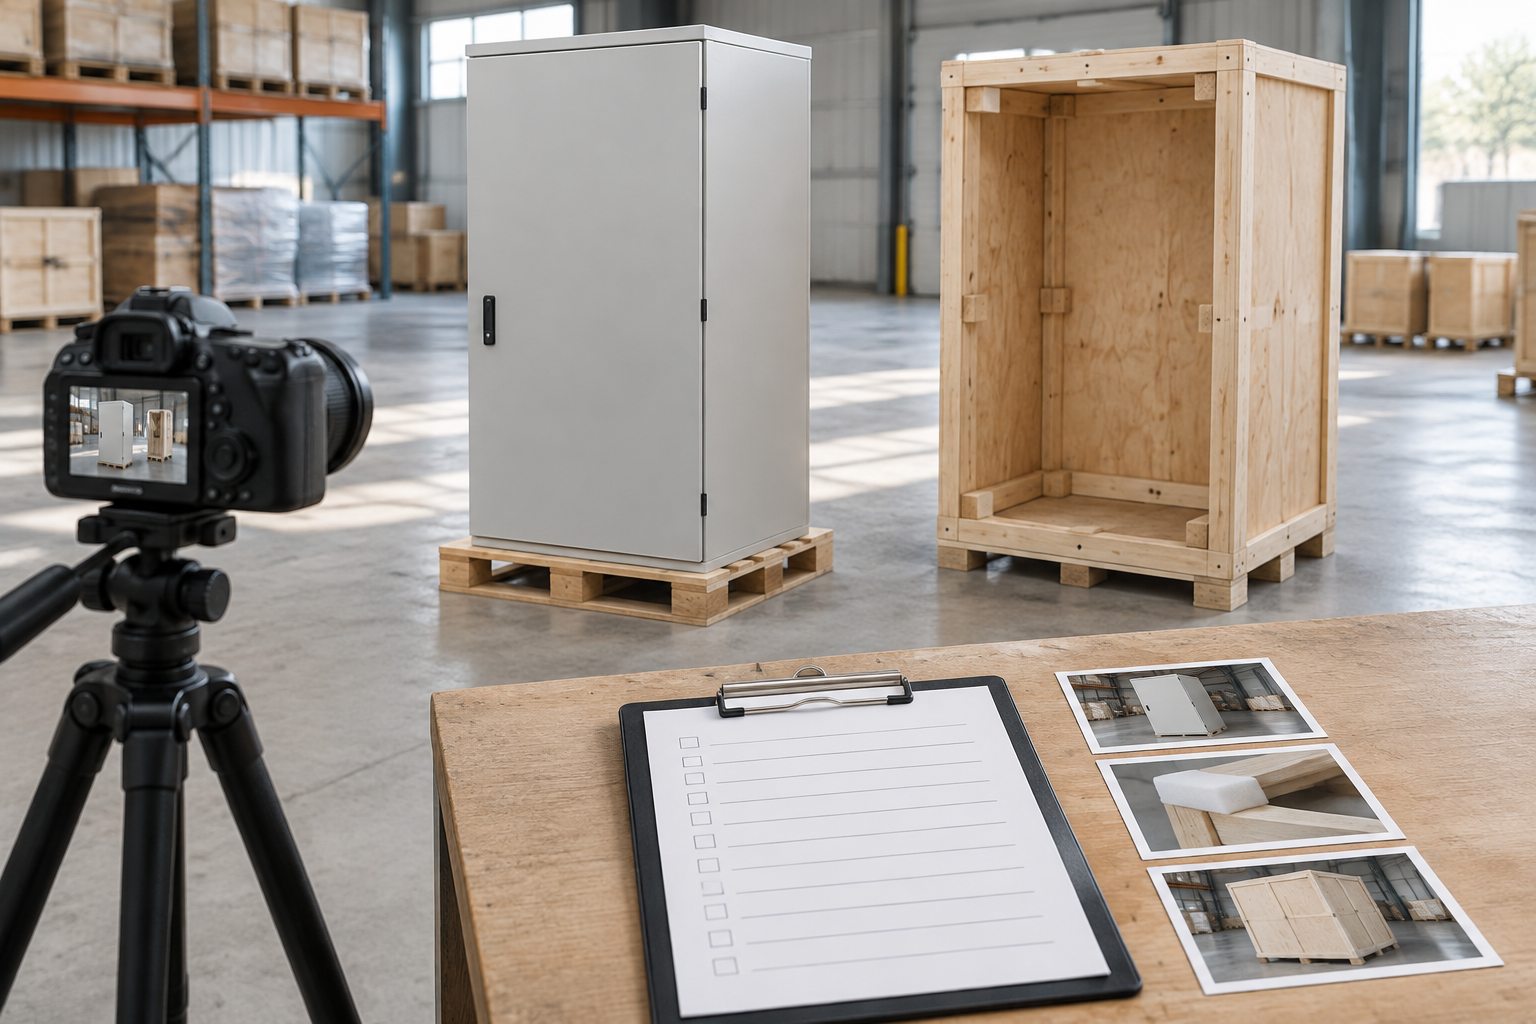
A cabinet can leave the factory in good condition and reach the site with a bent door, a scraped finish, or a missing hardware bag. Secure what can move, protect the points that can take a hit, and choose a base the unloading team can handle. Electrical enclosure export packaging also needs a paper trail. Photograph the cabinet and pack before dispatch, then give the receiving team the images and a numbered packing list to check what arrived.
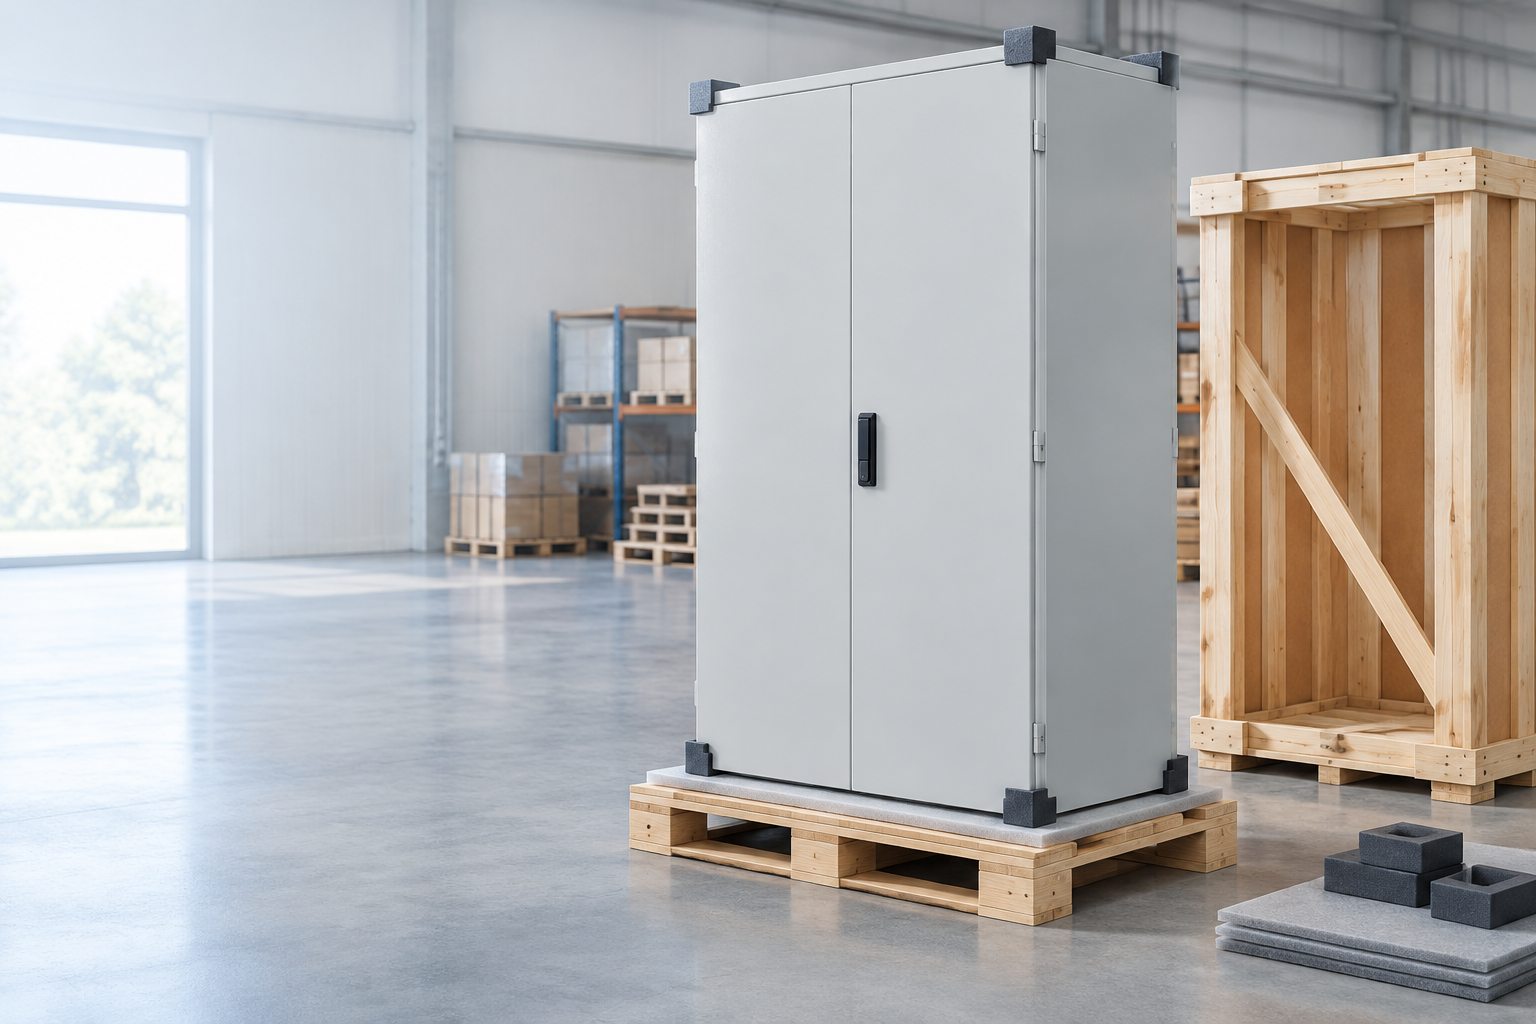
All 13 new images are AI-generated educational renderings, not FN factory photos, actual shipments, or load-tested packaging designs. Confirm materials and restraint points for each order.
Where can a cabinet be damaged in transit?
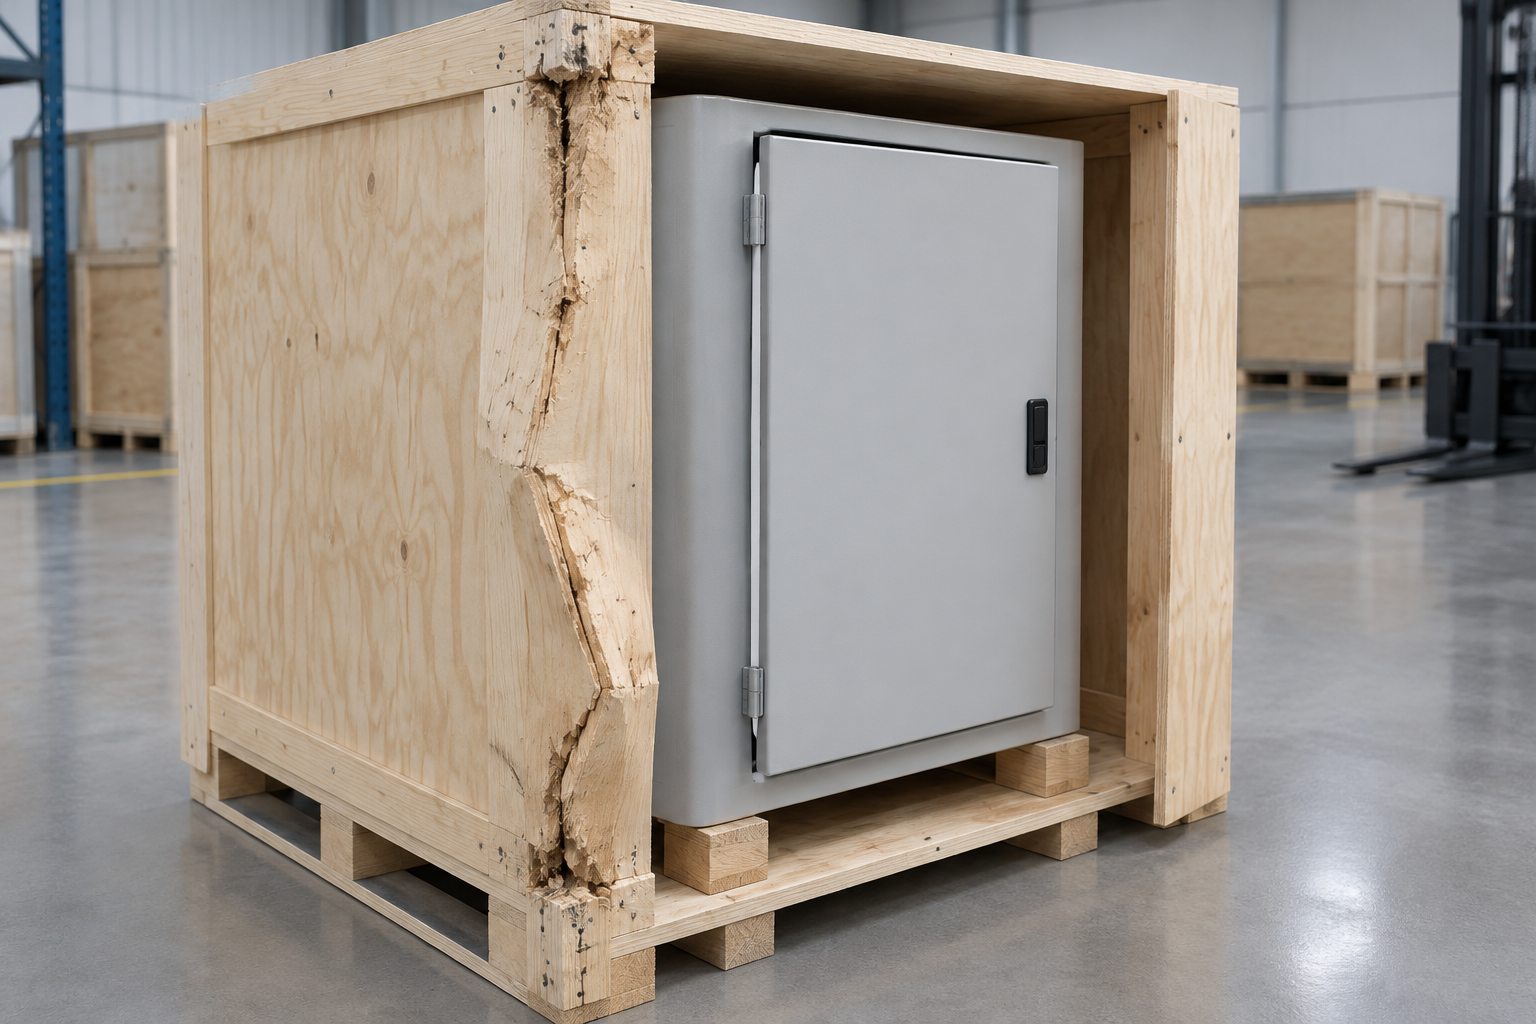
Picture a fork entering from the wrong side of a pallet. The base twists; the cabinet shifts; a crate brace pushes against the door instead of the frame. Nothing may look wrong until someone tries the latch. On another shipment, a bag of loose fasteners rubs a line into the powder coat while the cabinet vibrates in transit.
Those failures call for different controls. An enclosure’s environmental rating tells you about its intended use under defined conditions. It does not specify how to restrain a tall cabinet on a truck or how to lift its shipping base. Schneider Electric’s handling and transport guide specifically draws attention to cabinet weight, volume, and a high center of gravity. Its instructions apply to the products named in the guide; use the lesson to ask for a handling plan for your actual cabinet.
Confirm what is shipping before you choose the packaging
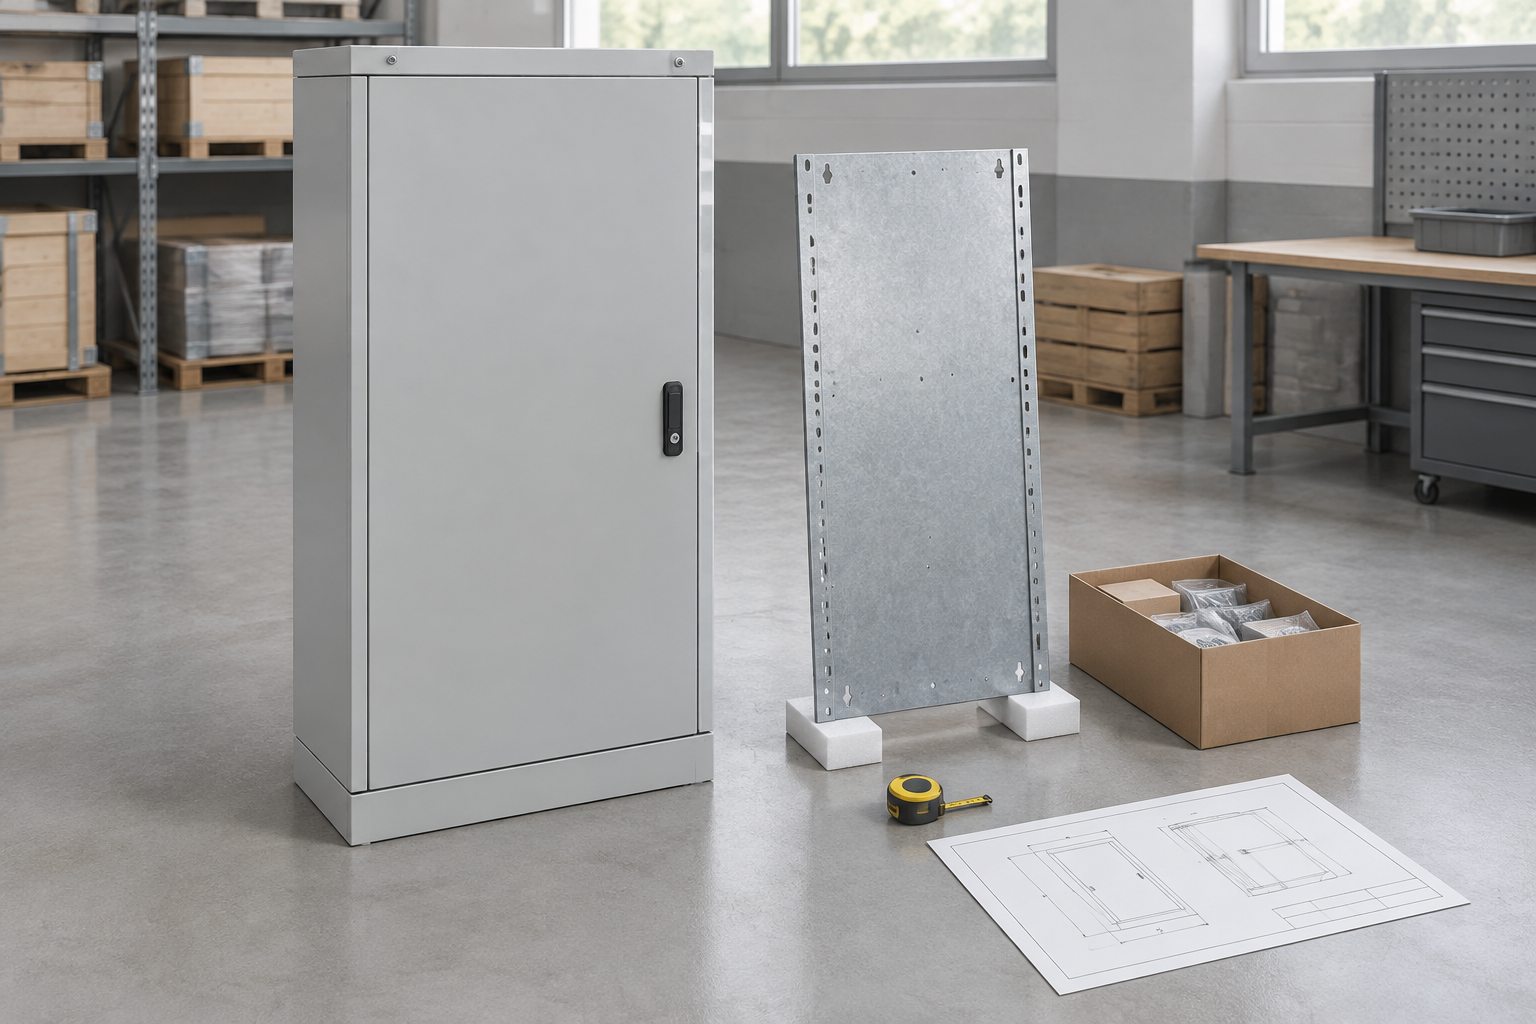
Ask for the approved drawing revision and the as-shipped configuration. Is this an empty enclosure, a cabinet with a mounting plate, or a populated control cabinet? A detached door or loose mounting plate needs its own protection. A fitted transformer, instrument, window, or projecting handle changes both the clearance inside a crate and what may need temporary restraint.
Record the cabinet’s dimensions, packed weight, base fixing points, permitted lifting points, and any known center-of-gravity concern. Then check the route: road, air, or sea; expected transfers; storage exposure; and the equipment available at unloading. If the receiving site has only a forklift, a design that assumes an overhead crane is a poor handoff. Agree on whether the pack may be stacked rather than letting the warehouse guess.
This is worth settling while the enclosure is being configured. If a door-mounted component, removable plate, or split shipment affects the pack, capture it with the custom enclosure requirements instead of adding it after fabrication.
Protect the cabinet where contact and movement occur
Finish, edges, windows, and projecting hardware
Take clear baseline photos of all four sides before wrapping. Put a clean, non-abrasive layer between the finish and any foam, strap, board, or shrink film that might move against it. Keep adhesive tape off coated faces unless that exact tape and finish have been approved together. A corner pad should take a strike before the cabinet corner does; it should not force the crate wall into the door edge.
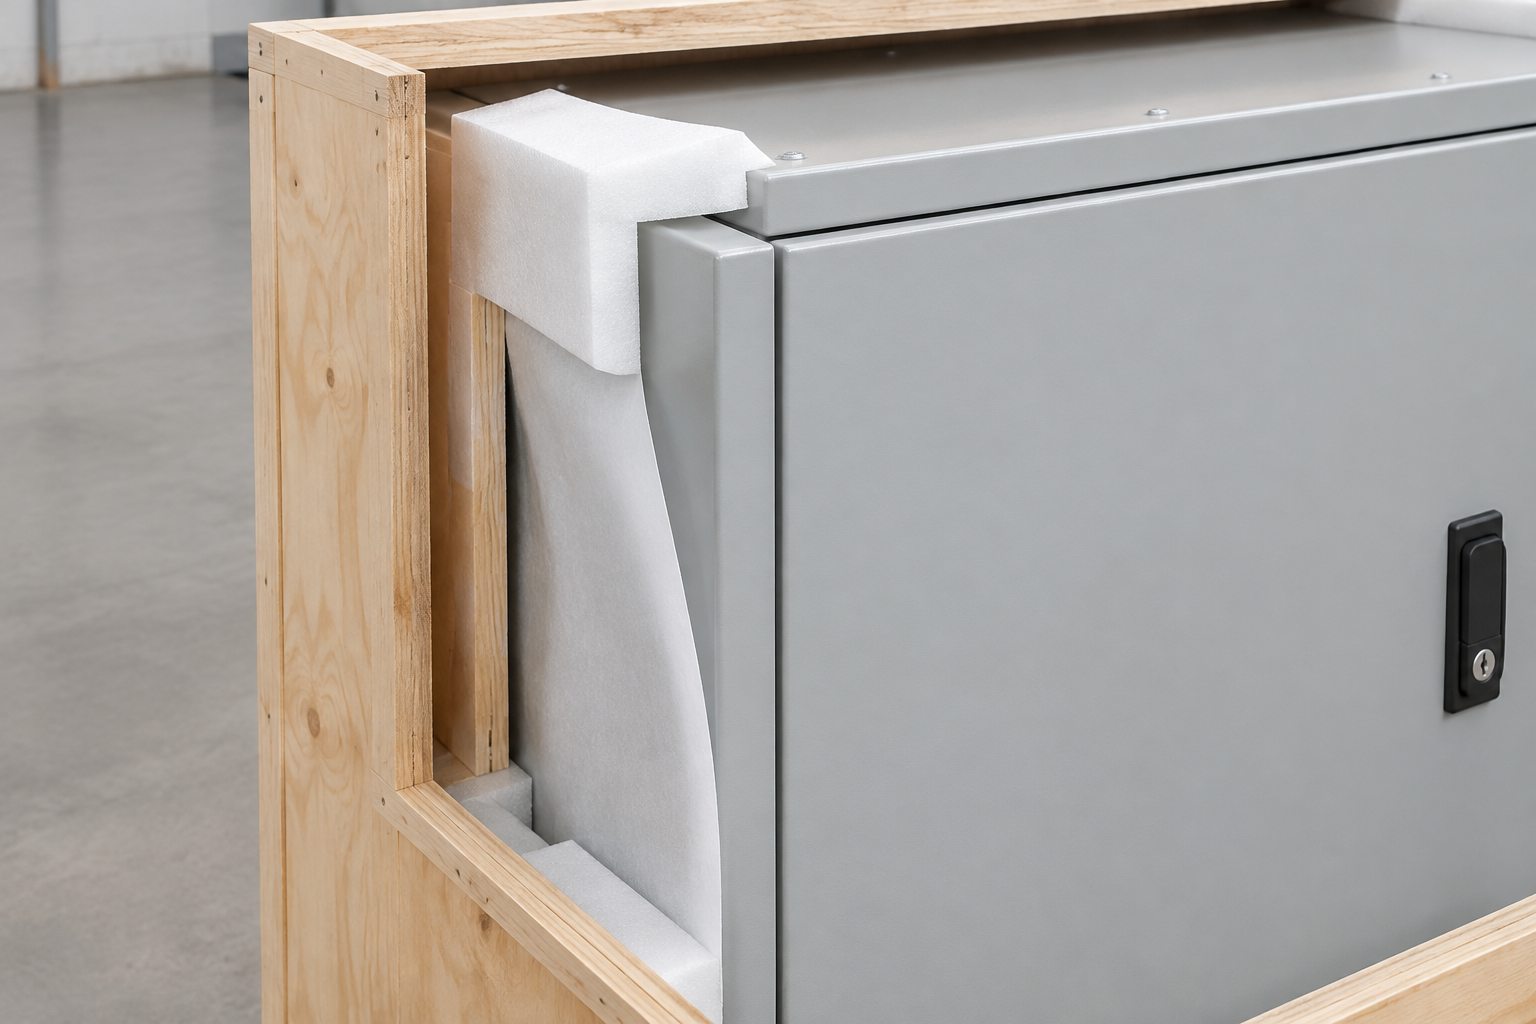
Give a window, latch, display, or protruding handle clearance of its own. If the crate or cushioning contacts a handle first, extra padding elsewhere will not solve the problem. Photograph these areas again once the contact points are in place.
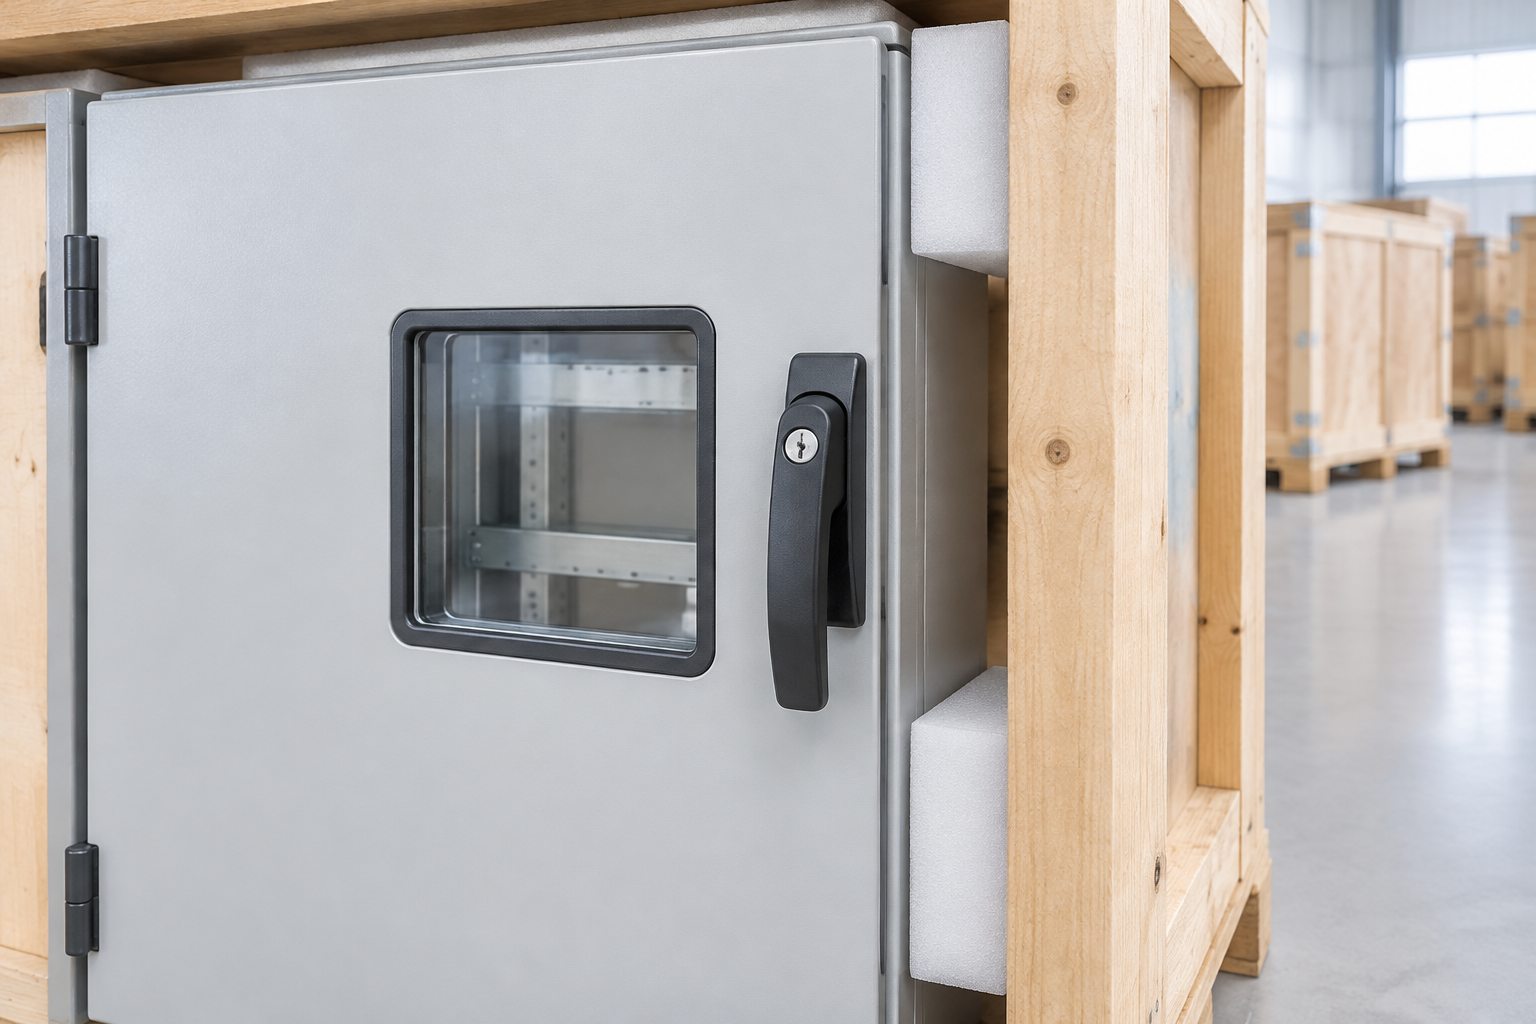
Doors, locks, and gaskets
Close and latch the door in its intended shipping position. Where vibration or handling could make it swing, agree on a removable restraint with the enclosure or panel builder and identify it for removal at the destination. Do not route a tensioned strap across a thin door face or use the gasket as a packing stop. Before closing the pack, photograph the door gaps, latch, hinges, and restraint. Those details help a receiver distinguish a transport shift from the condition at dispatch.
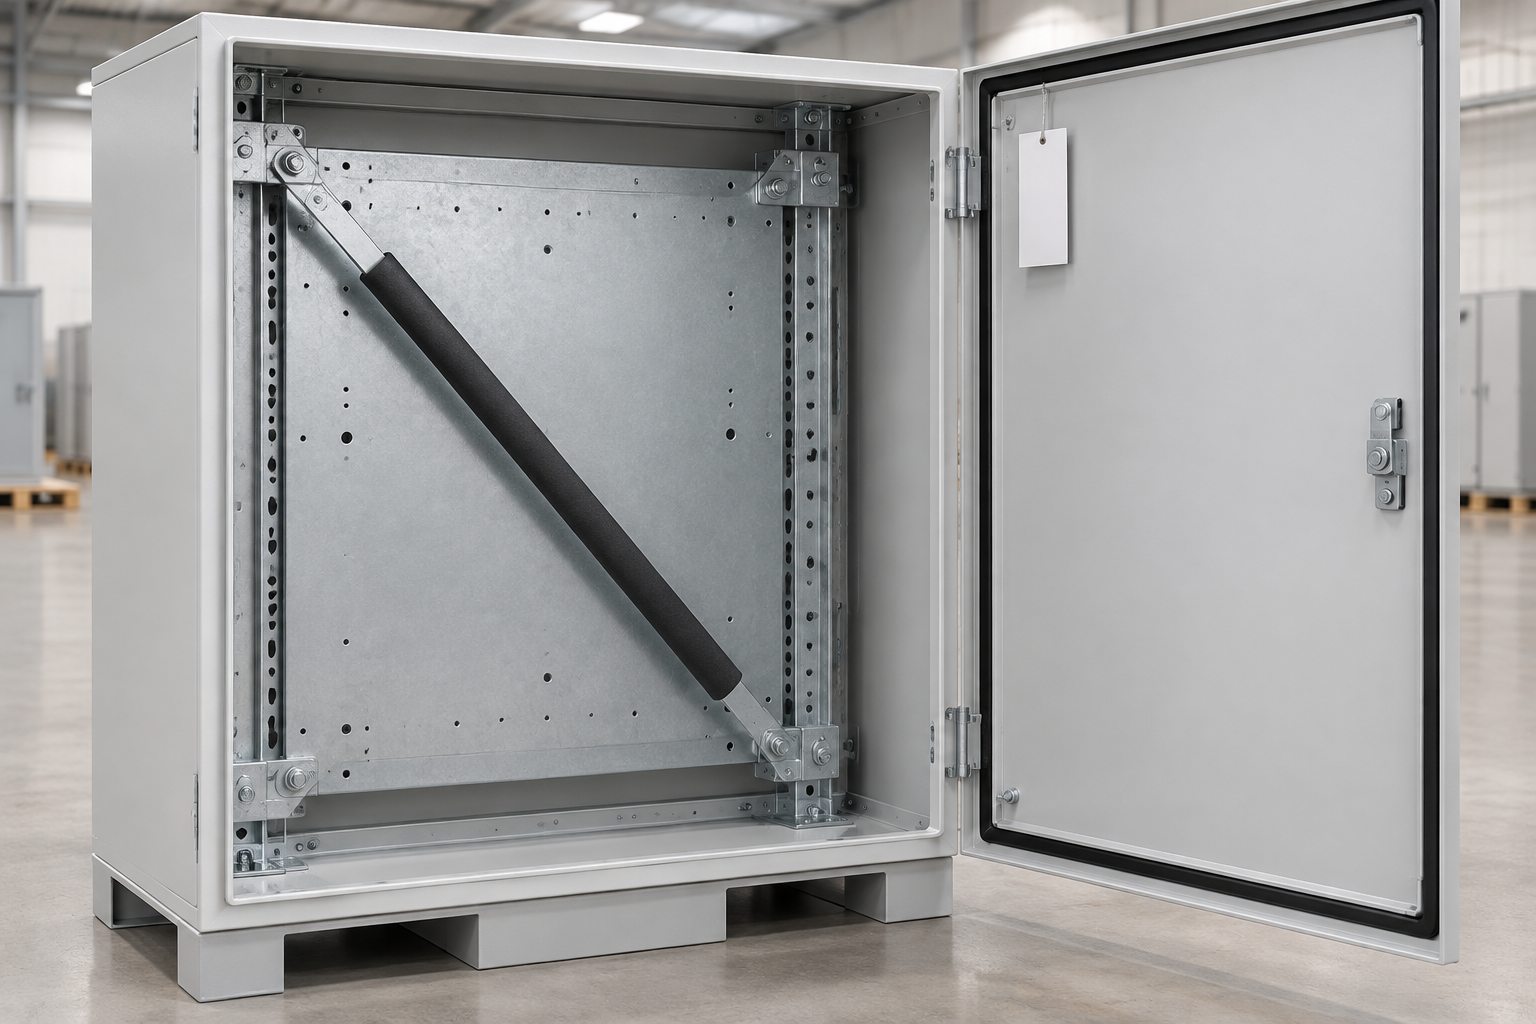
Mounting plates, fitted parts, and loose accessories
Check whether heavy or cantilevered parts can move inside the cabinet. If temporary internal support is needed, have the responsible builder approve its contact and fixing points. Label each temporary piece and put its removal on the unpacking sheet. A brace that survives the trip but catches a cable or stays inside at commissioning has created a new problem.
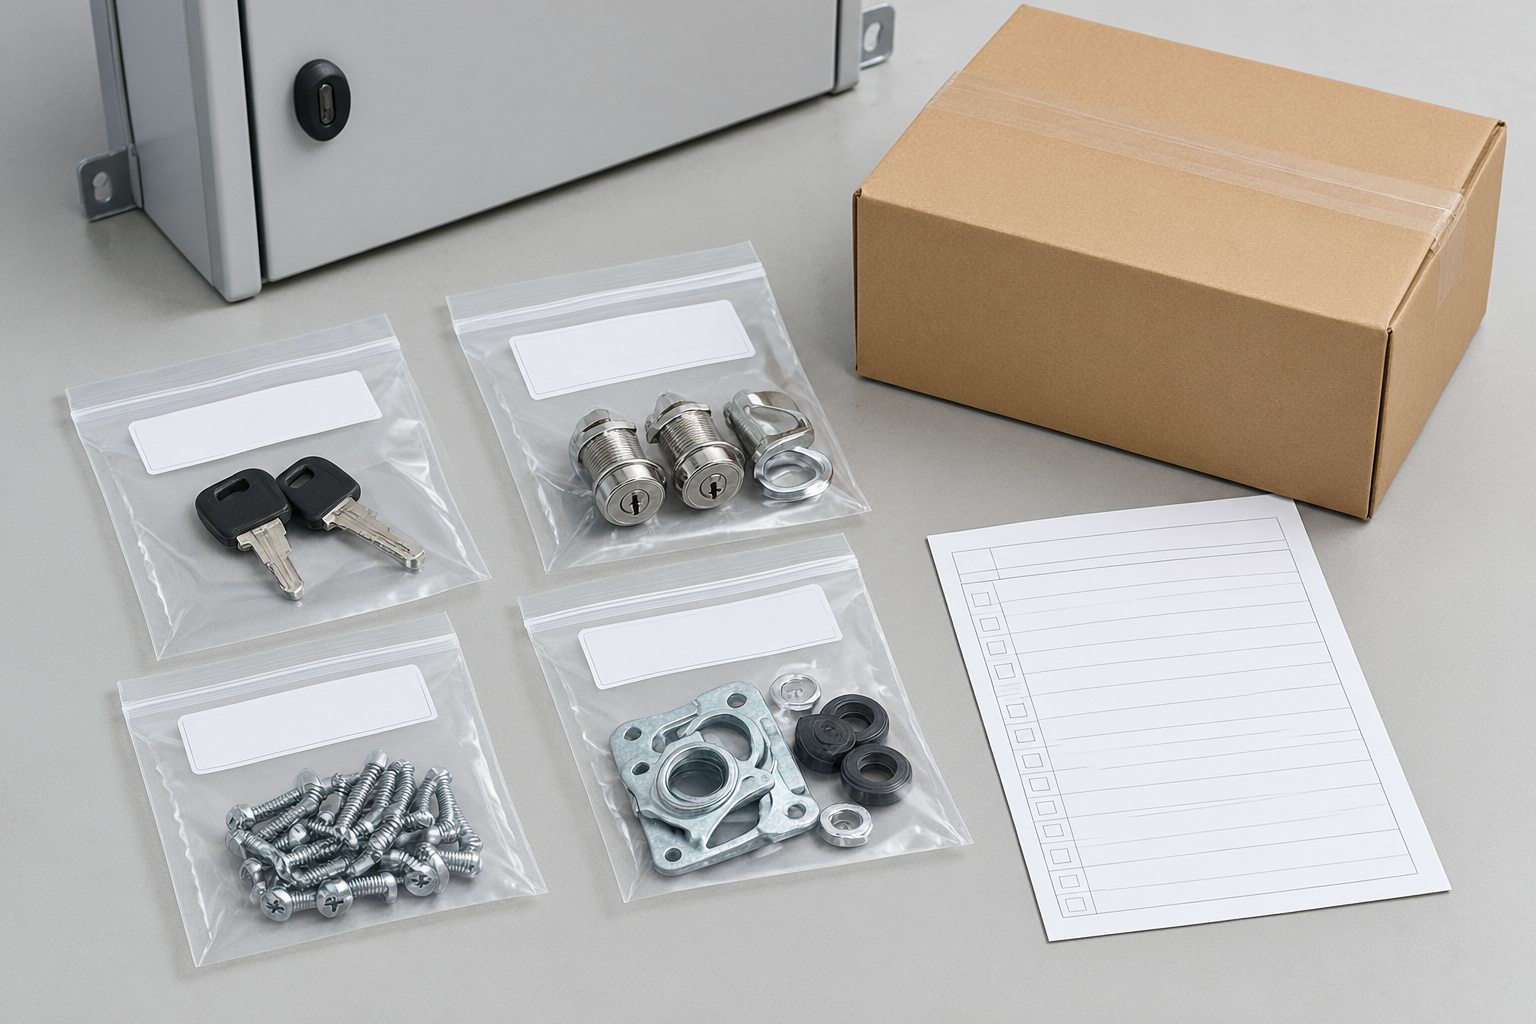
Pack detached mounting plates, spare locks, gland plates, keys, and hardware as counted items. Give each bag or carton an item reference and a box number. A closed door is not a substitute for an accessory carton: a free bolt can abrade the finish or disappear when the cabinet is opened.
Pallet, open crate, or enclosed crate?
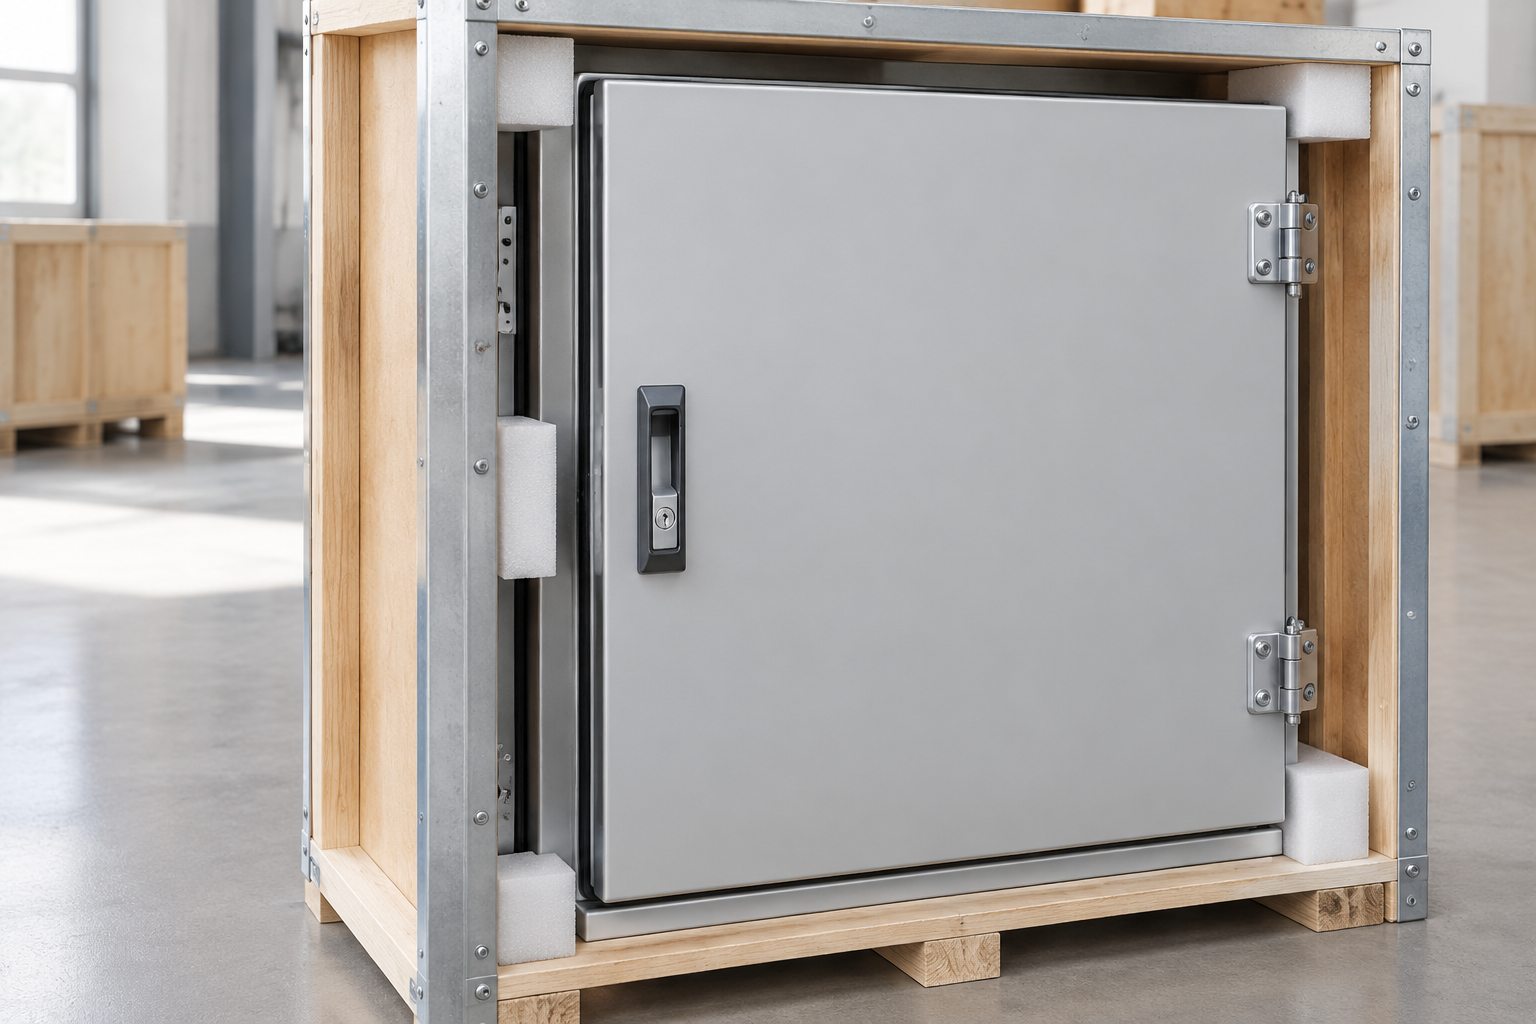
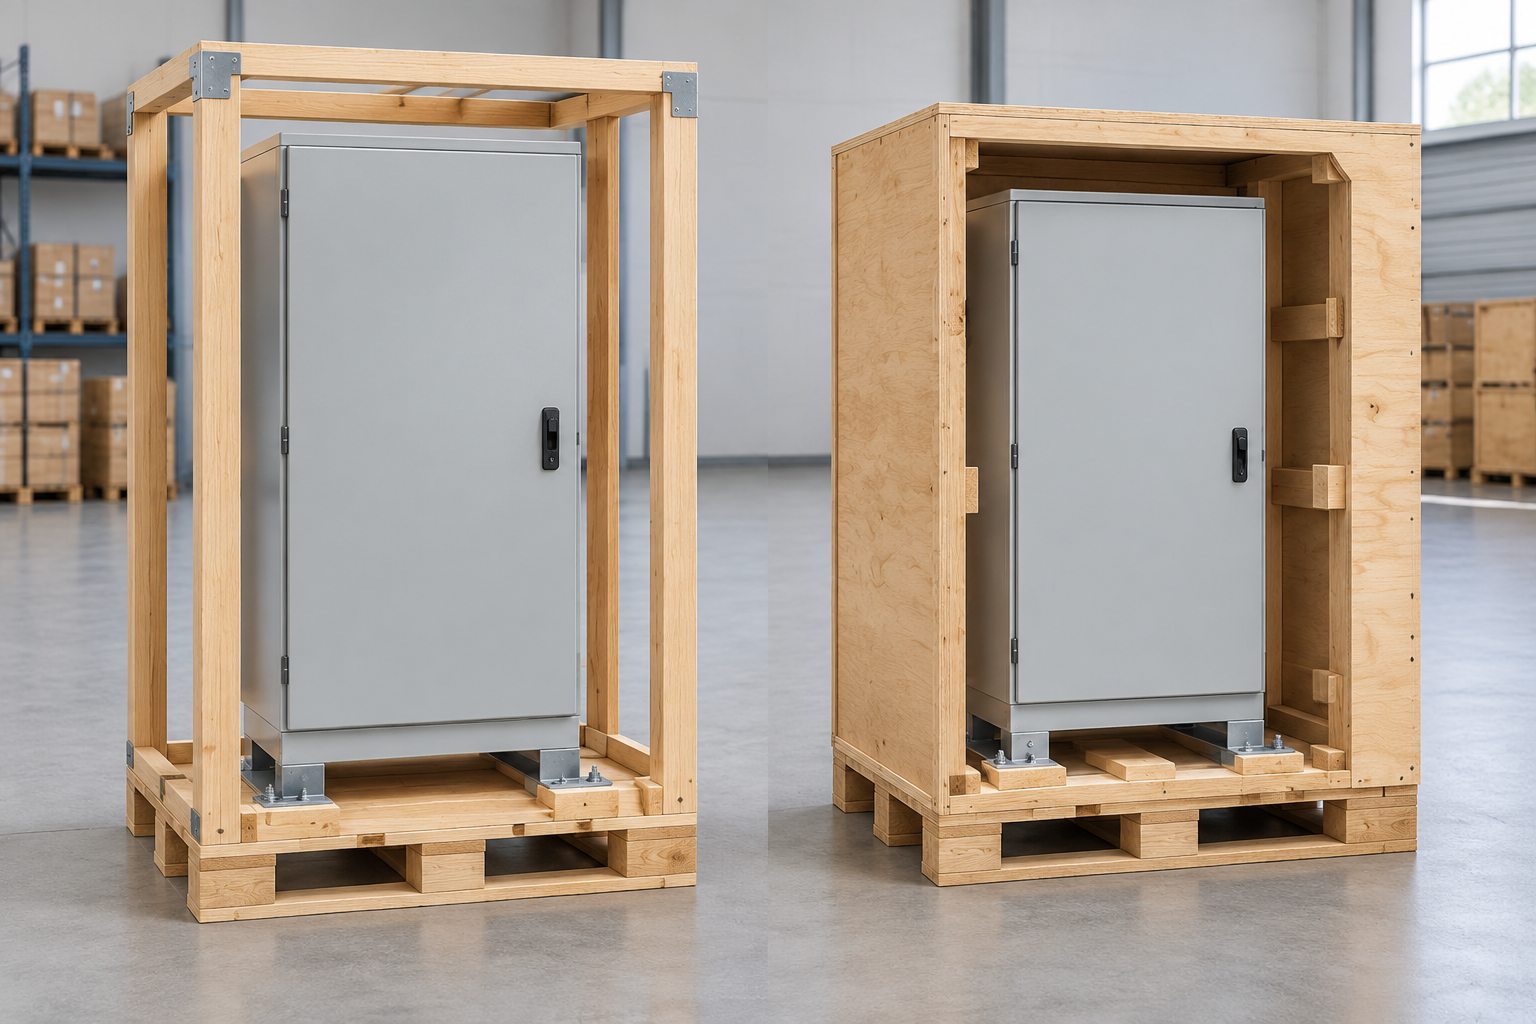
Choose the base first. It has to carry the packed cabinet through lifting and transfers without allowing the unit to slide or tip. Restraints belong on approved structural points, not on a door skin, exposed instrument, or unsupported panel. A specialist crating provider describes blocking and bracing as a way to stop movement on a base or inside a crate; loose fill alone does not perform that job.
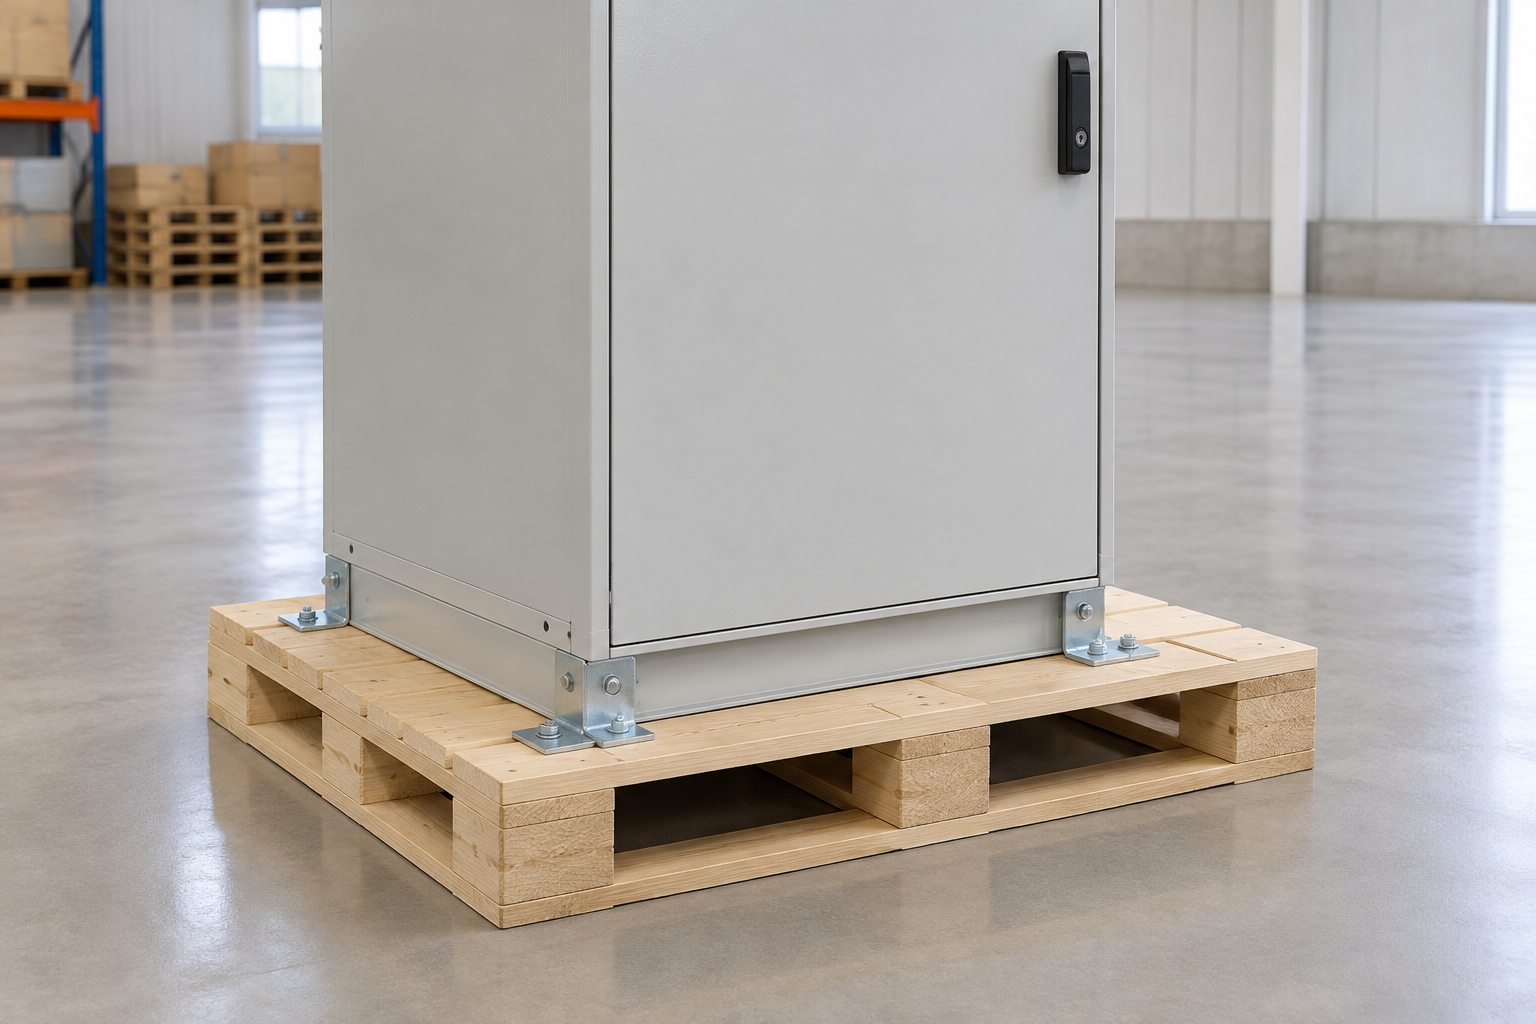
- Pallet or skid: Consider it when the cabinet can be securely fixed, the route and handling are controlled, and exposed faces can be protected adequately. Confirm the fork-entry direction and the effect of any top-heavy load.
- Open crate: Add a rigid perimeter when edge strikes and handling are the main concern, while the specified exposure does not require a closed outer shell.
- Enclosed crate: Consider it for more exposed transfers, protruding features, longer storage, or a specified inner moisture package. The enclosure still needs restraint and clearance inside the box.
For a real, third-party example, Danpol describes five electrical cabinets prepared for sea transport, each on its own wooden platform and in an individual crate. That’s a supplier account of one project, not proof that all cabinets need crates or that FN uses the same method.
Mark the approved fork pockets, lift points, gross mass, orientation, and any agreed no-stacking restriction where handlers will see them. If raw-wood pallets, braces, or crates are proposed, check the destination’s applicable wood-packaging requirements with the freight team. The IPPC’s ISPM 15 reference covers raw-wood packaging, including dunnage, while distinguishing processed materials such as plywood. Do not assume a finished plywood wall makes every raw-wood block inside the pack exempt.
Plan for moisture without sealing it in
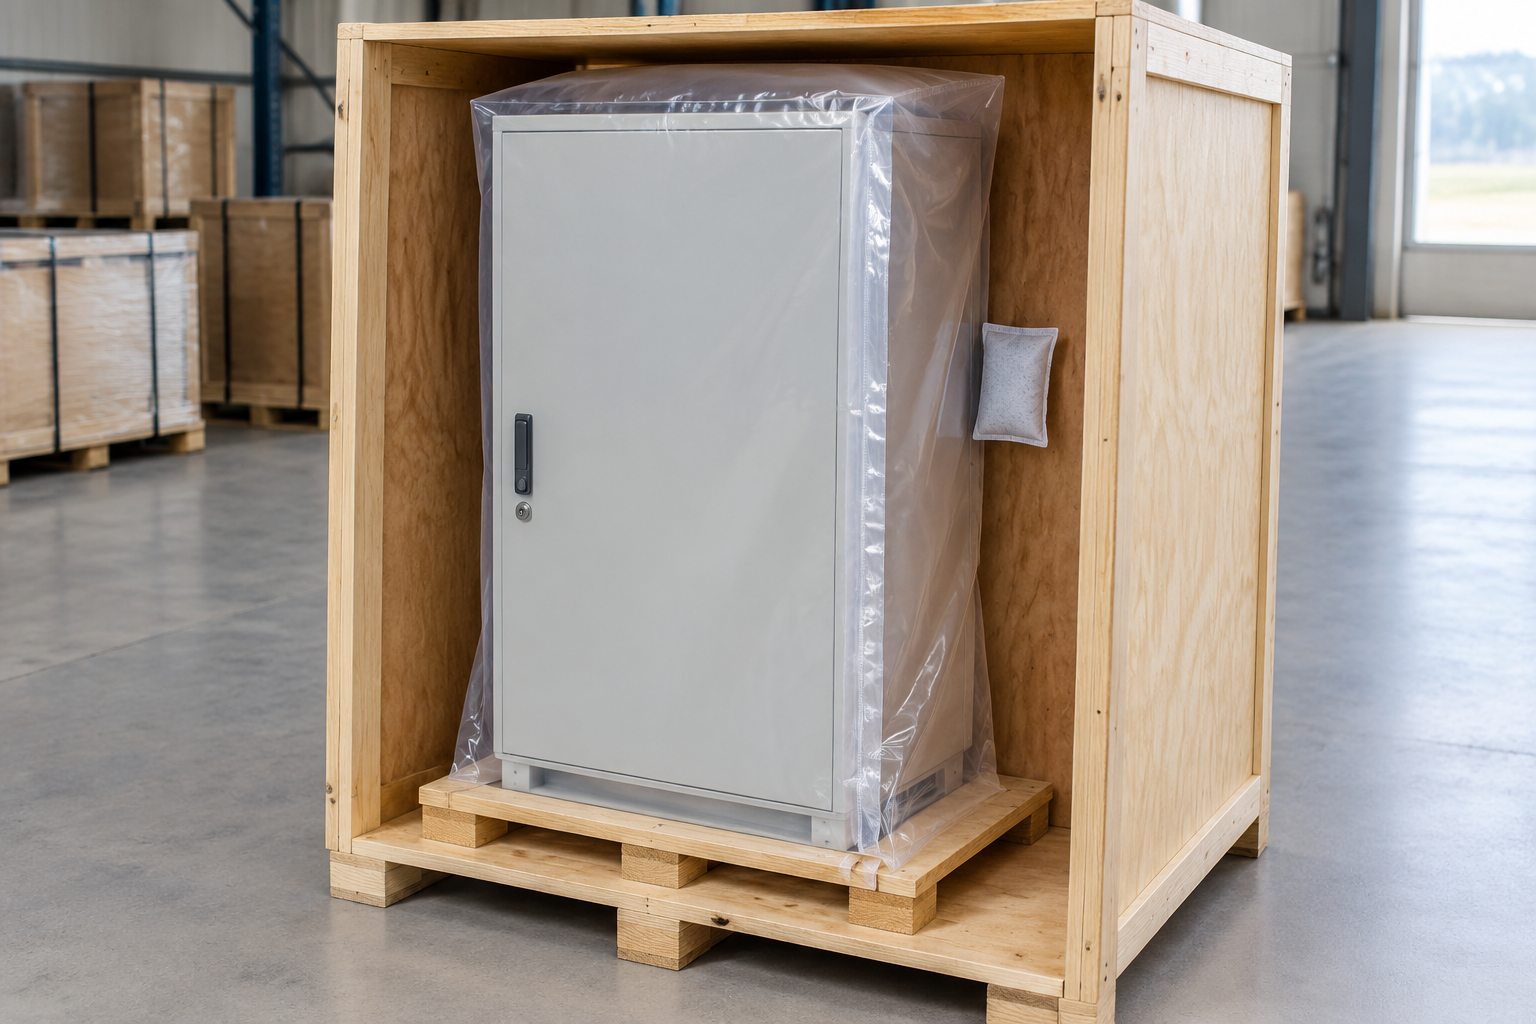
A sheet of stretch film can keep splashes off a cabinet, but it is not automatically a controlled moisture barrier. Start by checking that the cabinet, loose parts, and packing materials are dry before closing the pack. Then choose the inner protection to match the route, storage period, exposed metals, and any electronics shipped inside.
Barrier film, desiccant, and VCI are possible measures, not a shopping list for every order. Ask the packing designer what each layer protects, whether the chosen film can be sealed around the unit, where moisture absorbers sit, and whether a corrosion inhibitor is compatible with the materials and components inside. The specialist crating guide discusses vapor barriers and desiccant as product-specific options. It does not supply a universal dose or storage life for your cabinet.
If a barrier is specified, photograph the dry pack, placement of protection, and completed seal before the crate closes. At receipt, a torn barrier, water stain, or damp accessory carton deserves closer inspection even when the outer box is intact.
Shipping damage checklist: what to prevent and what to check
Use one checklist for each cabinet and outer package. Tie photos and the packing list to the same unit ID or crate number. If an item does not apply, mark it as such; an empty enclosure does not need a fictitious internal-brace photo. The receiver should have access to the dispatch images before unpacking.
| Damage risk | Preventive measure before dispatch | Dispatch evidence to save | Receiving check before discarding the pack |
|---|---|---|---|
| Finish scratched by moving wrap or hardware | Clean the surface; separate it from abrasive contact; bag loose metal parts | Four-side finish photos and close-ups of the contact layer | Check the same faces under good light; note the location of any new mark |
| Cabinet or door corner dented | Cushion exposed corners and keep the crate’s load path off the cabinet edges | Four corners before and after padding; closed-pack corners | Look for crushed outer corners, then inspect cabinet and door corners |
| Door bent or gasket compressed | Latch the door; use an approved removable restraint without loading the door skin or seal | Door gap, latch, hinge, and restraint photos | Record door gaps and latch operation; inspect gasket after opening |
| Window, lock, or handle struck | Allow clearance around protrusions; protect the component locally | Photo showing clearance and the final pack position | Check glass, handle, lock, and surrounding cutout for movement or cracks |
| Mounting plate or fitted part shifts | Verify fasteners; approve and label any removable internal support | Open-cabinet view of fixings and support/removal label | Have qualified personnel check movement and remove recorded temporary supports |
| Keys, fasteners, or detached parts missing | Bag and label by item, quantity, and crate number; use an accessory carton | Packing list beside sealed, numbered accessory packs | Count against the list before disposing of cartons and bags |
| Cabinet slides, tips, or deforms at the base | Fix it to a load-bearing base; plan restraint and fork entry for its weight and balance | Base fixings, tie-down path, full pallet view | Check tilt, loose fixings, shifted feet, and base damage before lifting again |
| Crate wall transfers an impact to the cabinet | Size the crate and internal blocking for the cabinet’s protrusions and load points | Open crate showing clearance and bracing; final closed view | Record broken boards or compression, then inspect adjacent cabinet points |
| Wrong fork or lift point used | Agree on handling equipment and mark permitted pick-up points and orientation | All handling marks and the freight handoff record | Read the marks before unloading; report missing or contradictory instructions |
| Moisture, corrosion, or wet accessories | Pack dry; specify a suitable barrier or absorber only where needed | Dry-state photos, chosen protection, and completed seal | Photograph water stains or torn film; inspect sensitive parts before use |
| Crate or accessory identity confused | Use matching unit, crate, and accessory IDs on the pack and documents | IDs, seal condition, total pack count, and loaded position | Match IDs and counts to the packing list before opening |
| Concealed damage found too late to trace | Supply the photo sequence and receiving contact with the documents | Dated sequence from bare cabinet to loaded pack, indexed by ID | Photograph the unopened pack, unpack in order, retain damaged material and notify the agreed parties |
The table is a proposed handoff tool. The approved design, packaging materials, inspection scope, and reporting responsibilities still have to be agreed for the actual order.
What should the receiving team do first?
Start before the crate moves. Compare the crate count and IDs with the shipping documents. Photograph every side of the unopened pack, particularly a crushed corner, torn wrap, broken board, missing mark, or water stain. If a load looks unstable, make it safe with the site’s handling team rather than pulling the box apart where it stands.
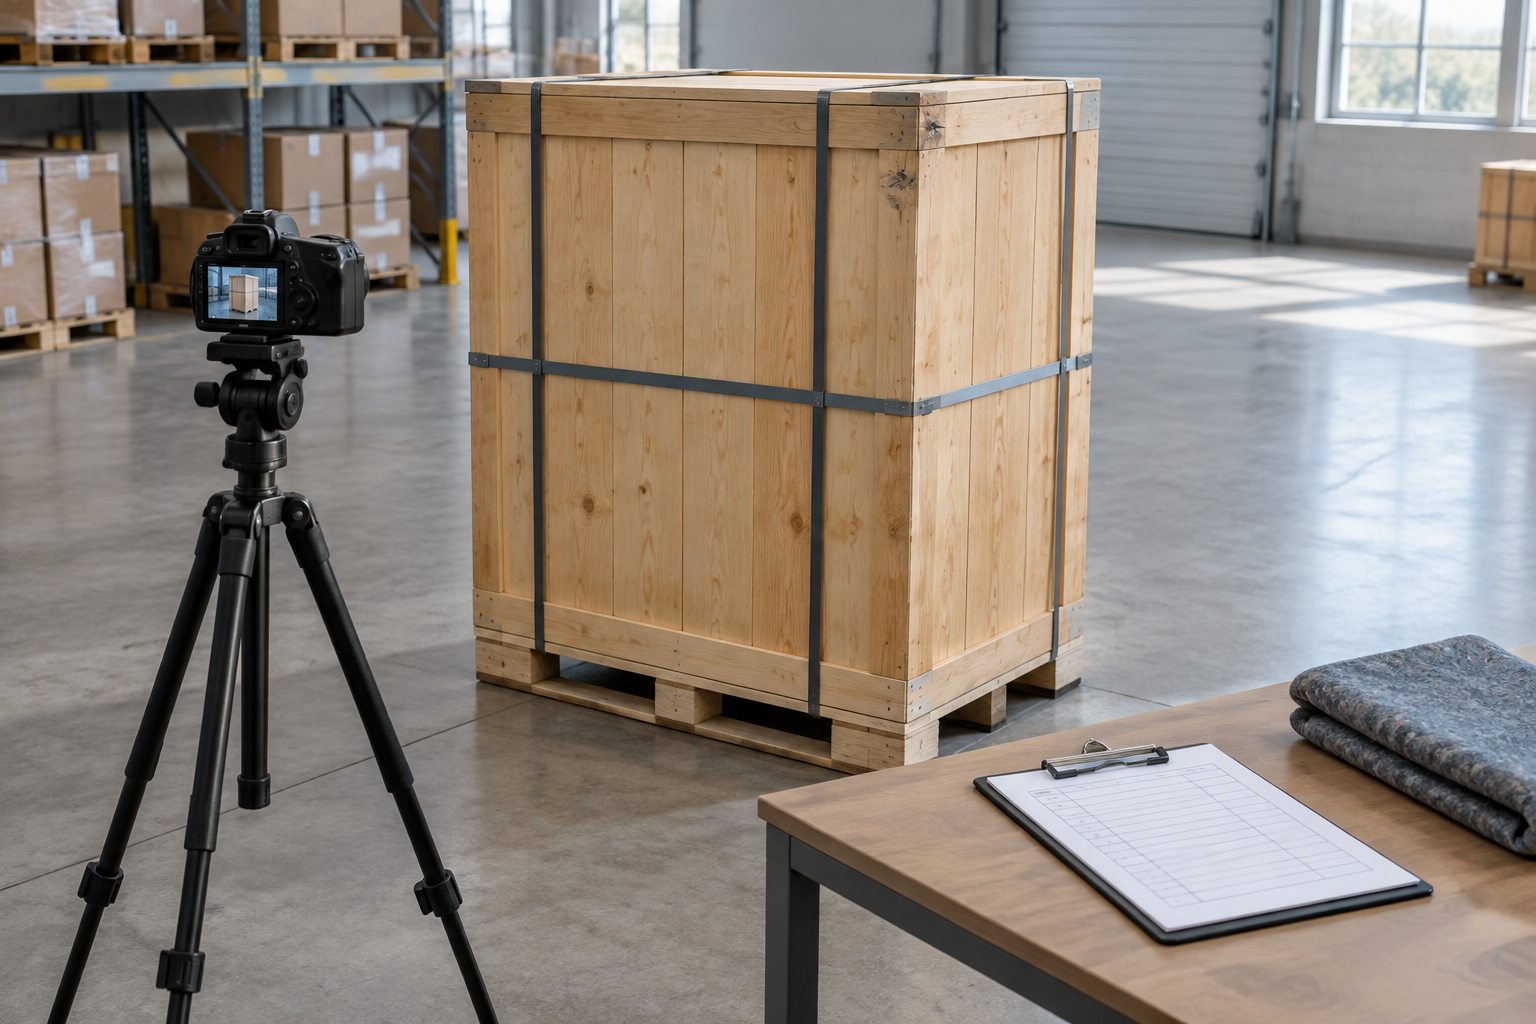
Next, unpack in a sequence you can reconstruct: outer shell, inner barrier, restraints, cabinet, then accessories. Keep the packaging until the cabinet and its parts have been checked. Compare the door gap, finish, corners, window, base, and internal fixings with the dispatch images. Count the small items while their numbered bags are still in view.
If you find damage or signs of water entry, record it before further handling or installation. Keep the affected packing material and contact the supplier, carrier, and insurer as the agreed process requires; notification windows and claim steps depend on the shipment terms. Do not energize equipment with suspected transport damage or moisture exposure before a qualified electrical inspection. Carrier documentation requirements vary; UPS’s damage-claim guidance illustrates why photos of the package, label, and contents may be needed.
Send the right details with your enclosure RFQ
A useful packing quote needs more than cabinet dimensions. Send the approved drawing or revision, configuration at dispatch, finish, door and protruding parts, packed accessories, estimated mass, destination, transport mode, transfers, available unloading equipment, storage conditions, and any packaging or photo requirements in the purchase order. Flag components that must ship separately.
If a lifting point, removable brace, barrier system, or crate design has not been decided, say so. Those questions are easier to resolve before someone has built a crate around the wrong assumptions. Use the custom enclosure page to align the cabinet configuration, then contact FN with your drawing and shipping requirements for project-specific confirmation.
FAQ
Does every electrical enclosure need a wooden crate?
No. The right choice depends on the cabinet’s weight, vulnerable features, restraint points, transfers, storage exposure, and unloading method. A well-secured pallet may be suitable for one shipment; another may need a closed crate. Specify the handling and protection outcome first.
Are desiccant and VCI always needed for sea freight?
No. Choose moisture and corrosion controls for the actual materials, duration, barrier design, and storage conditions. Dry packing and an intact seal matter; adding sachets to an unplanned or wet pack does not establish a moisture-control system.
The outer box looks fine, but the door is out of alignment. Now what?
Photograph the door gap, latch, hinges, and packaging before adjustment. Compare them with dispatch photos, record the crate ID, and keep the packing. Ask the responsible technical team to assess the cabinet before installation; report the finding through the agreed supplier and freight channels.