

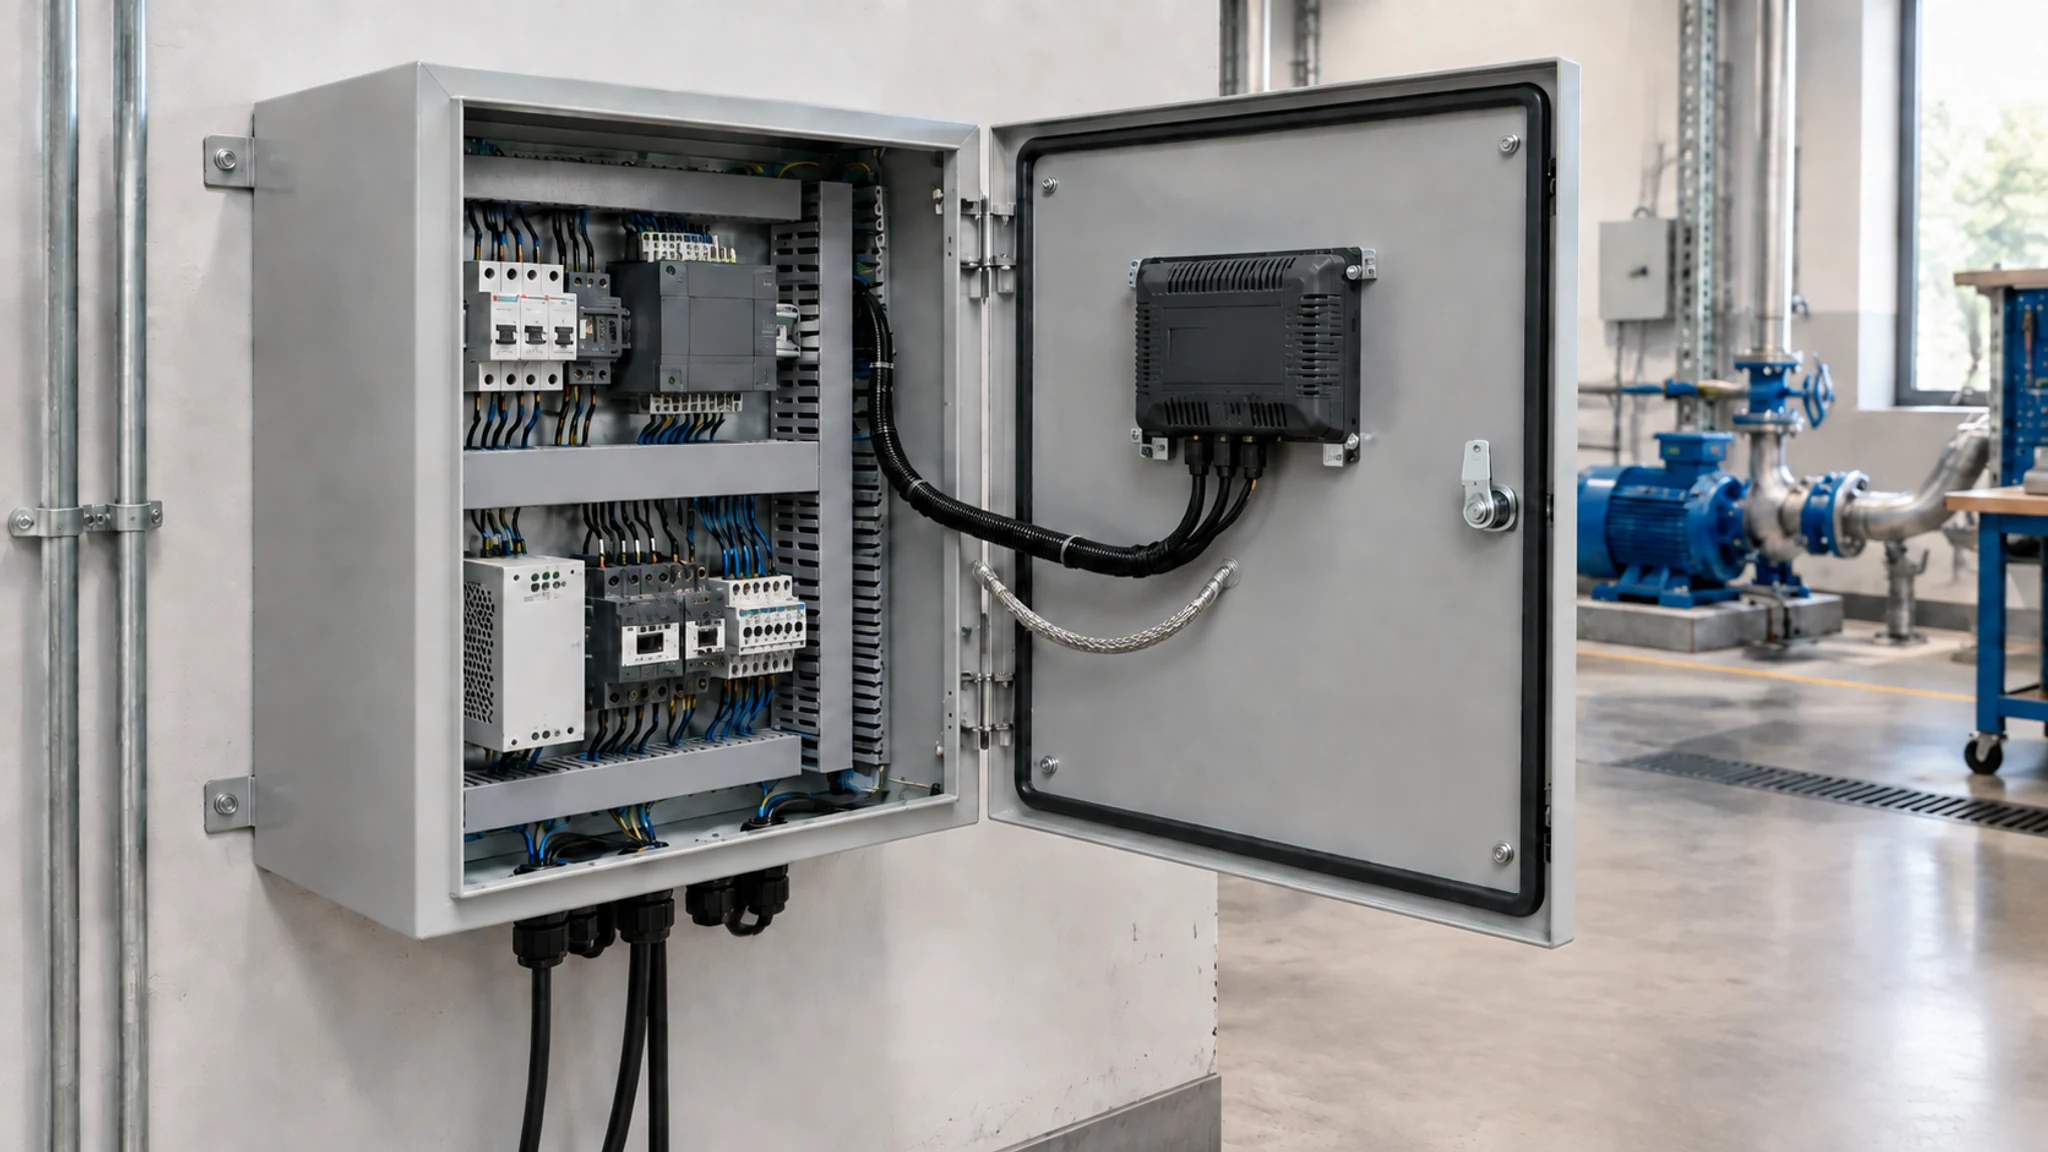
Start with how often you’ll open your hinged electrical enclosure and how much room you have around it. Then look at what the door will carry and how it needs to close. Those details give you a practical way to choose the hinges, latch, and gasket.
Make routine access easier
Think about your next service visit. Reading a display takes less access than replacing a fuse, reaching a connector, or pulling out a backplate. Tell your enclosure supplier what you’ll need to reach and how often you’ll be doing it.

With a hinged cover, you can open the enclosure without finding somewhere to put a loose lid. That mattered in AttaBox’s AMAROK case study: technicians had been dealing with several cover screws and seals that sometimes stuck. The replacement had a hinged, latched cover that the customer found easier to work inside.
Use your maintenance tasks to narrow down the door arrangement:
| What you need to do | Door arrangement to consider | What it changes for you |
|---|---|---|
| Open the enclosure regularly | Hinged cover with a latch suited to the authorized users | The cover stays attached while you work; choose an opening position that leaves your hands and tools room |
| Install a backplate or carry out major repairs | Lift-off or otherwise removable door | You can take the door out of the work area; leave room for removal and plan the wiring disconnection |
| Work beside a wall or another cabinet | Hinge side and pivot position chosen from the site layout | The open door leaves you a usable route to the components inside |
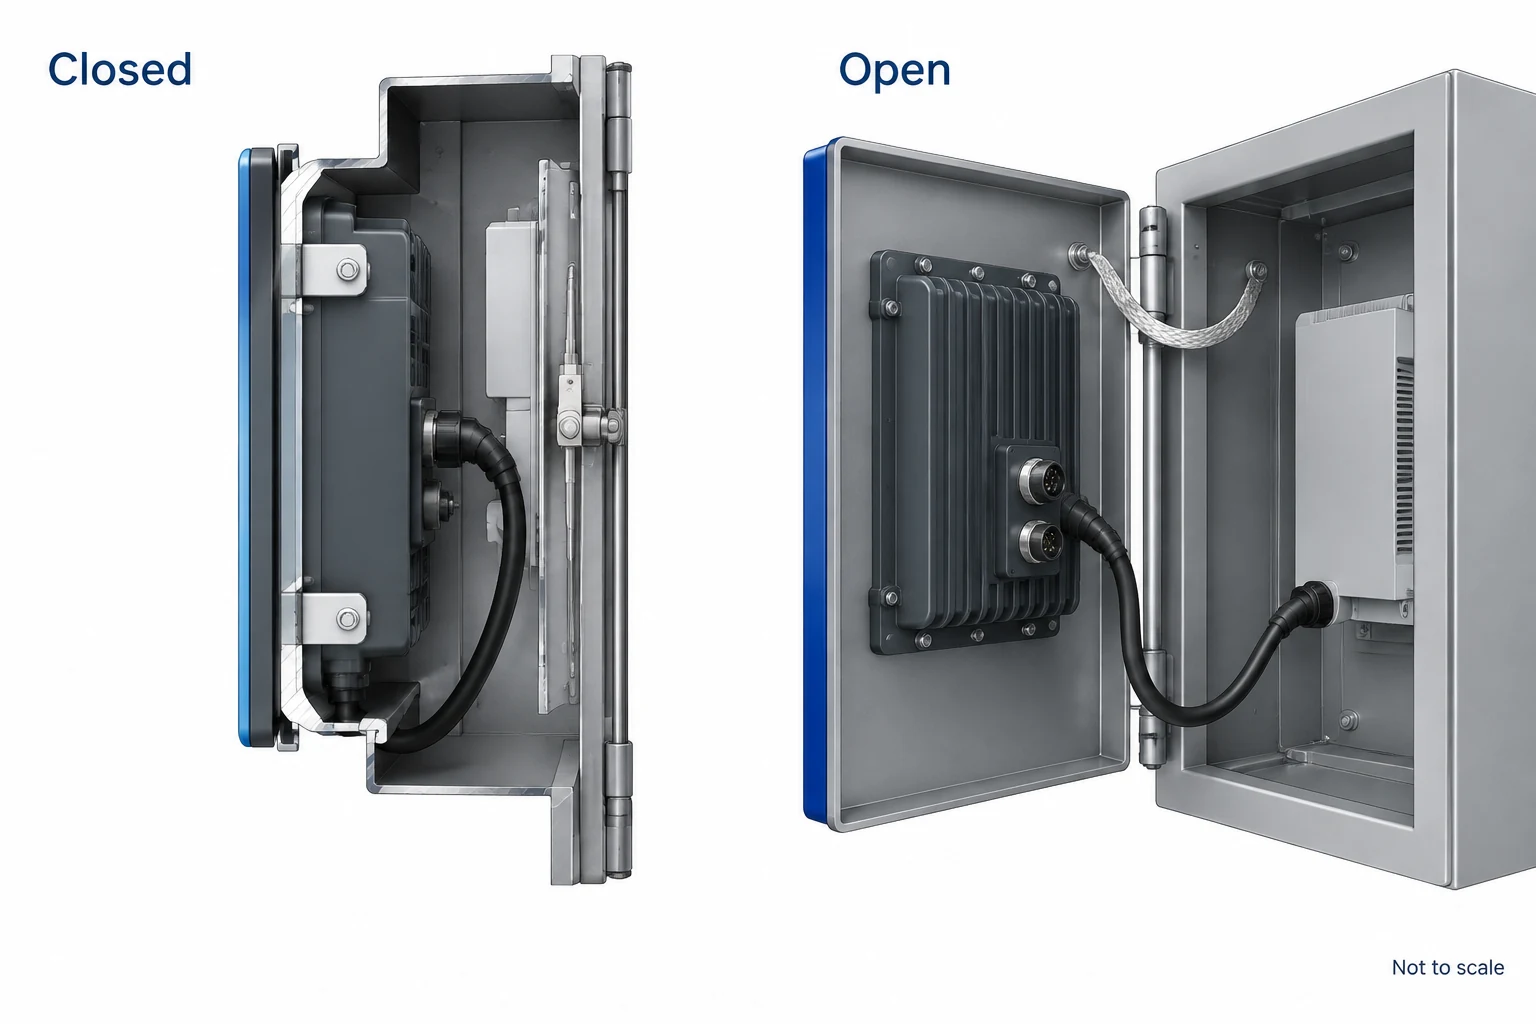
| Fit an HMI, buttons, or instruments | Supported door with planned cutouts and rear clearance | The display, connectors, and wiring have room to fit and move with the door |
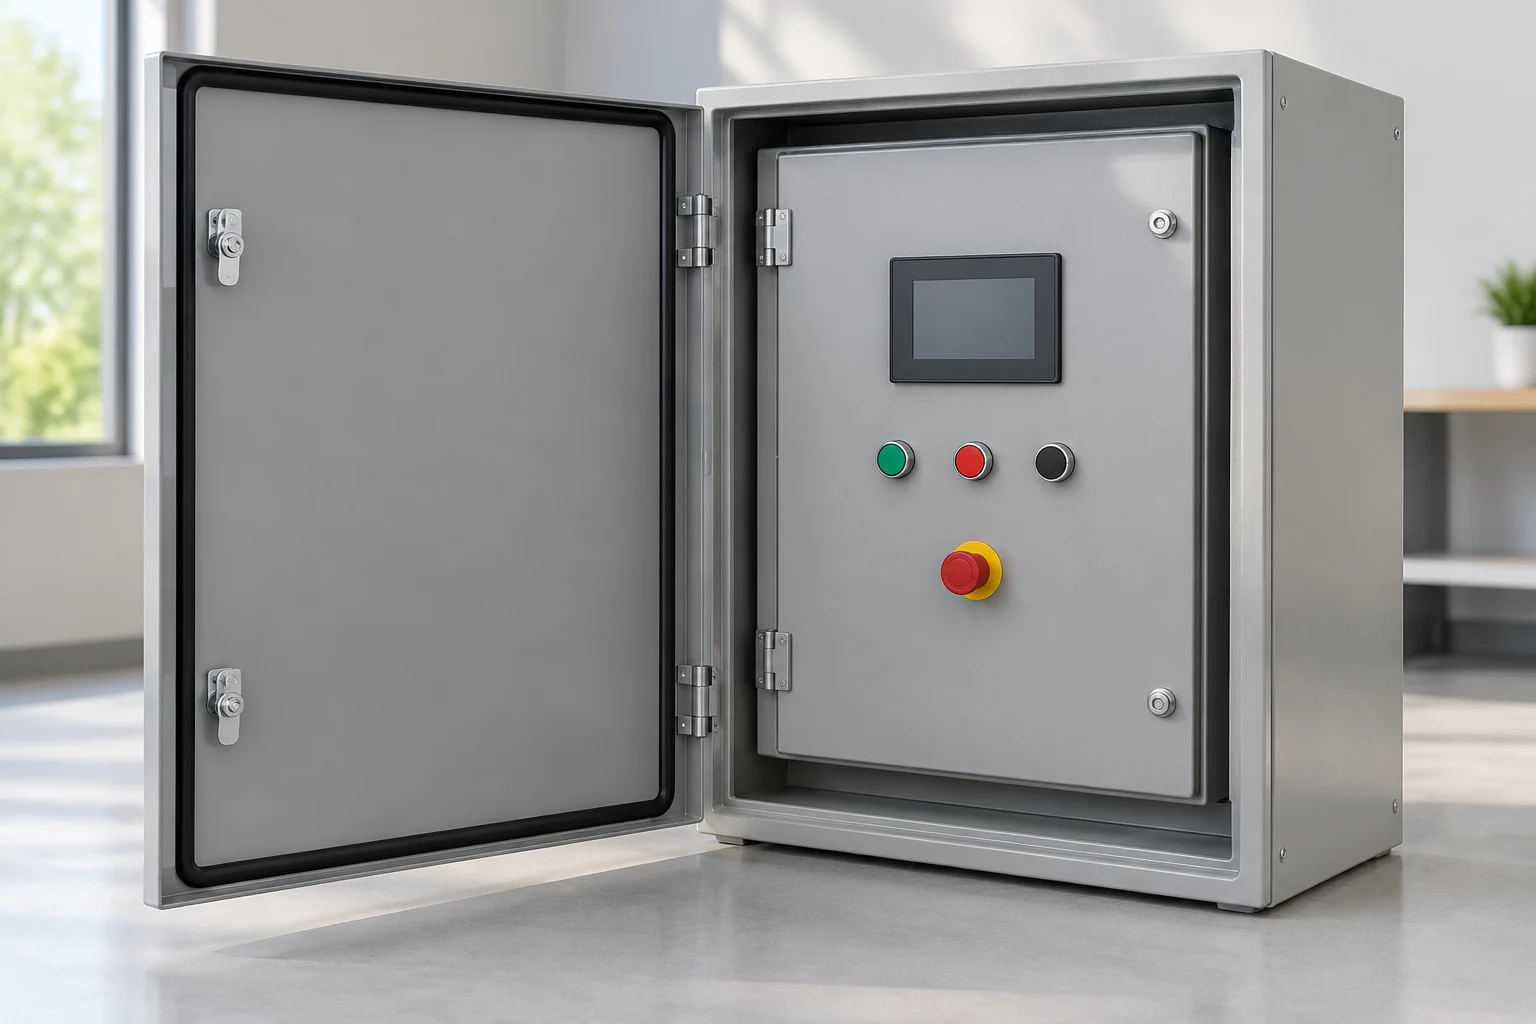
| Give operators access to controls separately from wiring | Inner door, separate compartment, or local access cover | You can assign access to each layer according to who uses it |
| Use the enclosure in rain, dust, or washdown service | Door, gasket, hinges, and latches selected together | The closure and exposed surfaces can be matched to your environment and cleaning routine |
For equipment opened only during planned servicing, a tool-operated latch may fit the routine well. Match the access method to the people using it. The lock controls who can open the enclosure; your panel designer specifies the electrical isolation or interlocking needed for maintenance.
Give the door enough room to be useful
A door can clear its own frame and still hit the wall beside it. Put the enclosure on a plan view of the installation and draw the full opening path, including the handle and any controls that project from the door. The pivot location and frame section affect that path, as this hinge architecture guide illustrates.

Look at the space from the technician’s position:
- Can you stand where you need to work and get a tool onto the terminals?
- Is there room to withdraw the largest serviceable component?
- If the door comes off, can you lift it clear or withdraw the hinge pins?
- When it closes, do the locks and door-mounted equipment clear the parts behind them?
Mark left- or right-hand hinging from a clear viewpoint, such as facing the closed enclosure. If you want to reverse the door later, include that in the specification so the hinges, closure, gasket, and wiring support the change. EMKA’s cabinet hardware guide describes matched hardware arrangements for reversible doors.
For our wall-mounted electrical enclosures, the layout review covers wall brackets, door swing, component depth, cable entry, and maintenance clearance. A plan view of your wall or machine helps us check those details against the place where you’ll install the enclosure. Include the applicable electrical working space in that layout as well as the door’s opening arc.
Size the hinges for everything the door carries
Add the weight of the HMI, handles, windows, reinforcement, and other moving parts to the door weight. Their position matters too: a load farther from the hinge line changes the demand on the hinge and its fixings.
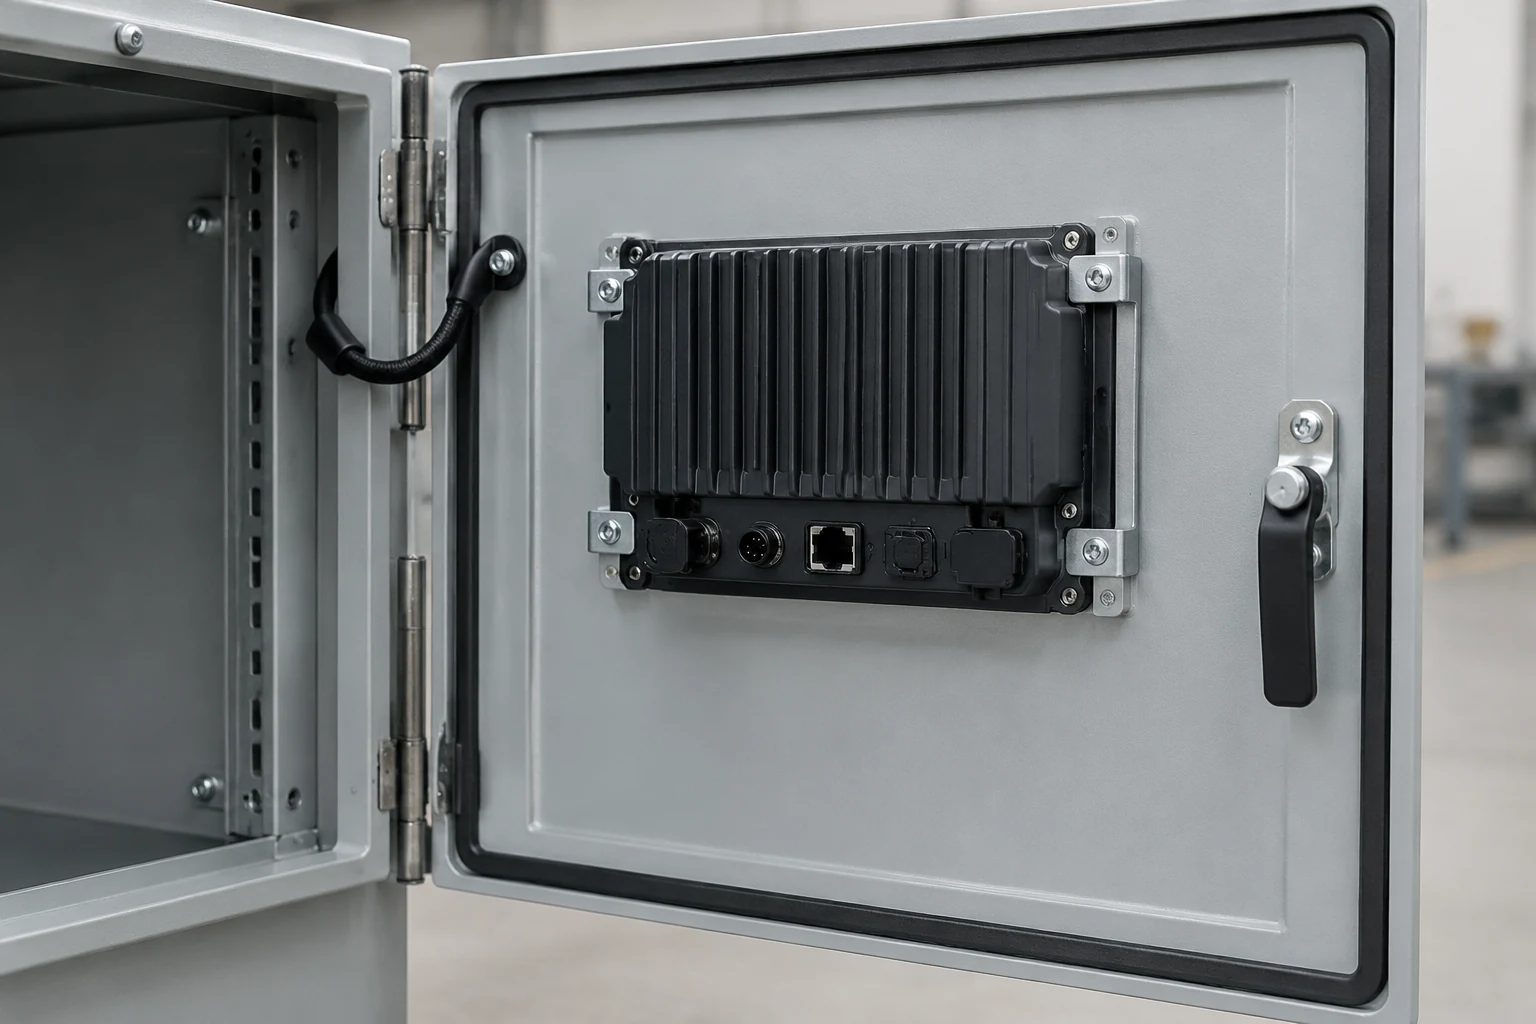
Essentra’s hinge sizing guide considers weight, lever arm, hinge arrangement, fixings, and the supporting structure together. Give the hinge supplier that information so its load recommendation matches your door and mounting geometry.
The hinge style also affects assembly and servicing:
- Butt hinges use separate attachment points along the door edge.
- Continuous hinges run along much of the edge, with fasteners and supporting sheet metal sized for the load.
- Lift-off hinges let you remove the door in a defined direction.
- Concealed hinges keep the hardware inside, where you’ll need to allow for its movement alongside the equipment.
Essentra’s enclosure hinge guide compares these options. Once you’ve chosen the arrangement, match the material and mounting details to the environment, and agree on the load and cycle requirements for the part.
If you’ll need to remove the door, make that part of the service plan. In Rittal’s Duim techniek application, removable hinge pins let the customer lift the doors out without extra tools. On a door carrying connected controls, plan how you’ll disconnect and restore the wiring and any protective bonding connections.
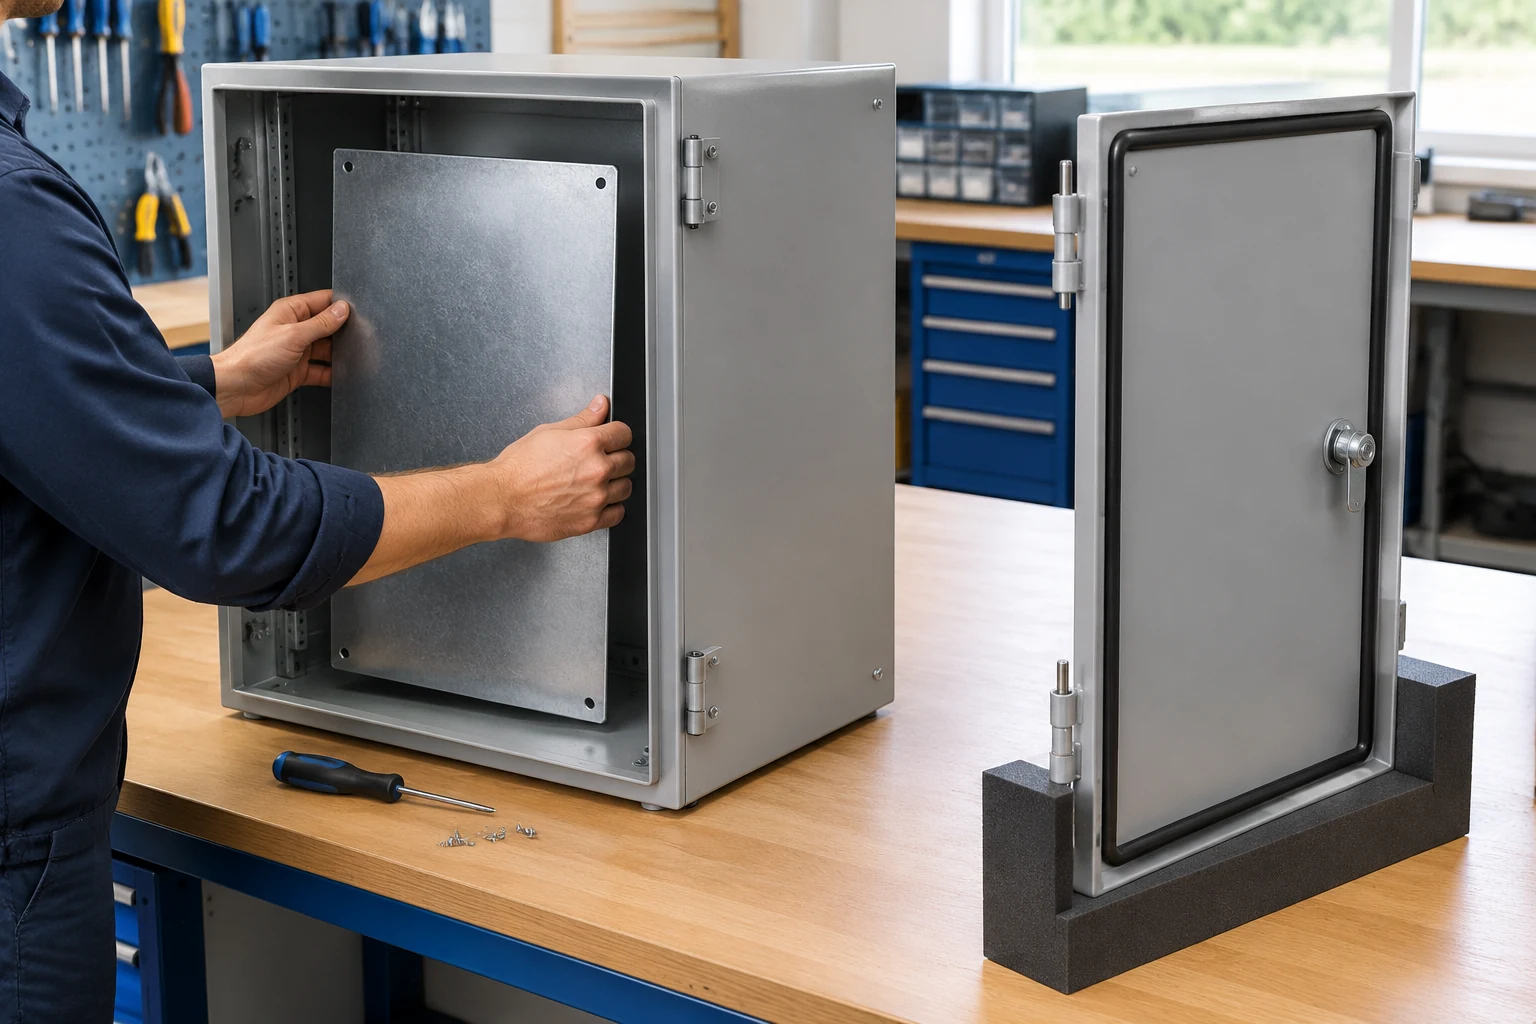
For work with the door open, include a suitable stay or limiting arrangement. Outdoors, the open door and its restraint also need to suit the wind exposure.
Choose a latch that suits the way you work
On a tall door, opening several separate locks can become a nuisance. A single handle driving several locking points gives you a different operating routine. In a Euro-Locks electrical enclosure OEM project, that was the customer’s request. The supplier developed models and prototypes before the customer accepted the multi-point design.

Describe the latch in terms of what you need it to do:
| Decision | What to tell the supplier |
|---|---|
| How you open it | Hand, tool, key, or handle, with room to reach and operate it |
| How it pulls the door shut | Cam engagement and any pull-in action needed to compress the gasket |
| Who can open it | Authorized users and the key or tool arrangement |
| Where it holds the door | Number and position of locking points, including any linked rods |
| Where the hardware fits | Door thickness, cutout, grip range, and space behind the door |
A quarter-turn latch can also be a compression latch. The first term describes the operating movement; the second describes the pull-in action. Essentra’s compression latch guide includes quarter-turn configurations.
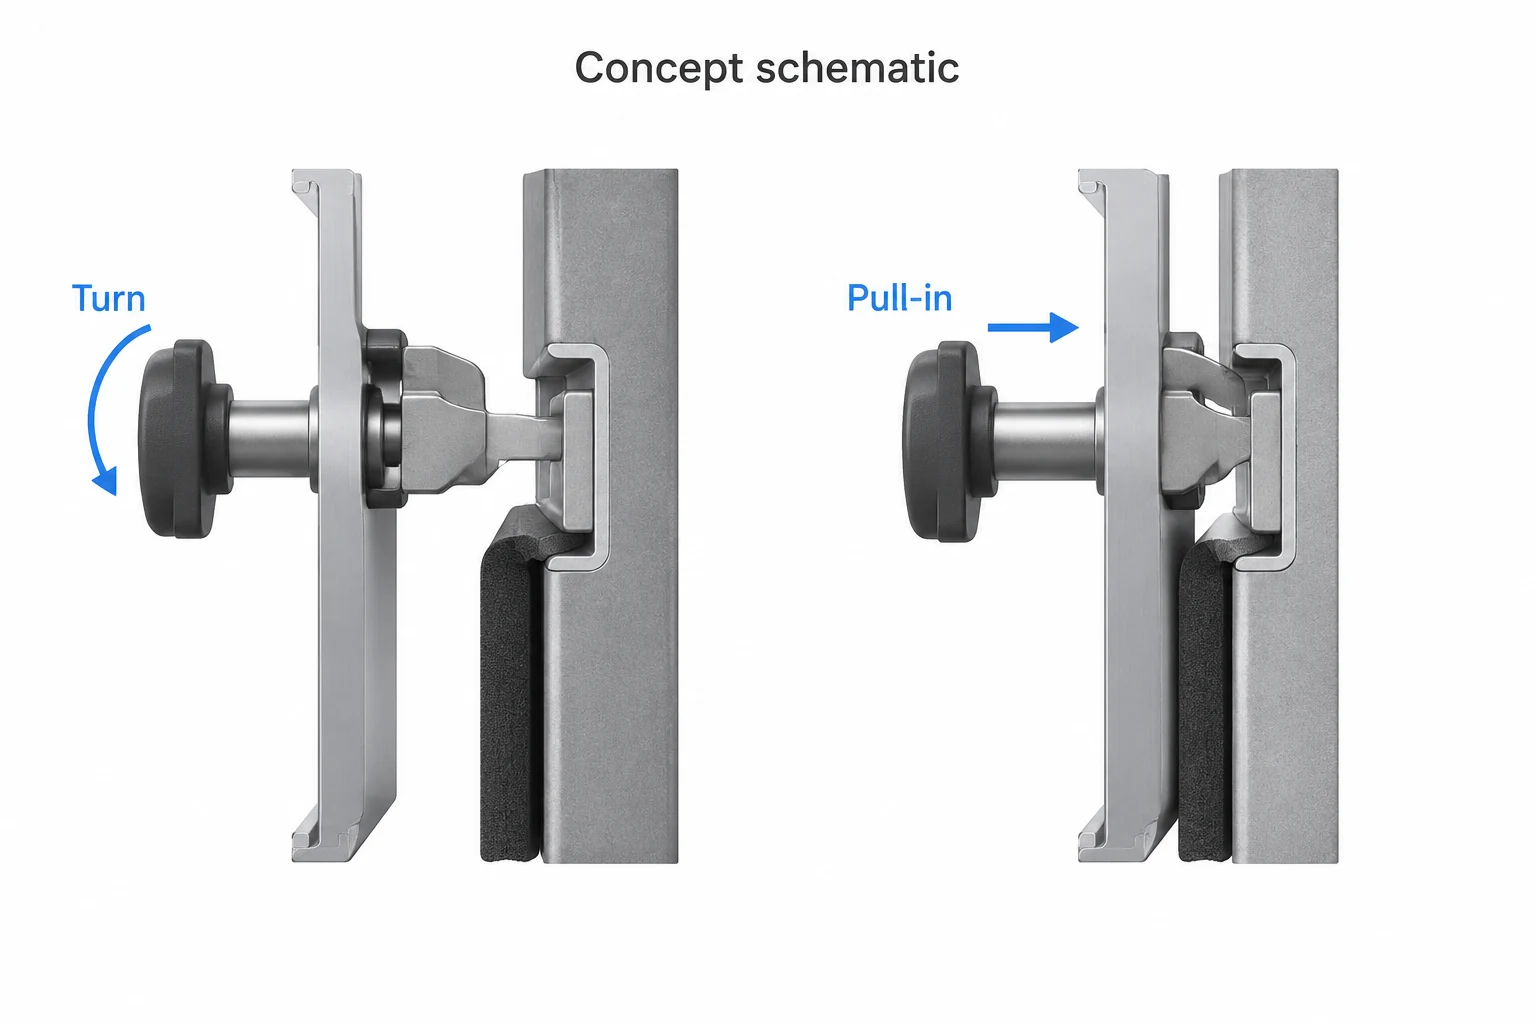
For a multi-point closure, put the rods and cams on the same layout as the electrical equipment. Check their engagement with the frame and how the closing force reaches the gasket. EMKA’s guide shows arrangements inside and outside the seal, so the location of the sealing line belongs on that drawing too.
Plan the space behind the HMI
The screen is the part you see. The installation also needs room for clamps, connectors, cable exits, and the component’s rear body. Use the manufacturer’s installation drawing to set the cutout, panel thickness, fastening details, and seal requirements.
The HMI enclosure design guide from Drametal identifies problems worth catching on the drawing: a panel that flexes, an uneven sealing surface, or a connector you can’t reach once the unit is fitted.
Walk through the installation with that drawing in front of you. Leave room to reach the clamps and terminals. Check the HMI against the backplate and lock hardware with the door closed, then follow the cable route through the full opening movement. You want enough movement without pinching the cable, rubbing its insulation, or pulling on a terminal. Also think about replacing the display later: which parts would you need to remove to get it out?
Sometimes the controls belong on an inner door. In Fibox’s Sandfield Penstock case, customers wanted buttons and switches kept off the outside of the enclosure. Mounting them on an internal door put them behind the outer cover. Decide who needs access to each layer as part of the panel layout.
An outdoor HMI may also need shade. B&R’s Arrow Energy project included sun shields for door-mounted displays alongside other panel modifications. If you need a shield or protective cover, include it in the viewing and operating space so you can still see and use the controls.

Make the gasket and closing force work together
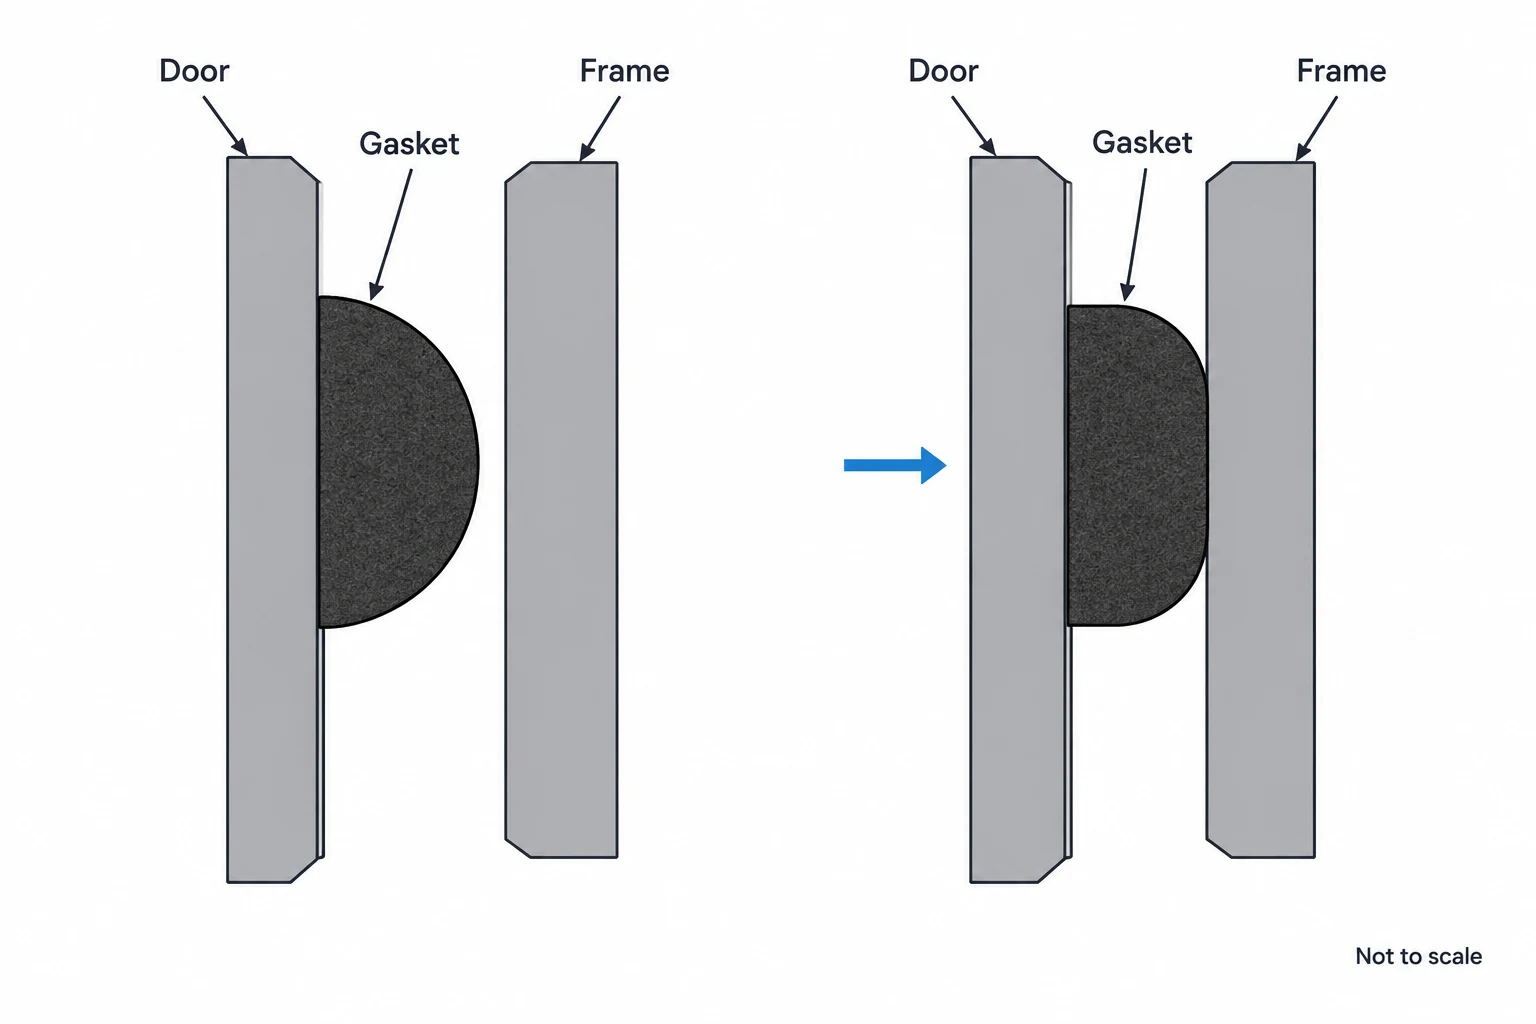
When you close the door, the gasket needs contact around the perimeter. Too little compression can leave a leak path; too much can deform the gasket or thin sheet metal and make the door difficult to close. Rogers’ enclosure seal design guide explains how the sealing gap, material response, and available closing force work together.
Start with the minimum and maximum gap the gasket will see, including manufacturing variation. Door flatness, frame geometry, coating thickness, hinge alignment, and latch adjustment all affect it. Then use the selected material’s data to set the compression range.

How often you open the door matters here too. A seal that stays closed has a different duty from one that repeatedly releases and compresses. Rogers’ gasket selection guidance discusses recovery after compression and other material-selection factors.
During the fit review, look along the hinge side as well as the latch side, including corners and joints. Check for door or frame deflection as the latch closes. Give the supplier your temperature, chemical exposure, and cleaning method, and ask how you’ll replace the gasket when maintenance calls for it.
In Rittal’s Nestlé PTC case, internal hinges and continuous silicone seals were part of a hygienic enclosure design. For washdown service, choose the exposed hardware and sealing arrangement around the way your team actually cleans the equipment.
Our guide to foam gasket compression and aging goes further into material behavior. If the enclosure will be outside, use the outdoor enclosure design checklist to review rain paths and condensation too.
Try the assembled door before approving the batch
A first article gives you something to open, reach into, and close before you approve repeat production. Agree on those checks during the drawing review. With the assembly electrically isolated, fit representative door-mounted equipment and the intended hinges, latches, and gasket.
Open the door to the service position. Try the removal route if you need one. Watch the cables as the door moves, then close it normally. If the door rubs, the gaps look uneven, or you have to lift the free edge to engage the latch, take that back to the fit review. Rogers’ seal guidance and Essentra’s hinge sizing guidance explain the closure and support factors behind these checks.

At FN Enclosure, our custom-project review covers door gaps, hinge and lock positions, gasket fit, and the agreed inspection points. Recording the approved dimensions, hardware, and finish gives your team a reference for checking later units. Include the project’s protection, durability, and electrical safety tests in the inspection plan alongside these fit checks.
Bring us the door layout, even if it’s still a sketch
You can start with a CAD drawing, sketch, photo, sample, or specification. Send the dimensions you know and flag the details you’re still deciding. We review cutouts, mounting arrangements, door and gasket fit before production release, when those choices can still be resolved on the drawing.
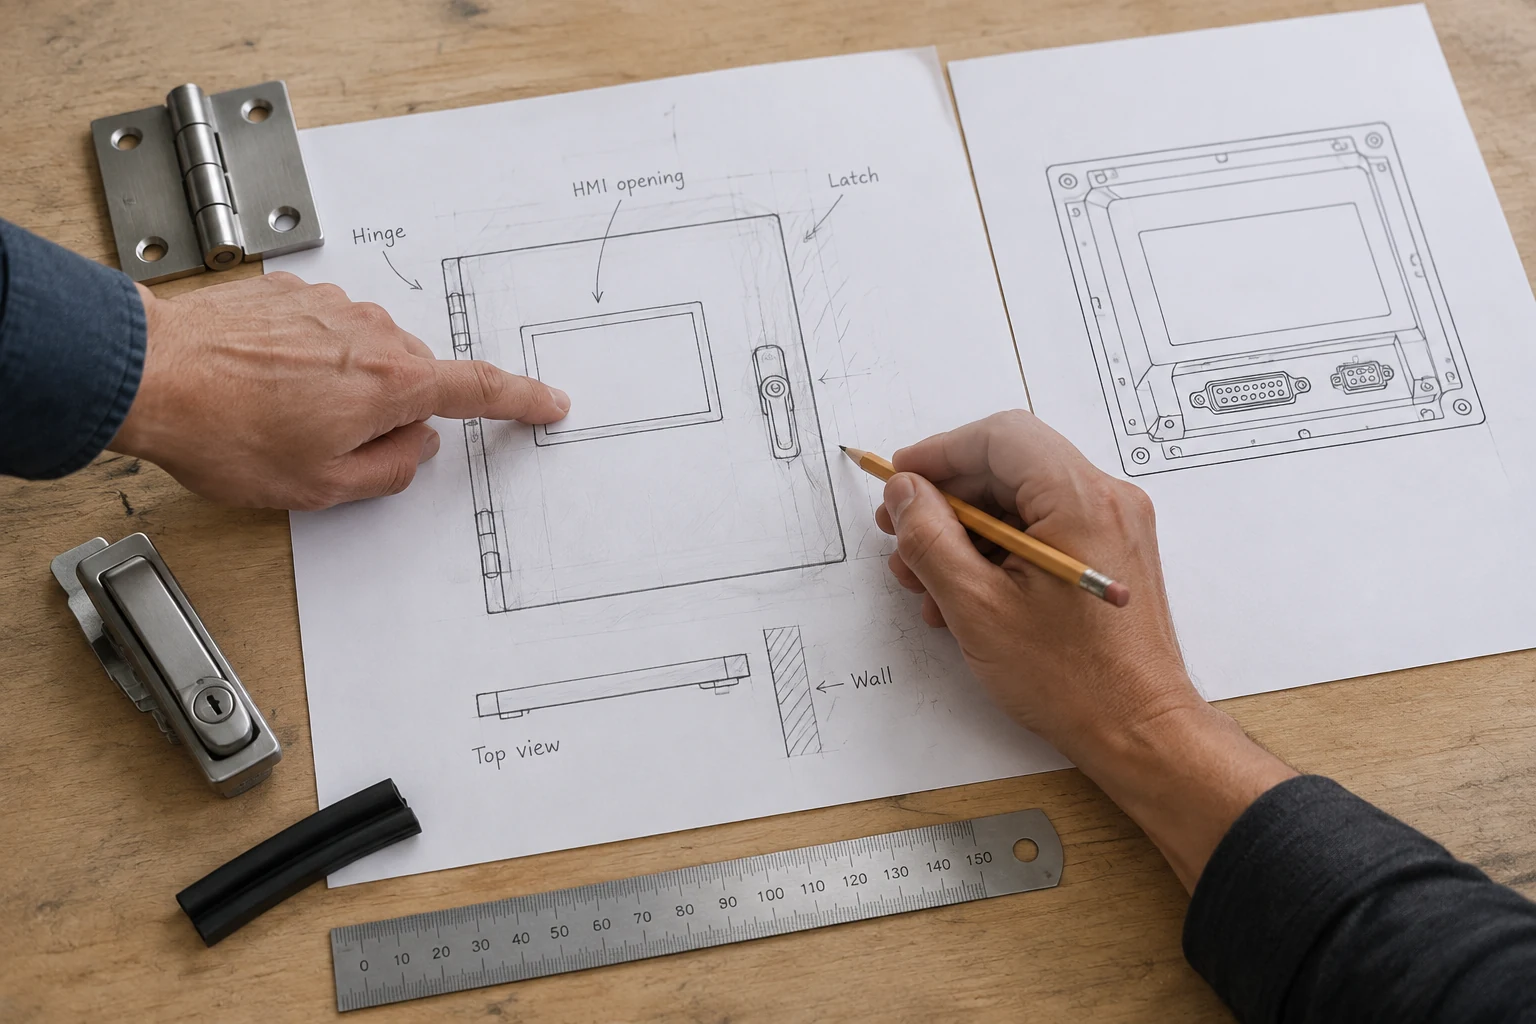
For a useful door-cover quotation, include:
- The enclosure and door dimensions, mounting direction, and a view of the installation space.
- What you’ll need to reach, how often, and who will have access.
- The hinge side, opening position, and whether the door needs to come off.
- Component drawings, weights, rear depths, and cable routes for anything mounted on the door.
- How you want to operate the latch and where its hardware needs to fit.
- The environment, cleaning method, material and finish, and required IP or enclosure Type designation.
- Quantity, drawing revision, first-article checks, and who handles testing and electrical integration.
Send your door layout to FN Enclosure for a configuration review.
FAQ
How much space does an enclosure door need to open?
Draw the opening path using the actual hinge position, door size, handle, and nearby equipment. Then add the room you need to work, withdraw components, or remove the door. The catalog opening angle is a starting point; the installed layout tells you what’s usable. This hinge architecture guide explains the geometry.
When should a hinged door be removable?
When taking it off would make backplate installation, assembly, or major repairs easier. Allow room for the removal direction and door weight, and plan the wiring disconnection and reassembly checks. Lift-off and other enclosure hinge options offer different ways to do that.
Can a quarter-turn latch also be a compression latch?
Yes. A quarter-turn describes the operating motion, while compression describes the pull-in action. Choose the actual mechanism by its cam movement, grip range, mounting dimensions, and closing force. Essentra’s compression latch guide includes examples.
Does a hinged cover determine the enclosure’s protection rating?
No. The rating applies to the complete configuration, including the gasket, hardware, openings, and installation conditions. Ask for evidence covering the enclosure with your proposed modifications. Rogers’ overview of enclosure sealing standards explains the rating systems and sealing considerations.